Table of Contents
Advertisement
Quick Links
Advertisement
Table of Contents

Summary of Contents for Pyle PRJV66
-
Page 1: User Manual
Multimedia Lcd Projector www.PyleAudio.com Model : PRJV66 User Manual... -
Page 2: Table Of Contents
Product description ... 3 Specifications ... 4 Projector installation ... 5 System layout ... 5 Setting up the screen and projector ... 5 Ceiling/table mount setup ... 6 Warning ... 6 Making connections ... 7 Connect main equipment ... 8 Remote control ... -
Page 3: Important Safeguards
Read this manual carefully before using this product. Heed the instructions to keep your warranty for this product. Prevent fire or electric shock. This product may only be repaired by qualified servicing personnel. Keep this manual for future reference. - Keep the original packaging in case of defects. Return the product in its original packaging. -
Page 4: Maintenance Filter
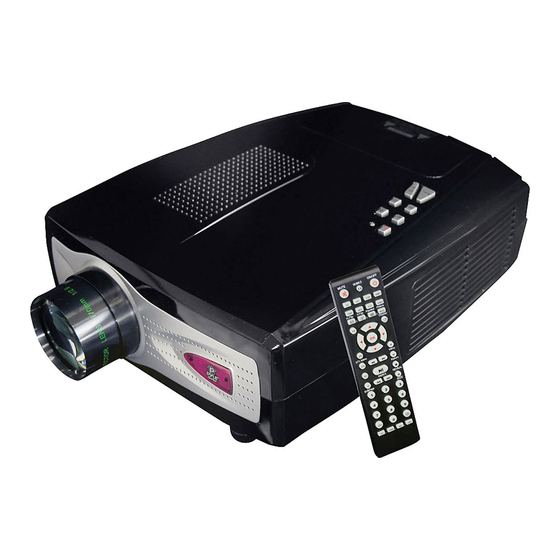
PRODUCT DESCRIPTION This projector was designed using highly advanced technology and can be used in schools, companies, institutes, meeting rooms, hotels, clubs, supermarkets, theatres etc. Because of the compact dimensions of this product you can carry it to any place you like. -
Page 5: Specifications
The image will also blur. Replace the lamp if this is the case. Turn the projector of and remove the power cord. 1. Place the projector on a cloth to put loose parts on. 2. Turn the screw loose and open the lid. -
Page 6: Projector Installation
Speaker SETTING UP THE SCREEN AND PROJECTOR Place the projector on a smooth and stable surface. Please don't place any objects on top, underneath or next to this product to ensure proper and sufficient cooling. De distance between the projector and the projector screen varies from the screen's size. Please refer to the table below for the correct setup distances. -
Page 7: Ceiling/Table Mount Setup
0~35 . The projector may malfunction if temperatures vary outside the normal operating range. The sharpness of the screen might be interrupted when the projector is being used in a dusty, wet, moist or smoke filled environment. The projector might malfunction in a moist or wet environment. -
Page 8: Projector (Front View)
PROJECTOR (FRONT VIEW) Fan grille Keystone button: Push this button to turn the projector on when it's in stand-by mode and push it again to return to stand-by mode. MENU button: Push this button to open the menu. buttons: Use these buttons to navigate through the menu. -
Page 9: Remote Control
Connecting video equipment With S-video output terminal. REMOTE CONTROL POWER button: Push this button to turn the projector on when it's in stand-by mode and push it again to return to stand-by mode. MENU button: Push this button to open the menu.


Need help?
Do you have a question about the PRJV66 and is the answer not in the manual?
Questions and answers