Table of Contents
Advertisement
Quick Links
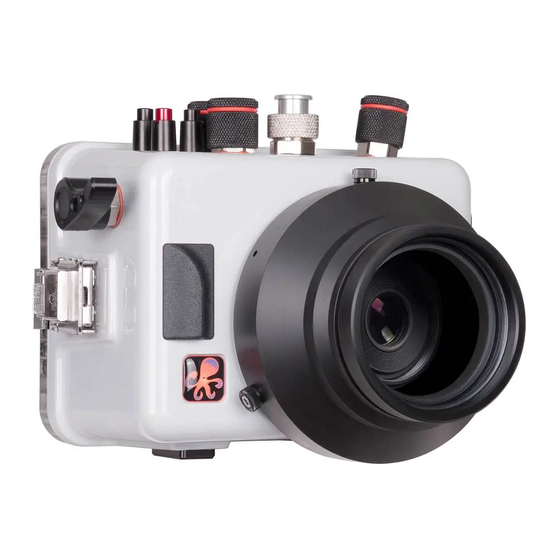
200DLM/B Underwater Housing for Panasonic
Lumix G85, G80 Mirrorless Micro Four-Thirds Digital
Camera
Product Number 6961.08
Product Registration
Please register your product at ikelite.com within 15 days of purchase.
Our product registration database is the best way for us to contact you
in the event of a product update or recall.
Advertisement
Table of Contents

Subscribe to Our Youtube Channel
Related Manuals for Ikelite 6961.08


Summary of Contents for Ikelite 6961.08
-
Page 1: Product Registration
Lumix G85, G80 Mirrorless Micro Four-Thirds Digital Camera Product Number 6961.08 Product Registration Please register your product at ikelite.com within 15 days of purchase. Our product registration database is the best way for us to contact you in the event of a product update or recall. -
Page 2: About This Product
About this Product Thank you for your purchase of Ikelite equipment. Please read this instruction manual completely before attempting to operate or dive with this product. Please visit ikelite.com to register your product to receive information on any updates or notices pertaining to your equipment. -
Page 3: Important Notices
Do not remove the Accessory Port Hole Plug unless you are » installing a compatible accessory. Your housing features two 1/2-20 threaded Accessory Port which may be used for attachment of factory optional or aftermarket housing accessories. Visit ikelite.com for an updated list of factory optional accessories. -
Page 4: Table Of Contents
Contents Product Registration About this Product Included in the Box Specifications Important Notices Accessory Port Getting to Know Your Housing Setting Up Your Camera Pre-Installation Checklist & Initial Camera Settings Setting Up Your Housing Opening the Housing Inserting the Camera Attaching the Hotshoe Closing the Housing Attaching the Lens Port... -
Page 5: Getting To Know Your Housing
Getting to Know Your Housing Electrical Drive Mode bulkhead Dial Shutter Front Dial O-ring button Accessory Port Hole Plug Finger Lens Port Grip Mount Snap Lens Release Button Tray Mounts... - Page 6 Housing Rear Super-eye Shutter O-Ring Viewfinder Button MENU/SET AF/AE Button LOCK Q.MENU DISP. Cursor Buttons Housing Plate Camera Mount Mounting Plate Button Motion Picture Button ON/OFF Switch Function Button Mode Dial/Lock Rear Dial...
-
Page 7: Setting Up Your Camera
2. Insert a properly formatted memory card. 3. Set Metering to “Center-weighted”. 4. In Flash Menu: Set Firing Mode to TTL. When a non-Ikelite strobe is used, the firing mode will automatically switch to “Manual” after the strobe has been attached and turned on. -
Page 8: Inserting The Camera
2. Lid snaps are designed to provide enough force to compress the o-ring for a proper seal. Keep firm pressure against the lid snap while lifting it away. Lid Snap Lock 3. Repeat with remaining lid snap(s). 4. Remove the housing back. Inserting the Camera 1. -
Page 9: Attaching The Hotshoe
4. Line up the Mounting Screw with the Camera Tripod Socket. Use a coin or flat head screwdriver (preferred) to tighten the mounting plate to the camera. 1/4-20 Mounting Screw Camera Tripod Socket 1/4-20 Threaded Hole Camera Mounting Plate 5. Pull out on the housing control knobs to move them out of the way. 6. -
Page 10: Closing The Housing
Closing the Housing 1. Make sure the o-ring is clean and in its proper location on the back of the housing. The main o-ring does not require lubricant to make a seal. 2. Place the back onto the housing front. 3. - Page 11 2. If using an optional Gear Sleeve, place it in the Port Base with the teeth side facing away from the housing. Lens Port Optional Gear Sleeve Port Base O-ring 3. Slide the Lens Port onto the housing Port Base and press evenly down towards the housing until it stops.
-
Page 12: Final Check
Final Check 1. Re-check the o-ring seal. The seal should form an even, solid line around the back of the housing. 2. Turn on the camera and check all control functions. 3. Make sure that the camera can obtain focus and take a photo. 4. -
Page 13: Setting Up An External Strobe
Setting Up An External Strobe When a compatible Ikelite DS strobe is attached via sync cord, circuitry built into the housing allows the strobe to communicate directly with the camera to trigger the strobe and adjust its power for perfect exposure. - Page 14 5. Attach the other end of the sync cord to the bulkhead on your strobe. 6. If using an Ikelite strobe, set the strobe to TTL. If using a non-Ikelite strobe, set the strobe to manual flash and select a manual power setting.
-
Page 15: Installing An Accessory Via The Accessory Port
2. Check the accessory fitting o-ring sealing area. Check o-ring and housing o-ring sealing area. All should be clean and free of hair, sand, or other debris. 3. Lightly lubricate o-ring with Ikelite lubricant. Use ONLY Ikelite lubricant. Other manufacturer lubricants can cause the o-ring to swell. -
Page 16: Travel And Storage
2. NEVER leave your housing in the fresh water rinse tank. Collisions with other peoples’ gear can cause scratches or damage to your equipment. 3. Stow the housing in a shaded place where it is protected from impact or overheating. If no shade is available, we recommend covering the housing with a towel or cloth. - Page 17 • Take the housing underwater without a camera installed to ensure that the leaking has been corrected. Photos are over-exposed (too light) • Adjust aperture (smaller), shutter speed (faster), or ISO (lower) setting. • Move lights(s) farther away from your subject. •...
-
Page 18: Spare Parts
Button(s) or control(s) do not line up • Ensure that nothing is preventing the camera from going into the housing. • Push the camera mounting plate forward until it is flush with the housing base plate. • Camera should be “tight” against the mounting plate. Check tightness using a coin or screwdriver (preferred). -
Page 19: Limited Warranty
Ikelite product. Service and Repairs Ikelite is most interested in performing any service to ensure that all products perform as intended. Evidence of purchase date must be provided to obtain warranty service. No prior authorization is required. -
Page 20: Contact Us
If you have any questions about your product or need advice on getting the images you want, please contact us and we’ll do everything we can to help you capture your unique perspective. Ikelite Underwater Systems 50 W 33rd St. Indianapolis, IN 46208 USA (317) 923-4523 ikelite@ikelite.com...
Need help?
Do you have a question about the 6961.08 and is the answer not in the manual?
Questions and answers