Sign In
Upload
Download
Table of Contents
Contents
Add to my manuals
Delete from my manuals
Share
URL of this page:
HTML Link:
Bookmark this page
Add
Manual will be automatically added to "My Manuals"
Print this page
×
Bookmark added
×
Added to my manuals
Manuals
Brands
SPL Manuals
Recording Equipment
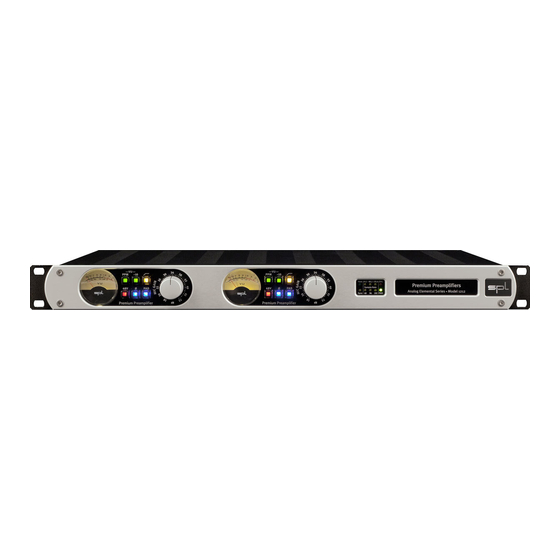
1211
User manual
SPL 1211 User Manual
Analog elemental series twin module series
Hide thumbs
1
Table Of Contents
2
3
4
5
6
7
8
9
10
11
12
13
14
15
16
17
18
19
20
21
22
23
24
25
26
27
28
29
30
31
32
33
34
35
36
37
38
39
40
41
42
43
44
45
46
47
48
49
50
51
52
page
of
52
Go
/
52
Contents
Table of Contents
Bookmarks
Table of Contents
Table of Contents
Rear Panel
Rear Panel
Manual Analog Elemental Series
CE Conformity
Notes on Environmental Protection
Contact
Symbols and Notes
Important Security Advices
Scope of Delivery and Packaging
Hook up
Placement
Introduction
The Analog Elements
Die Signalprozessoren der Zweiten Generation
Concept and Categories of the Analog Elemental Series
Dual-Channel Preamplifiers
Channel Strips
Processing Units
Optional Features
Information on Transformers
Common Technical Specifications
Dimensions and Weight
Rear Panel | Wiring Diagram
Rear Panel | Versions
Rear Panel 1
Optional Converter: Wiring Diagram
Rear Panel | Connections and Switches
Signal Connections
Input and Output Electronics
XLR Sockets
Balanced Connections
Unbalanced Connections
Power Connection and Fuse
Voltage Selector
Power Switch
GND Lift
Channel Strip Switch (Ch. 1 out = Ch.2 IN)
The Modules
Premium MIC Pre | Introduction
Features
Premium MIC Pre | Control Elements
MIC Gain
About Leveling
VU Meter
Ppm
48 V Phantom Power Supply
Pad
Phase Reverse
High-Pass Filter
Premium MIC Pre | Technology
Triple Stage Preamp
Stage 1 - the Input Transformer
Stage 2 - the Discrete Differential Amplifier
Stage 3 - the Instrumentation Amplifier
Foil and Styroflex Capacitors
Output Stages
Premium MIC Pre | Technical Specifications
Audio
Input
Output
Control Elements
Premium MIC Pre | Block Diagram
Preference MIC Pre | Introduction
Main Features
Preference MIC Pre | Control Elements
MIC Gain
About Leveling
VU Meter
Ppm
48-V-Phantom Power Supply
Phase Reverse
High-Pass Filter
Preference MIC Pre | Technology
Ssm 2019
Servo Drive Design
Foil and Styroflex Capacitors
Output
Preference MIC Pre | Technical Specifications
Audio
Input
Output
Control Elements
Preference MIC Pre | Block Diagram
Dual-Band De-Esser | Introduction
The Dual-Band De-Esser
Dual-Band De-Esser | Control Elements
HI-Band On, Low-Band on
Low S-Reduction
High S-Reduction
Male/Female
Signal-LED (SIG.)
Dual-Band De-Esser | Technical Specifications
Audio
Output
Control Elements
Dual-Band De-Esser | Block Diagram
Dynamaxx | Introduction
Dynamaxx | Control Elements
Compression
Make-Up Gain
Gain Reduction Leds
DE-COM. (De-Compression)
FX Com. (Effect Compression)
Lim. (Limiter)
Link
Signal-LED (SIG.)
Dynamaxx | Technology
Why Are Conventional Compressors Unsatisfactory
Full-Band Versus Multi-Band
Attack Time Automation
Release Time Automation
Threshold and Ratio
Dynamaxx | Technical Specifications
Audio
Input
Output
Dynamaxx | Block Diagramm
Transient Designer | Introduction
Transient Designer | Control Elements
Attack
Sustain
Output Gain
Link Mode
Signal LED
Transient Designer | Applications
Drums & Percussions
Guitars
Bass: Staccato Vs. Legato
Ambience
Keyboards & Sampler
Post Production
Mastering
Transient Designer | Technical Specifications
Audio
Input
Outputs
Transient Designer | Block Diagram
Twintube | Introduction
Twintube | Control Elements
Har. On/Sat. on
HARMONICS Control
HARMONICS Switch
SATURATION Control
Signal LED
Twintube | Applications
Vocals
Acoustic Guitars
Twintube | Measurements
Twintube | Technical Specifications
Audio
AUDIO - CUMULATIVE (Harmonics and Saturation Stage)
Twintube | Block Diagram
Advertisement
Quick Links
1
Rear Panel
2
Dual-Band De-Esser | Control Elements
3
Dual-Band De-Esser | Introduction
Download this manual
Manual
Analog Elemental Series
Models 1211, 1212, 1214, 1219, 1223, 1224, 1229, 1233, 1234, 1239, 1254, 1293, 1294
Twin Module Series featuring the modules
Premium Mic Pre, Preference Mic Pre, Dual-Band De-Esser, DynaMaxx, Transient Designer und TwinTube
Table of
Contents
Previous
Page
Next
Page
1
2
3
4
5
Advertisement
Table of Contents
Need help?
Do you have a question about the 1211 and is the answer not in the manual?
Ask a question
Questions and answers
Related Manuals for SPL 1211
Computer Hardware SPL TwinTube User Manual
Analog code plug-in (12 pages)
Recording Equipment SPL 1219 User Manual
Analog elemental series twin module series (52 pages)
Recording Equipment SPL Madison 1260 Manual
(24 pages)
Recording Equipment SPL DynaMaxx User Manual
Analog elemental series twin module series (52 pages)
Recording Equipment SPL Dual-Band De-Esser User Manual
Analog elemental series twin module series (52 pages)
Recording Equipment SPL Transient Designer User Manual
Analog elemental series twin module series (52 pages)
Recording Equipment SPL Phonitor 2730 User Manual
(32 pages)
Recording Equipment SPL Crimson 3 Quick Start
(2 pages)
Recording Equipment SPL Crossover User Manual
Active analog 2-way crossover (11 pages)
Recording Equipment SPL Stereo Vitalizer Jack 9530 User Manual
(14 pages)
Recording Equipment SPL Vitalizer MK2-T Manual
Sound optimizing processor (18 pages)
Recording Equipment SPL Vitalizer MK2-T Manual
Sound optimizing processor analog code plug-in (18 pages)
Recording Equipment SPL MMC1 User Manual
Multichannel mastering console (34 pages)
Recording Equipment SPL Madicon Quick Start Manual
Madi to usb interface (11 pages)
Recording Equipment SPL 2380 Manual
Surround monitor controller (12 pages)
Recording Equipment SPL Marc One Manual
Monitoring and recording controller (16 pages)
This manual is also suitable for:
1212
1214
1219
1224
1223
1229
...
Show all
1234
1233
1239
1254
1293
1294
Premium mic pre
Preference mic pre
Dual-band de-esser
Dynamaxx
Transient designer
Twintube
Table of Contents
Print
Rename the bookmark
Delete bookmark?
Delete from my manuals?
Login
Sign In
OR
Sign in with Facebook
Sign in with Google
Upload manual
Upload from disk
Upload from URL


Need help?
Do you have a question about the 1211 and is the answer not in the manual?
Questions and answers