Advertisement
Quick Links
Download this manual
See also:
Installation Manual
Assembly and Disassembly Instructions
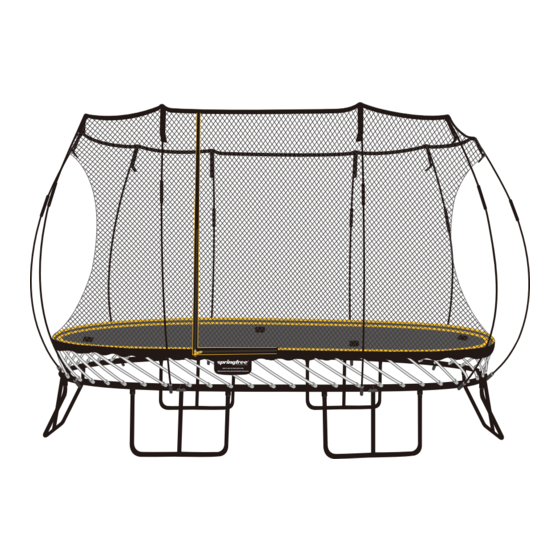
MAT
DIAMETER
7.8 x 13.3 (2.4 m x 4 m)
for Trampoline and Enclosure
MINIMUM NET HEIGHT
FROM MAT
6 (1.8 m)
The information in this document is subject to change without notice.
© Copyright Springfree® Trampoline Inc. 2005, 2017. All rights reserved.
T H E S M A R T T R A M P O L I N E
MAT HEIGHT FROM
GROUND
3 (0.9 m)
TM
MAXIMUM USER
WEIGHT
220 lbs (100 kg)
736804
Advertisement

Related Manuals for Springfree O92


Summary of Contents for Springfree O92
- Page 1 7.8 x 13.3 (2.4 m x 4 m) 6 (1.8 m) 3 (0.9 m) 220 lbs (100 kg) The information in this document is subject to change without notice. © Copyright Springfree® Trampoline Inc. 2005, 2017. All rights reserved. 736804...
- Page 2 WARNING Read the warnings on this page and those contained in the User Guide before you assemble and use the trampoline and enclosure. Treat any loaded rod with caution No more than one person at a time. until you are sure it is properly Multiple jumpers increase the chances installed or uninstalled.
- Page 3 Do not attempt to use the trampoline until it is Only use approved Springfree® Trampoline completely assembled. accessories, and install in accordance to installa- Be aware that when loaded, the rods can spring back tion instructions.
- Page 4 Part Quantity Part Quantity 10 + 2 Black Net Rods + Horizontal Rods Spare Small Bolt & Nut White Mat Rods Spare C-clips Lay out the parts as shown. SCAN HERE or visit http://springfr.ee/g4-install-ov for a helpful installation overview video.
- Page 5 Lay out the remaining parts as shown. The colored stickers all face upwards. If you are missing any parts please contact Springfree Trampoline directly. SCAN HERE or visit http://springfr.ee/g4-step-2 for a helpful installation video for Step 2.
- Page 6 TIP - Fastening the final two frame sections o en requires additional e ort. Two people are required for assembly. TIP - When installing the legs, it is easiest when one person to holds the frame up and horizontal while the other person inserts the legs into the leg sockets. Connect and fasten frame sections using the large nuts and bolts.
- Page 7 Lay out the mat with the yellow stripes facing upwards inside the trampoline frame. The blue tags on the mat should approximately align with the blue stickers on the frame. Before moving to the next step, ensure that the mat rod holders are correctly positioned with the mat rod holder tag outside the mat rod holder pocket, as per the insert.
- Page 8 NOTE - As you install the white mat rods into the mat rod sockets the net will become tight against the frame. Handle the net with care and be sure that it does not get caught or it may tear. Locate the green tag on the bottom edge of the net and match it with any green sticker on your trampoline frame.
- Page 9 TOP VIEW WARNING - Treat any loaded rod with caution until you are sure it is properly installed or uninstalled. Keep your face well away from any loaded rod. WARNING - Both people must maintain a steady grip on the rod until it is securely installed in the mat rod holder.
- Page 10 Have one person Inside Person: position themselves Ensure that the mat inside the frame of rod holder is correct- the trampoline ly positioned with while the other the small tag stands outside as positioned outside shown. the mat rod holder pocket.
- Page 11 Outside Inside Person: Person: Rocking As the outside from your heels to person pushes, the balls of your carefully pull the feet, use your rod in and up in the body weight to direction of the mat push the white rod holder.
- Page 12 TOP VIEW WARNING - Treat any loaded rod with caution until you are sure it is properly installed or uninstalled. Keep your face well away from any loaded rod. NOTE - Follow the mat rod installation sequence. Do not install multiple mat rods in one location.
- Page 13 WARNING - Do not use the trampoline until it is completely assembled. Failure to follow these instructions may cause rods to break or eject from the trampoline frame. NOTE - Check that the net is not caught on the trampoline frame or the bolts – if the net catches, it may tear.
- Page 14 WARNING - Treat any loaded rod with caution until you are sure it is properly installed or uninstalled. Keep your face well away from any loaded rod. Locate the yellow tags along the top edge of the net. Select one of the horizontal net rods and slide it into the pocket at the yellow tag.
- Page 15 WARNING - Never attempt to remove a black net rod from its net rod pocket or disengage (unlock) the rod sleeve while the black net rod is under tension. To install the net, raise the black net rods and carefully flex the bottom of the rods into the corresponding net rod socket on the trampoline frame.
- Page 16 Disassembly WARNING - Never remove a black net rod from its net rod pocket or disengage (unlock) the rod sleeve while the black net rod is under tension. First, remove the net rod from the net rod socket on the frame. Always ensure a solid grip when handling and do not stand directly in front of the rods. Outside Person: Remove the white c-clips located on the net rod sockets.
- Page 17 Outside Person: Outside Person: Stand with one leg Hold the white mat rod with your palm forward and bend facing up and bend your knees. Push your elbow into your arm at a right your hip. angle. Inside Person: Inside and Outside Person: Take hold of the rod with both hands.
- Page 18 Outside Person: Inside Person: Push forward, Once the ball comes rocking from your to the back edge of the mat rod holder, heels to the balls of your feet, using the pull the white mat weight of your body rod down and out. Sometimes a to push the white mat rod over the...
- Page 19 TOP VIEW TOP VIEW WARNING - Treat any loaded rod with caution until you are sure it is properly installed or uninstalled. Keep your face well away from any loaded rod. NOTE - Following the sequence shown spreads the tension evenly across the mat. If you do not follow this sequence, it will be very di icult to remove the mat.
- Page 20 Alternatively, follow the instructions in your tgoma manual. Springfree is the world’s first and only Smart Trampoline. The four black sensor top plates on your mat mean that your trampoline is digitally enabled to create an interactive Smart Play experience when you purchase the tgoma game system.
Need help?
Do you have a question about the O92 and is the answer not in the manual?
Questions and answers