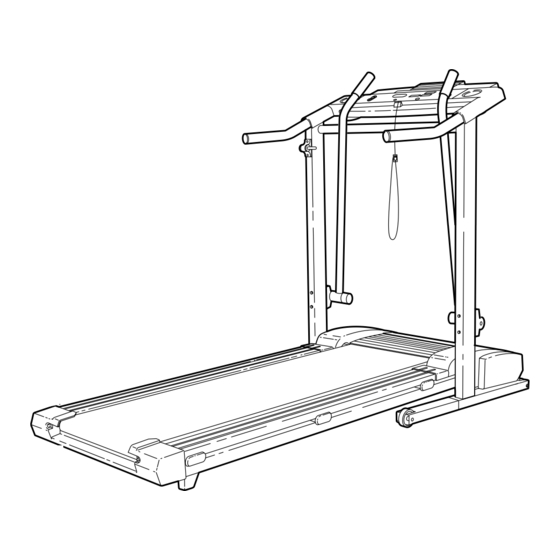
Table of Contents
Advertisement
Model No. 831.299621
Serial No.
Write the serial number in the space
above for future reference.
SEARS, ROEBUCK AND CO.
HOFFMAN ESTATES, IL 60179
CAUTION
Read all precautions and instruc-
tions in this manual before using
this equipment. Save this manual
for future reference.
Serial
Number
Decal
USER'S MANUAL
Visit our website at
www.proform.com
new products, prizes,
fitness tips, and much more!
Advertisement
Table of Contents

Summary of Contents for ProForm CrossWalk 590 LS
- Page 1 SEARS, ROEBUCK AND CO. HOFFMAN ESTATES, IL 60179 CAUTION Read all precautions and instruc- tions in this manual before using this equipment. Save this manual for future reference. USER'S MANUAL Visit our website at www.proform.com new products, prizes, fitness tips, and much more!
-
Page 2: Table Of Contents
HOW TO FOLD AND MOVE THE TREADMILL ........ - Page 3 SAVE THESE INSTRUCTIONS The decals shown below have been placed on your treadmill. If a decal is missing, or if it is not legible, please call our toll-free HELPLINE to order a free replacement decal (see the front cover of this manual).
-
Page 4: Before You Begin
And when you’re not exercising, the unique 590 LS can be folded up, requiring less than half the floor space of other treadmills. -
Page 5: Assembly
This is a normal condition and does not affect treadmill performance. If there is lubricant on top of the walking belt, simply wipe off the lubricant with a soft cloth and a mild, non-abrasive cleaner. - Page 6 Tighten the Lock Knob (105) onto the Lock Pin (11). 6. Make sure that all parts are tightened before you use the treadmill. Keep the included allen wrench in a secure place. The allen wrench is used to adjust the walking belt (see page 13). To protect the floor, place a...
-
Page 7: Operation And Adjustment
OPERATION AND ADJUSTMENT THE PERFORMANT LUBE WALKING BELT Your treadmill features a walking belt coated with PERFORMANT LUBE , a high-performance lubricant. IMPORTANT: Never apply silicone spray or other substances to the walking belt or the walking plat- form. Such substances will deteriorate the walking belt and cause excessive wear. -
Page 8: Console Diagram
• Do not stand on the walking belt when turn- ing on the power. • Always wear the clip (see the drawing above) while using the treadmill. When the key is removed from the console, the walk- ing belt will stop. - Page 9 (see page 13). Adjust the incline of the treadmill as desired. To change the incline of the treadmill, press the top or bottom of the incline control until the de- sired incline level is reached.
-
Page 10: How To Fold And Move The Treadmill
2. Move your right hand to the position shown and hold the treadmill firmly. Hold the lock knob with your left hand and pull it to the left. Raise the treadmill until the lock knob is aligned with the slot in the catch. (Note: You may need to push the handrail to the left slightly). -
Page 11: How To Move The Treadmill
1. Hold the handrails as shown and place one foot against a wheel. 2. Tilt the treadmill back until it rolls freely on the front wheels. Carefully move the treadmill to the desired location. Never move the treadmill without tipping it back. To reduce the risk of injury, use extreme caution while moving the treadmill. -
Page 12: Trouble-Shooting
PROBLEM: The power turns off during use SOLUTION: a. Check the circuit breaker located on the treadmill frame near the power cord (see c. above). If the circuit breaker has tripped, wait for five minutes and then press the switch back in. - Page 13 PROBLEM: The incline system does not function properly SOLUTION: a. Make sure that the two wires under the console are fully plugged in (refer to assembly step 4 on page 6). WARNING: Do not disconnect or connect the wires while the treadmill power cord is plugged in.
-
Page 14: Conditioning Guidelines
For maximum fat burning, adjust the speed and incline of the treadmill until your heart rate is near the middle number in your training zone. Aerobic Exercise If your goal is to strengthen your cardiovascular sys- tem, your exercise must be “aerobic.”... - Page 15 PART LIST—Model No. 831.299621 To locate the parts listed below, refer to the EXPLODED DRAWING attached in the center of this manual. No. Qty. Description Motor Belt Pulley/Flywheel/Fan Motor Nut Motor/Pulley/ Flywheel/ Fan Incline Motor Bolt Incline Motor Spacer Incline Motor Stop Bracket Speed Control Incline Control...
- Page 16 EXPLODED DRAWING—Model No. 831.299621 R0202A...
- Page 17 EXPLODED DRAWING—Model No. 831.299621 R0202A...
-
Page 18: Replacement Parts
Part No. 181429 R0202A The model number and serial number of your PROFORM CROSS- WALK 590 LS treadmill are listed on a decal attached to the frame. ® See the front cover of this manual to find the location of the decal.


Need help?
Do you have a question about the CrossWalk 590 LS and is the answer not in the manual?
Questions and answers