
Summary of Contents for NewAir MINIDRYER36W
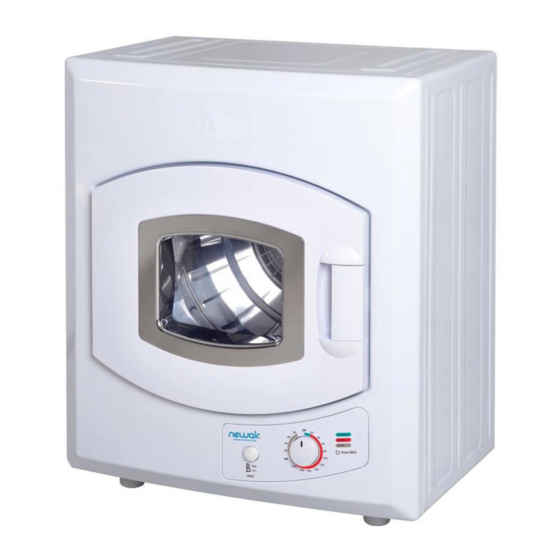
- Page 1 MINIDRYER36W Portable Dryer 3.6 Cubic Feet OWNERS MANUAL Read and save these instructions.
- Page 2 Count on NewAir. As a proud NewAir owner, welcome to our family. There are no robots here, real people shipped your product and real people are here to help you.
- Page 3 Cleaning of the Air Intake Filter ................15 Cleaning the Interior & Exterior of the Dryer ............15 Troubleshooting ......................16 Limited Manufacturer’s Warranty .................. 17 PRODUCT SPECIFICATIONS Model No.: MiniDryer36W Drying Capacity: 13.2Lbs Power Source: 120V AC 60Hz Rated Input:...
-
Page 4: Important Safeguards
Consult the manufacturer as soon as possible. Do not attempt to repair, disassemble, or modify this appliance. The warranty becomes void if not serviced or repaired by a qualified person. http://www.NewAir.com... - Page 5 Do not reach into the appliance if the drum is moving. Do not place items that have been soiled with flammable liquids inside the dryer without washing them with detergent thoroughly before hand. Do not excessively bend, stretch, twist, or bind the power cord, or place heavy objects on it.
- Page 6 Improper connection of the equipment grounding conductor can result in a risk of electric shock. Check with a qualified electrician or service representative or personnel if you are in doubt as to whether the appliance is properly grounded. http://www.NewAir.com...
-
Page 7: Parts Lists
Do not modify the plug provided with the appliance. If it will not fit the outlet, have a proper outlet installed by a qualified electrician. Do not place the dryer on carpet, as this will block the intake. It must be placed on firm horizontal ground. -
Page 8: Installation Instructions
This dryer is not suitable to be directly placed on top of a washing machine. A minimum of 2 inches is needed between the top of the dryer and the ceiling for ease of installation. If mounting above a washing machine, allow sufficient room to open the lid of the washer. http://www.NewAir.com... - Page 9 2. Fix the wall hanging brackets (two supplied) to the wall securely (i.e., into the stud.) Fit a timer slat between the studs to mount the brackets onto if the stud position is too wide. 3. To install the hanging hook to timber, start at Fig.
-
Page 10: Operating Your Dryer
It is recommended that items are placed into the dryer one at a time. This ensures they are not tangled, which results in uneven drying. When closing the dryer door prior to starting the unit, ensure that items are not jammed in the door. http://www.NewAir.com... -
Page 11: Tips Before Drying
TIPS BEFORE DRYING Prior to loading the dryer, check that the items do not have the following symbols anywhere on them. If they do, do not tumble dry these items. Check that the items that are going to be dried do not have combustible materials or foreign objects within them (i.e., lighters, hair pins, coins.) -
Page 12: Control Panel Functions
It is not recommended to dry underwire bras in this unit. Ensure that foreign objects do not find their way into the dryer. All pockets should be emptied, buttons, buckles, and zips fastened. This will also help reduce impact noise when the items hit http://www.NewAir.com... - Page 13 against the turning drum. Do not add items into the dryer while it is in operation. If drying large items, such as a blanket, it is recommended that from time to time, you open the dryer door, shake the items, place the item back in the dryer and close the door.
-
Page 14: Maintenance
1. Removing the filters. The filter is in three parts: exhaust vent shroud, lint filter, and exhaust filter (as shown in Fig. 1.) Remove by pulling outwards with fingers, by inserting into the four holes around the exhaust vent shroud. http://www.NewAir.com... -
Page 15: Cleaning Of The Air Intake Filter
2. Cleaning the filter. Separate the “exhaust vent shroud,” the “lint filter,” and the “exhaust filter.” Clean the lint on the lint filter and exhaust filter with a soft brush or vacuum cleaner. Do not damage the filters (as shown in Fig. 2.) 3. -
Page 16: Troubleshooting
Power failure Try again when there is power The power cord is not Insert the power cord firmly inserted firmly The door is not closed Close the door The timer is set to the OFF Set the dry time position http://www.NewAir.com... -
Page 17: Limited Manufacturer's Warranty
When making a warranty claim, please have the original bill of purchase with purchase date available. Once confirmed that your appliance is eligible for warranty service, all repairs will be performed by a NewAir™ authorized repair facility. The purchaser will be responsible for any removal or transportation costs. Replacement parts and/or units will be new, re-manufactured or refurbished and is subject to the manufacturer’s discretion.
Need help?
Do you have a question about the MINIDRYER36W and is the answer not in the manual?
Questions and answers
Where can I purchase a new door handle for my dryer. Bought at a garage sale, new but handle was missing.
Where can I buy a replacement fan blower belt? I cannot find this part. Anywhere in store in my belt snapped. NewAir Minidryer36w