Sign In
Upload
Download
Table of Contents
Contents
Add to my manuals
Delete from my manuals
Share
URL of this page:
HTML Link:
Bookmark this page
Add
Manual will be automatically added to "My Manuals"
Print this page
×
Bookmark added
×
Added to my manuals
Manuals
Brands
FAMC Manuals
Recording Equipment
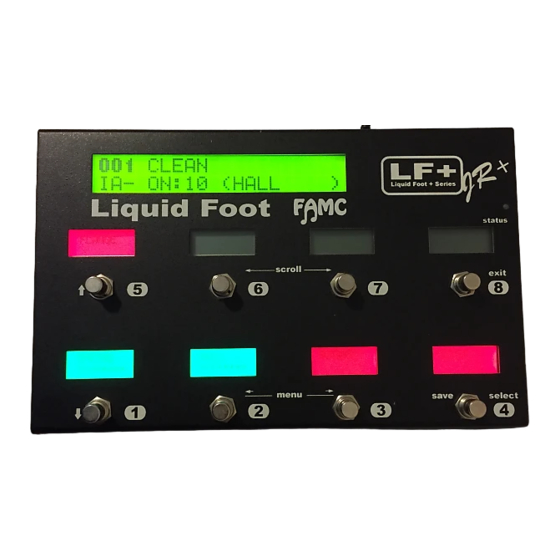
Mini
User manual
FAMC Mini User Manual
Liquid foot+ series
Hide thumbs
1
2
3
4
5
6
7
8
9
10
11
12
13
14
15
16
17
18
19
20
21
22
23
24
25
26
27
28
29
30
31
32
33
34
35
36
37
38
39
40
41
42
43
44
45
46
47
48
49
50
51
52
53
54
55
56
57
58
59
60
61
62
63
64
65
66
67
68
69
70
71
72
73
74
75
76
77
78
79
80
81
82
83
84
85
86
87
88
89
90
91
92
93
94
95
96
97
98
Table Of Contents
99
page
of
99
Go
/
99
Contents
Table of Contents
Bookmarks
Table of Contents
Welcome
Summary of Recommendations
Feature Summary
Operating Guidelines
Expansion Jack a & B
Care and Cleaning
The Basics of MIDI
MIDI Channels
Command: CONTINOUS CONTROLLERS (CC)
Special Commands During Power up
The Basics of Setting up and Programming the LF
The User Interface
Other Button Descriptions
The MENU User Interface
The Main Menu Order
Editing Names
The Structure of Programming Commands
Command Types
MIDI Commands
Programming Examples
Selecting Colors
Tips and Tricks
Preset Parameters
Song Parameters
IA-Slot Parameters
Global Settings Parameters
MODE Menu
Preset
Song
Set List
Preset Menu
Editing the Preset
Song Menu
Editing the Song
Set-List Menu
Editing the Set-List
Pages Menu
Selecting a
Copy/Paste
Defining Button Functions
Function Types
Example Definitions
Sample Page Layouts
IA Slot Menu
Copy/Paste
Global Menu
Sync Mode
MIDI Channel
Expression Pedal Programming
Utility Menu
External Auto Load
Memory Backup / Snapshots
Sysex Menu
Copy/Paste
MIDI Implementation
Advertisement
Quick Links
1
Feature Summary
2
Expansion Jack a & B
3
The Basics of Setting up and Programming the Lf
Download this manual
Table of Contents
Table of
Contents
Previous
Page
Next
Page
1
2
3
4
5
Advertisement
Table of Contents
Need help?
Do you have a question about the Mini and is the answer not in the manual?
Ask a question
Questions and answers
Related Manuals for FAMC Mini
Recording Equipment FAMC Liquid Tracks User Manual
Liquid tracks (58 pages)
This manual is also suitable for:
Jr+
Pro+
12
Table of Contents
Print
Rename the bookmark
Delete bookmark?
Delete from my manuals?
Login
Sign In
OR
Sign in with Facebook
Sign in with Google
Upload manual
Upload from disk
Upload from URL


Need help?
Do you have a question about the Mini and is the answer not in the manual?
Questions and answers