Table of Contents
Advertisement
Quick Links
Advertisement
Table of Contents

Related Manuals for Dataton Watchpax 4


Summary of Contents for Dataton Watchpax 4
- Page 2 Dataton assumes no responsibility for any 2. INSTALLATION AND OPERATION inaccuracies or errors in this manual or the BEFORE USING YOUR WATCHPAX 4 products described. In no event will Dataton be Safety First liable for direct, indirect, special, incidental, or consequential damages resulting from any...
-
Page 3: Introduction
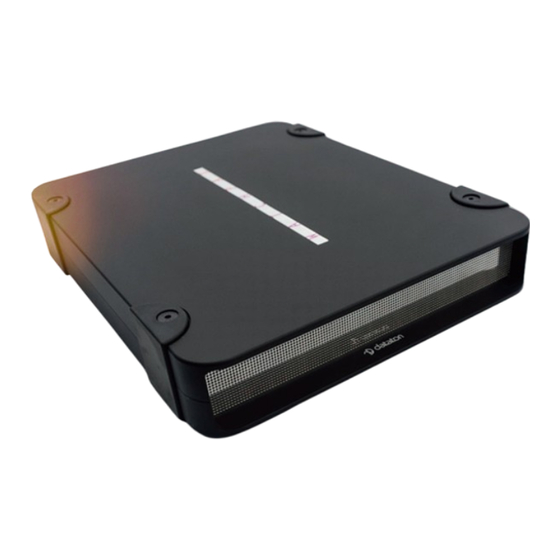
WAtcHMAX or WAtcHPAX 2. WAtcHPAX 4 is compact, sturdy and stackable. Each unit weighs just under 3 kg, making it easy to transport. other practical details include a strap handle, rubber bumpers and Kensington security slot. -
Page 4: System Overview
(WAtcHPAX, WAtcHPAX 4 or WAtcHMAX) the only additional license key required is for your production computer. If you are not using a dataton WAtcHPAX 2, WAtcHPAX 4 or WAtcHMAX you would need a WAtcHout license key for each display computer. -
Page 5: Technical Specification
Power connector Display outputs USB3 ports CONNECTORS the picture above shows the rear panel of the WAtcHPAX 4 unit. Power connector IEc c14 power inlet Input voltage 85 to 264 VAc, 50 to 60 Hz Power consumption max 250 W (internal 3.14 A fuse) -
Page 6: Disposal
DISPOSAL only for European union and EEA (norway, Iceland and Liechtenstein) this symbol indicates that this product is not to be disposed of with your household waste, according to the WEEE directive (2012/19/Eu), the Battery directive (2006/66/Ec) and/or national legislation implementing those directives. If a chemical symbol is printed beneath the symbol shown above, in accordance with the Battery directive, this indicates that a heavy metal (Hg = Mercury, cd = cadmium, Pb = Lead) is present in this battery or accumulator at a concentration above an applicable threshold specified in the Battery... -
Page 7: Installation And Operation
This product must be grounded. Ensure you connect the power plug to a grounded power socket. • to reduce risk of electrical shock, do not remove cover. refer all servicing to dataton. the unit shall be connected to a grounded outlet. -
Page 8: Fcc Notice
VENTILATION IMportant: airflow is critical for the correct operation of WatCHpaX 4. there are four built-in fans which maintain airflow and cooling during operation. air flows from the front of the unit to the rear. Keep therefore both front and rear panels clear of obstruction at all times. In an installation, there should be a minimum of 200 mm clear space at front and 200 mm at back of the unit. -
Page 9: Installation
OPERATION POWER ON there is no on/off switch on a WatCHpaX 4. the unit is turned on by inserting the power cord. note: the first time you power up the unit, WatCHpaX 4 will initiate an installation routine which typically takes about five minutes to complete. -
Page 10: Getting Started
• Connect the network to the WatCHpaX 4 using the ethernet port. • Insert the power cord to turn on the WatCHpaX 4. (Unit shall be connected to a grounded outlet.) • start WatCHoUt software on the production computer which is on the same network. Make sure you are using version 6.1.3 or higher. -
Page 11: Set Native Resolution
WatCHoUt usually manages the cached data associated with the current (open) show automatically. this ensures that the files stored on your WatCHpaX 4 reflect the latest version of the show. occasionally, for example if the files on the WatCHpaX 4 have been corrupted in some way, you may want to force the show cache to rebuild.
Need help?
Do you have a question about the Watchpax 4 and is the answer not in the manual?
Questions and answers