Table of Contents
Advertisement
Introduction
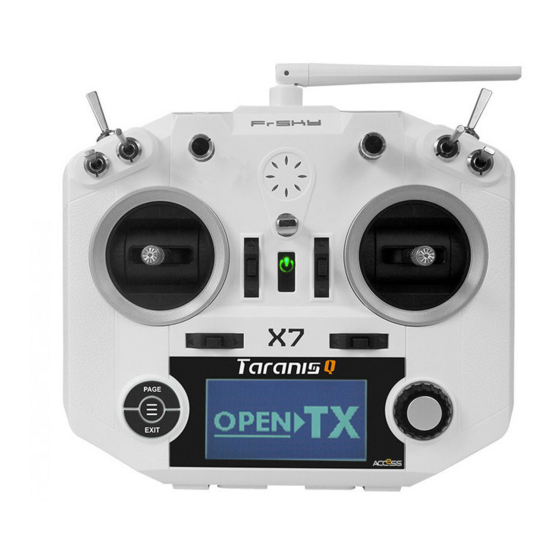
Thank you for purchasing the FrSky 2.4GHz ACCST TARANIS Q X7 digital telemetry radio system. In order to make the best
use of your system and to fly safely, please read this manual carefully. If you have any difficulties while using your system,
please consult the manual, your hobby dealer, or FrSky technical support.
Due to unforeseen changes in production, the information contained in this manual is subject to change without notice.
Meanings of Special Markings
Pay special attention to safety where indicated by the following marks:
△ ! DANGER - Procedures which may lead to dangerous conditions and cause death/serious injury if not carried out properly.
△ ! WARNING - Procedures which may lead to a dangerous condition or cause death or serious injury to the user if not
carried out properly or procedures where the probability of superficial injury or physical damage is high.
△ ! CAUTION - Procedures where the possibility of serious injury to the user is small, but there is a danger of injury, or
physical damage, if not carried out properly.
= Prohibited
= Mandatory
△ ! Warning: Always keep electrical components away from small children.
Website:
FrSky 2.4GHz ACCST Taranis Q X7 Manual
FrSky Electronic Co., Ltd.
www.frsky-rc.com
E-mail:
frsky@frsky-rc.com
www.frsky-rc.com
Overview
(Switch Default Settings)
SA: 3 positions; Short Lever
●
SB: 3 positions; Long Lever
●
SC: 3 positions; Long Lever
●
SD: 3 positions; Short Lever
●
SF: 2 positions; Short Lever
●
SH: 2 positions; Momentary; Long lever
●
You can choose the Switch and define its
positions in the Mixer menu.
Technical Support:
sales4tech@gmail.com
Advertisement
Table of Contents

Summary of Contents for FrSky TARANIS Q X7
- Page 1 Introduction Thank you for purchasing the FrSky 2.4GHz ACCST TARANIS Q X7 digital telemetry radio system. In order to make the best use of your system and to fly safely, please read this manual carefully. If you have any difficulties while using your system, please consult the manual, your hobby dealer, or FrSky technical support.
- Page 2 Operating Temperature: -10~45℃ Backlight LCD Screen: 128*64 outdoor readable LCD Model Memories: 60 (extendable by SD card) Compatibility: FrSky X series, D series and V8-II series receivers (plus other receivers if an external module is used) Features ● Quad Ball Bearing Gimbals ●...
- Page 3 The range of the receiver number is 00-63, with the default number being 01 (use 00 is not recommended). Once the receiver is set to the desired number and is bound to the Taranis Q X7, the bind procedure will not need to be repeated FrSky Electronic Co., Ltd.
- Page 4 Notice: The above instructions do not apply to D-series receivers, which require the internal RF module of Taranis Q X7 to be in D8 mode. For these receivers, failsafe must be set on the receiver side (see receiver instructions) ●...
-
Page 5: Fcc Statement
Greece, Ireland, Denmark, Luxembourg, Austria, Finland, Sweden, Norway and Iceland. France: the law permits the emission band 2400 to 2483.5 MHz with the limitation of transmission power of 100 mW (reduced to 10 mW between 2454 and 2483.5 MHz for outdoor flying). FrSky Electronic Co., Ltd. Website: www.frsky-rc.com E-mail: frsky@frsky-rc.com... - Page 6 EEPROM memory (which does not require periodic replacement) and of a battery, it still should have regular check-ups for wear and tear. We recommend sending your system to your FrSky Service Center annually during your non- flying-season for a complete check-up and service.
- Page 7 Secure Digital (SD) Memory Card Handling Instructions The MicroSD card (TF Card) (not provided with Taranis Q X7) can store various files, such as model data, music, sound files, pictures and text. The card is locked when it is pushed in all the way in. To remove the card, push in on the card again, it will pop out allowing you to remove it.


Need help?
Do you have a question about the TARANIS Q X7 and is the answer not in the manual?
Questions and answers