Advertisement
INSTALLATION INSTRUCTIONS
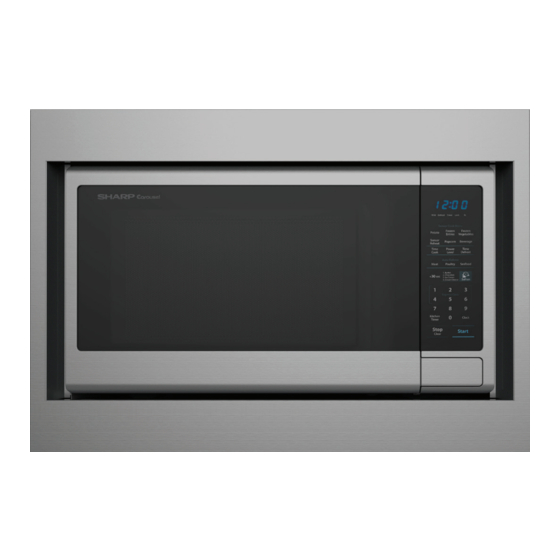
For Sharp Carousel
Models RK49S27 or RK49S30
S = STAINLESS
THIS KIT IS UL APPROVED TO ALLOW CERTAIN MICROWAVE
OVENS TO BE INSTALLED ABOVE ANY ELECTRIC WALL OVEN.
PLEASE SEE THE OPERATION MANUAL REGARDING APPROVED
BUILT-IN APPLICATIONS.
IMPORTANT:
This Built-in Kit is designed for and approved only for those
Sharp Microwave Ovens specifying Built-In Kit RK49S27 or
RK49S30. Refer to instruction manual for approved models.
PLEASE READ THESE INSTRUCTIONS THOROUGHLY
BEFORE BEGINNING INSTALLATION!
• Be sure to DISCONNECT THE PLUG of the microwave
oven from the electrical outlet before installing the Built-in
Kit. Remove the Carousel turntable from the oven cavity.
• Because the kit includes metal parts, due caution should
be used in handling and installation to avoid the possibil-
ity of injury.
ITEM
PART NAME
A
FRONT FRAME
RK49S27: FDECAB233MRK0
RK49S30: FDECAB235MRK0
B
BACK FRAME
RK49S27: FDECAB234MRK0
RK49S30: FDECAB236MRK0
C
EXHAUST DUCT ASSEMBLY
PDUC-B194MRP0
D
SCREW D: XTSS740P20000
E
SCREW E: XOPS740P16000
Built-in Kit
®
QTY
1
1
1
2
4
A
C
V-cut
indicates
center of
duct
D
1
B
C L
E
Advertisement
Table of Contents

Related Manuals for Sharp Carousel RK49S30


Summary of Contents for Sharp Carousel RK49S30
- Page 1 PLEASE SEE THE OPERATION MANUAL REGARDING APPROVED BUILT-IN APPLICATIONS. IMPORTANT: This Built-in Kit is designed for and approved only for those Sharp Microwave Ovens specifying Built-In Kit RK49S27 or RK49S30. Refer to instruction manual for approved models. PLEASE READ THESE INSTRUCTIONS THOROUGHLY BEFORE BEGINNING INSTALLATION! •...
- Page 2 STEP 1 CABINET OR WALL OPENING NOTES The opening in the wall or cabinet must be within the following dimensions: • Please allow minimum 3" wood gap between the microwave oven cutout and the appliance cutout below Cut Out RK49S27 RK49S30 the microwave oven.
- Page 3 STEP 2 EXHAUST DUCT ASSEMBLY INSTALLATION 1. Place the EXHAUST DUCT ASSEMBLY in the center of the opening. Align the front edge of the duct with the front of the cabinet. 2. Secure the EXHAUST DUCT ASSEMBLY with two SCREWS D. See Sketch 3. Screw D Screw D Exhaust duct...
- Page 4 (4) snap attachments. See Figure 7. For any other assistance or information about this kit, please call Sharp’s Customer Assistance Center at 1-800-BE-SHARP (1-800-237-4277) SHARP ELECTRONICS CORPORATION 100 Paragon Drive, Suite #100, Montvale, New Jersey 07645...
Need help?
Do you have a question about the Carousel RK49S30 and is the answer not in the manual?
Questions and answers