Table of Contents
Advertisement
Quick Links
the road to fun
Owner's Manual
for
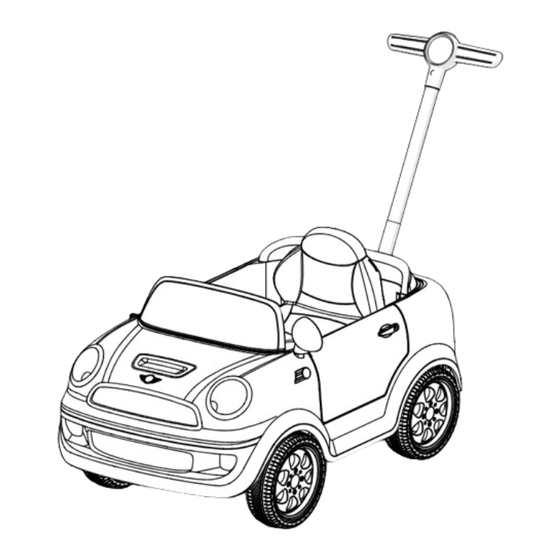
Mini-Cooper Push Car
This manual contains important safety, assembly,
operation, and maintenance information.
Please read and fully understand this
manual before operation.
AVIGO is a mark of Geoffrey, LLC,
a subsidiary of Toys"R"Us, Inc.
© 2008 Geoffrey, LLC
Save this manual for future reference.
Made in China
Distributed in the U.S. by
Toys"R"Us, Inc., Wayne, NJ 07470
apply Date Code
Distributed in Australia by Toys"R"Us
Label here
(Australia) Pty Ltd., Regents Park NSW 2143
www.toysrus.com
m0155
H-MC-Push EN 060215
Copyright Huffy Corporation 2015
Advertisement
Table of Contents

Related Manuals for Avigo Mini-Cooper


Summary of Contents for Avigo Mini-Cooper
- Page 1 This manual contains important safety, assembly, operation, and maintenance information. Please read and fully understand this manual before operation. AVIGO is a mark of Geoffrey, LLC, a subsidiary of Toys”R”Us, Inc. © 2008 Geoffrey, LLC Save this manual for future reference.
- Page 2 Owner’s Manual Index WARNINGS and User Requirements The user must follow all safety rules and guidelines below or serious injury Safety or death may occur to the user. Always use common sense and safe prac- • Tools Needed ..............2 tices when using the vehicle. •...
- Page 3 Nylon Washer Push Bar Metal Washer Item Description Vehicle Body Wheel (x 4) Rear Axle Sleeve (x 2) Nylon Axle Washer (x 8) Snap Pin (x 4) Wheel Cover (x 4) Steering Wheel Screw (steering wheel) - M5 x 22 Nut (steering wheel) - M5 Wind Shield Mirror, left...
- Page 5 Engine Horn Button Button Speed Pointer...
- Page 6 Assembly Instructions 1. Assemble the Front Wheels • Install a Nylon Washer (D) onto the front axle, then insert the Front Wheel (B), make sure that the hole for the Snap-pin (E) on the Wheel is towards the outside. • Install Metal Washer (Q), then lock the Snap-pin (E) into the hole in the Axle. •...
- Page 7 Limited Warranty Your purchase includes the following limited warranty, which is in lieu of all other express warranties. This warranty is extended to the initial purchas- er only. Warranty registration is not required. This warranty gives you specific legal rights: you may have other rights, which vary from state to state. The Vehicle and its component parts are under warranty to be free from faulty materials and workmanship from the date of the original purchase as follows: •...
- Page 8 WARNING: ALWAYS WEAR YOUR HELMET WHEN RIDING THIS PRODUCT! • Helmet should sit level on your head and low on your forehead • Adjust the strap sliders below the ear on both sides. • Buckle the chin strap. Adjust strap until it is snug. •...
Need help?
Do you have a question about the Mini-Cooper and is the answer not in the manual?
Questions and answers