Subscribe to Our Youtube Channel
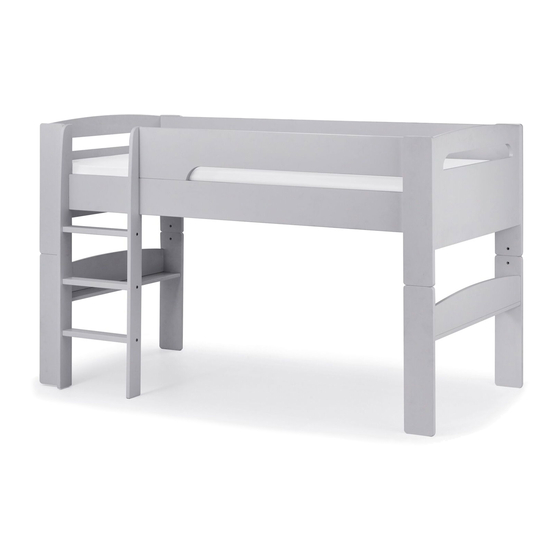
Summary of Contents for Julian Bowen Limited Pluto Midsleeper
- Page 1 IMPORTANT - READ CAREFULLY - RETAIN FOR FUTURE REFERENCE Julian Bowen Limited Pluto Midsleeper Assembly Instructions Version 170224...
- Page 2 Julian Bowen Limited (01623 727374)
- Page 3 HARDW ARE PARTS...
- Page 4 CERTIFICATION LABEL PLUTO MIDSLEEPER Product Code: PLU001 This bunk bed model has been tested Distributed by : Julian Bowen Limited by an independent laboratory and is in Bentenck House, compliance with BS EN 747‐1:2012 + Park Lane Business Park, A1:2015 ‐ Standard Consumer Safety Kirkby‐in‐Ashfield,...
- Page 5 Please take the time to carefully read through the whole of these instructions before you commence. Keep these instructions for future reference. Unpack, inspect and check off all of the contents. Please dispose of all packaging safely. Small component parts could choke a child if swallowed. We strongly recommend that you keep children well away from the work area.
- Page 6 OPTIONS STARTS ON PAGE 18...
- Page 7 3º 1º 2º 3º 1º 2º...
- Page 10 1º 2º 3º...
- Page 11 2º 1º 3º...
- Page 17 Attach the centre slat first by pushing the side rails together so that the slat is ush against the side rail, before inserting the screws. Next attach the remaining slats. Place the slats onto the side rail supports and distribute evenly by using the spacer provided.
- Page 18 This bed may not be dismantled for storage or transportation. Replacement parts can be obtained from Julian Bowen Limited where available and at additional cost. Recommended Mattress Size: 90cm x 190 cm (UK Single) with a depth of no more than 23 cm.
- Page 21 1º 2º 3º...
- Page 22 Attach the centre slat first by pushing the side rails together so that the slat is ush against the side rail, before inserting the screws. Next attach the remaining slats. Place the slats onto the side rail supports and distribute evenly by using the spacer provided.
-
Page 23: General Care
In the unlikely event that you have problems putting it together or have damaged or missing pieces, please contact our customer services on 01623 727374 Julian Bowen Limited Bentinck House, Park Lane Business Park, Kirkby-in-Ashfield, Notts, NG17 9LE www.julian-bowen.co.uk...


Need help?
Do you have a question about the Pluto Midsleeper and is the answer not in the manual?
Questions and answers