
Related Manuals for Flowzone FLZ36R


Summary of Contents for Flowzone FLZ36R
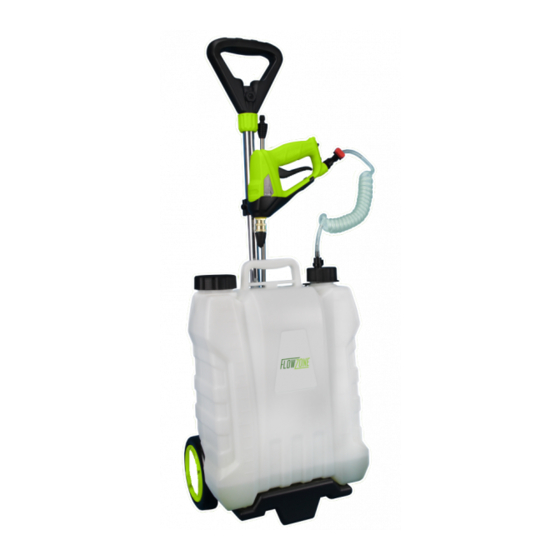
- Page 1 FLZ36R OPERATION GUIDE 4-GALLON ELECTRIC SPRAYER WITH BACKPACK & ROLLER Copyright © WESSOL LLC...
-
Page 2: Parts List
PARTS LIST 1. SPRAY GUN 6. BATTERY CHARGER 11. EXTENSION WAND 2. HOLSTER (ROLLER) 7. COILED HOSE 12. ROLLER HANDLE BAR 3. HOLSTER (BACKPACK) 8. SCREW, BOLTS & NUTS 13. ROLLER BASE 4. TANK (4 GAL) 9. TANK CAP / HOSE 5. - Page 3 • READ MANUAL BEFORE USE Thank you for your purchase • To reduce the risk of injury, the user must read and understand the of a FlowZone sprayer! operator’s manual before using this product. Battery must be fully charged before first use.
-
Page 4: Charging The Battery
The term "power tool" in recharge the sprayer. When the battery is dead, the sprayer will the warnings refers to your FlowZone Electric Sprayer. automatically switch off via a protective circuit to prevent the lithium-ion WORK AREA SAFETY battery from deep discharging. -
Page 5: Personal Safety
For more helpful information regarding the assembly or enables better control of the power tool in unexpected situations. operation of your FlowZone Electric Sprayer, please visit: f) Dress properly. Do not wear loose clothing or jewelry. Keep your hair, clothing and gloves away from moving parts. Loose clothes, jewelry or www.WESSOL.com/flowzone... -
Page 6: Introduction And Installation
INTRODUCTION & INSTALLATION HOW TO USE THE WATER TANK HOLSTER FOR SPRAY GUN & WAND Remove the lid of the inlet hole (shown below). Make sure filter net is Attach the spray gun backpack holster to the affixed on inlet hole. Pour up to 4 gallons of water, pesticide or liquid neck of the inlet hole for mobile storage of spray fertilizer and replace the lid. - Page 7 COILED HOSE TANK CAP / HOSE Attach the end with the on / off toggle to the spray gun and the end Attach tank cap and hose after adding a water, with spring clip only to the air valve on the tank. cap Press the spring pesticide or liquid fertilizer to the tank.
- Page 8 HOW TO USE THE SPRAY GUN This machine has 2 nozzles that can switch between 3 different modes: mist, fan or jet for various spraying situations. Twist the nozzle tip clockwise and counter-clockwise to adjust the spray range. nozzle HOW TO CHANGE THE NOZZLES ...
- Page 9 INSTALLATION INSTRUCTIONS FOR ROLLER 1. Begin by inserting the single hole end of the roller handle bar (12) into the roller base (13). 2. Secure handle bar to base with bolt and nut as pictured. 3. Slide the roller holster (2) onto the middle of the roller handle bar. 4.
-
Page 10: Maintenance
MAINTENANCE ATTENTION: keep the safety lock in the place when not in use to prevent from switching on unintentionally. Do not switch chemicals used in the garden sprayer without proper cleaning. Do not store liquids in the tank. Follow chemical manufacturer’s directions for storage and disposal. - Page 11 FlowZone Limited Warranty WESSOL LLC agrees to repair or replace under this warranty any defective product or part from the original date of purchase for one (1) year except for the conditions and circumstances listed below. Proof of purchase (original dated sales receipt) must accompany all warranty claims. THIS WARRANTY IS NOT TRANSFERABLE and does not cover products sold damaged or incomplete, sold “as is”, sold reconditioned, or used as rental equipment.
- Page 12 wessol.com/flowzone support@wessol.com +1 803-339-2500 © WESSOL LLC 1750 Highway 160 West, Suite #101 Box 114 Fort Mill, South Carolina 29708 Copyright © WESSOL LLC...
Need help?
Do you have a question about the FLZ36R and is the answer not in the manual?
Questions and answers