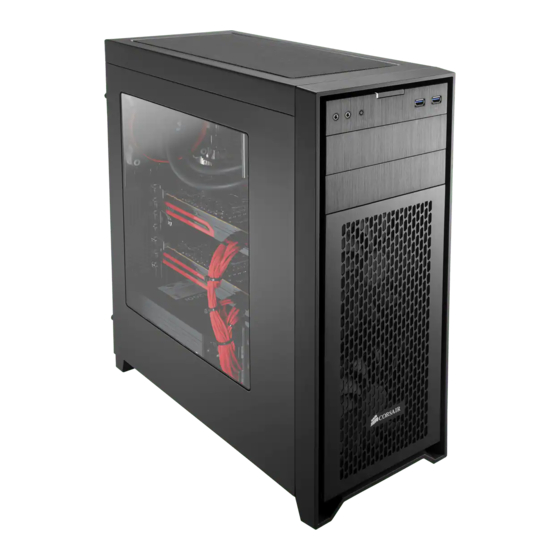
Summary of Contents for Corsair 450D
- Page 1 450D OBSIDIAN S E R I E S ® OBSIDIAN SERIES 450D MID-TOWER PC CASE ® INSTALLATION GUIDE...
- Page 2 Obsidian Series does everything you want it to do and looks good while doing it. The 450D is ideal for cooling your high performance components. The front panel is meshed and filtered right in front of our two high-airflow AF140L intake fans which...
- Page 3 OBSIDIAN SERIES 450D MID TOWER PC CASE OBSIDIAN SERIES 450D MID TOWER PC CASE ® ® (x2) USB 3.0, Headphone/Mic, Power/Reset ト (x2) 5.25 tool-free drive bays Front dual 140mm AFL140L intake fans Bottom PSU mount and dust filter Rear 120mm AF120L exhaust fan...
-
Page 4: Removing The Side Panels
(see your motherboard’s manual for guidance). > Align the motherboard with the stando s in the case. Note: Corsair recommends removing both side panels and setting > Secure with the included screws (MBD/HDD screws). them aside when building your system to avoid accidental damages. - Page 5 Installing the power supply (PSU) Installing the PCI-E/PCI cards > Remove thumbscrews and corresponding slot cover(s). > Seat the PSU on the bottom of the case. > Install the add-on card and secure with thumbscrews. > Align holes and secure the PSU with screws. Note: PSU can be installed in either fan up or fan down orientations.
- Page 6 Installing a 5.25" drive/devices (ODD) > Remove the front panel 5.25" drive bay cover. > Insert the ODD into the drive bay until the tool-free latch clicks, securing the drive. > To remove, push the tool-free tab to release the ODD drive and remove.
- Page 7 Installing a 3.5" HDD/ 2.5" SSD Installing a 2.5" SSD into tool-free SSD cage > Remove the tool-free 3.5" HDD tray. > Pull down the tab and place the SSD into > Insert the HDD into the HDD tray. the tool-free cage until you feel it secure. >...
- Page 8 Removing the front and bottom dust filters > To remove the front panel dust filter, first remove the solid front panel by pushing the top corners of the aluminum cover. > The front solid panel will pop out for access to the front dust filter. >...
-
Page 9: Installing The Front I/O Connectors
Attach case fan cables to motherboard headers Installing the front I/O connectors > See your motherboard’s manual for front panel header locations and pin-outs. > See your motherboard’s manual for fan header locations. USB 3.0 POWER SW HDD LED POWER LED – HD AUDIO RESET SW POWER LED +...


Need help?
Do you have a question about the 450D and is the answer not in the manual?
Questions and answers