Table of Contents
Advertisement
Quick Links
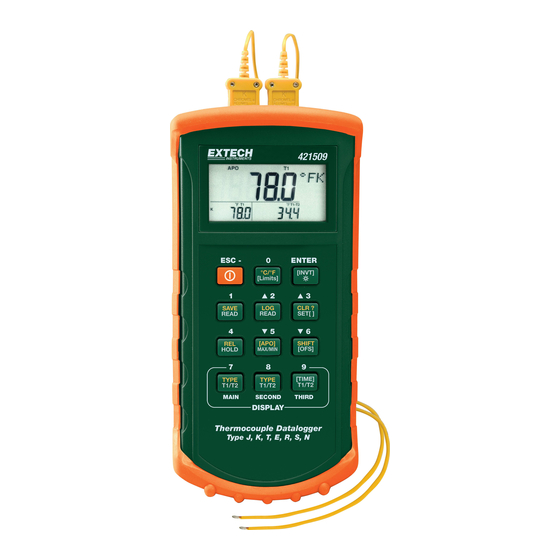
Dual Input, 3-Display Thermometer/Datalogger
Model 421509
Accepts J, K, T, E, R, S, & N thermocouples
Internal Memory stores up to 16 data sets,
with 1024 maximum data capacity
Backlit LCD Display
T1 / T2 / T1 – T2 displays
MIN / MAX / AVG Record/Recall
Selectable temperature units (C/F)
Data Hold, Relative Mode, Elapsed Timer
PC Interface
USER GUIDE
421509
APO
T1
¡F T1
¡F T1-T2
K
ESC -
0
ENTER
[INVT]
¡C/¡F
[Limits]
1
2
3
LOG
CLR ?
SAVE
READ
SET[ ]
READ
4
5
6
[APO]
SHIFT
REL
MAX/MIN
[OFS]
HOLD
7
8
9
[TIME]
TYPE
TYPE
T1/T2
T1/T2
T1-T2
SECOND
THIRD
MAIN
DISPLAY
Advertisement
Table of Contents

Related Manuals for Extech Instruments 421509


Summary of Contents for Extech Instruments 421509
- Page 1 USER GUIDE Dual Input, 3-Display Thermometer/Datalogger Model 421509 Accepts J, K, T, E, R, S, & N thermocouples Internal Memory stores up to 16 data sets, with 1024 maximum data capacity 421509 Backlit LCD Display T1 / T2 / T1 – T2 displays ¡F T1...
-
Page 2: Safety Information
¡C/¡F [INVT] Keypad Overlay [Limits] CLR ? SAVE SET[ ] READ READ Keypad SHIFT [APO] HOLD MAX/MIN [OFS] Protective rubber holster [TIME] TYPE TYPE T1/T2 T1/T2 T1-T2 THIRD MAIN SECOND Battery compartment on rear DISPLAY 12VDC Adaptor input 421509-en-GB_v2.6 8/16... -
Page 3: Operation
“#” sign is displayed. The location of the read pointer will be displayed. Use the arrow keys to scroll through the data. Press the overlay “ESC” button to deactivate the read log data function. 421509-en-GB_v2.6 8/16... - Page 4 Press this button to select system time, date, or the differential between the two thermocouples (T1- T2) for the third display (lower right display). When the meter is turned on, it is set to the display that was in use when the meter was last powered off. 421509-en-GB_v2.6 8/16...
-
Page 5: Shift Mode
Press the TYPE button to select the thermocouple type (K, J, T, E, R, S, or N) in the second display. If the inputs of the main and second display are the same, then pressing this button will change the thermocouple type for both displays. The selected type becomes the default selection. 421509-en-GB_v2.6 8/16... -
Page 6: Setup Mode
Pin 4 Pin 3 5 to 30V Pin 2 Pin 1 Pin 6 (-) Figure 1 Figure 2 Pin 1 (+) Pin 3 (+) Hi Limit Lo Limit Pin 2 (-) Pin 4 (-) Figure 3 Figure 4 421509-en-GB_v2.6 8/16... - Page 7 “OL, Err-03”, one of the following conditions has occurred:: 1. There is no data in the memory. 2. The memory is full, and the meter will warn the user this is the last sample. SAVE=128 samples LOG=1024 samples 421509-en-GB_v2.6 8/16...
-
Page 8: Battery Replacement
(graphing, sorting, filing, etc.). Connecting the Meter to a PC Connect the Optical Interface connector to the 421509 Thermometer. The “IR2” label should be facing up. Connect the USB connector to the PC (COM port 1 -16). -
Page 9: Specifications
F to 122 Supplied 4', type K (with teflon insulation) Max insulation temp: 500 F (260 Thermocouples Accuracy: ± 4 F (±2.2 C) or ± 0.75% of rdg (whichever is greater) from 32 to 1472 F (0 to 800 421509-en-GB_v2.6 8/16...
Need help?
Do you have a question about the 421509 and is the answer not in the manual?
Questions and answers