Table of Contents
Advertisement
Advertisement
Table of Contents

Summary of Contents for BCP SKY1733
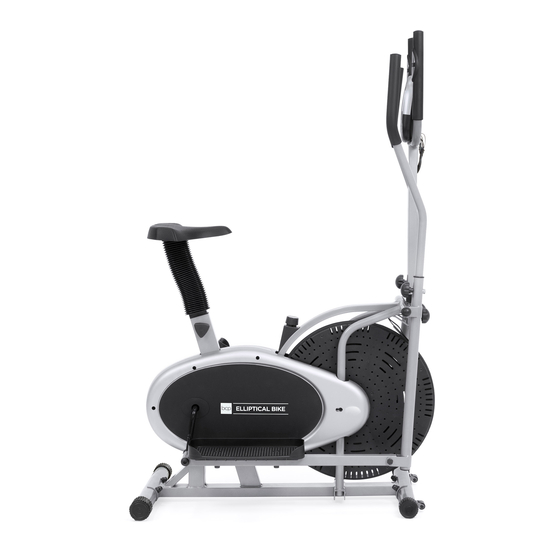
- Page 1 INSTRUCTION MANUAL Elliptical Bike SKY1733 Ver. 2...
- Page 2 TOOLS REQUIRED AA - 2 AA ALLEN DOUBLE MULTIFUNCTION TOOL 1 PERSON APPROXIMATELY BATTERIES WRENCH OPEN-END (WRENCH/ ASSEMBLY 45 MIN WRENCH (3, PROVIDED) SCREWDRIVER) ASSEMBLY HARDWARE φ15.6X88.8X1/2 φ15.6X88.8X1/2 M10X45 M10X57 4 PCS 1 PC 1 PC 1 PC 4 PCS 2 PCS 1 PC 2 PCS...
- Page 3 PRODUCT ASSEMBLY Please retain these instructions for future reference. Loosen the tension with the knob on the main frame. Install the part B front bottom tube and part C rear bottom tube with two part 2 nut, bolt, and washer sets on each side. NOTE: The front bottom tube has wheels to easily maneuver your elliptical.
- Page 4 Remove hardware from part 4 pedal hinge bolt (right) and insert it through part F right pedal tubing, replacing the hardware in the appropriate places as shown. Repeat this process on the left side with part 3 and part G. NOTE: The left pedal hinge bolt must be screwed counter-clockwise, and the right must be screwed Install part H and I pedals with four part 1 nut and...
- Page 5 Remove hardware from the part N seat and use the same hardware to attach the seat to the part O seat tube. Then, slide the part A bellow onto the seat tube and slide the assembled seat onto the main frame. Use a part 7 tri-knob to secure it in place.
- Page 6 FRONT VIEW AA - Insert (2) AA batteries into the part M monitor. Use the multifunction tool to remove the hardware from the monitor. Use the same hardware to attach the monitor to the middle handle bar. Join the appropriate wires from the monitor to the corresponding wires on the middle handle bar.
- Page 7 DISPLAY MONITOR RESET MODE FUNCTIONAL BUTTONS • MODE: Press this button to select a function to display. • SET: Press and hold this button to set a distance, pulse, calorie, or workout duration goal. Note: You cannot set a goal if you are in scan mode. •...
- Page 8 NOTICE • Please read these assembly instructions carefully before installing. • Firmly secure all screws before use. • Product is intended for indoor use only. • If any parts are missing, broken, damaged, or worn, stop using this item until repairs are made and/or factory replacement parts are installed.


Need help?
Do you have a question about the SKY1733 and is the answer not in the manual?
Questions and answers