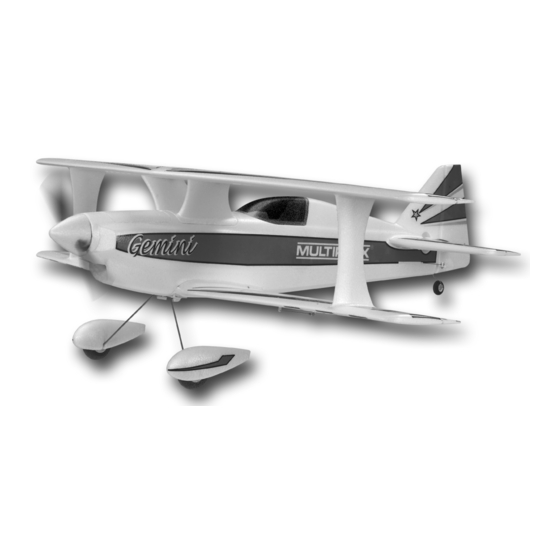
Summary of Contents for Multiplex 21 4224
-
Page 1: Building Instructions
Building instructions # 21 4224 © Copyright by MULTIPLEX 2007 ver. 1.0 engl. -
Page 2: Safety Notes
Safety notes Before every flight check that the motor and propeller are in place and secure - especially after transporting the model, and after hard landings and crashes. Check also that the wing is correctly located and firmly secured on the fuselage before each flight. -
Page 3: Additional Items Required
Examine your kit carefully! MULTIPLEX model kits are subject to constant quality checks throughout the production process, and we sincerely hope that you are completely satisfied with the contents of your kit. However, we would ask you to check all the parts (referring to the Parts List) before you start construction, as we cannot exchange components which you have already worked on. - Page 4 Important note This model is not made of styrofoam™, and it is not possible to glue the material using white glue or epoxy. Please be sure to use cyano-acrylate glue exclusively, preferably in conjunction with cyano activator (”kicker”). We recommend medium or high-viscosity (thick) cyano.
- Page 5 1.5 mm deep above the horn to accept the tailwheel wire. 20. Joining and completing the top and bottom wings The wing struts can now be glued to the bottom wing. Rotate the tailwheel wire 68 over the horn 36, align the tailwheel Fig.
- Page 6 ”down” to hold level flight, the model is nose-heavy; the CG must be shifted further aft. If the We - the MULTIPLEX team - wish you many hours of pleasure in machine climbs whilst inverted, without requiring elevator building and flying your new model.
- Page 7 Parts List - Gemini KIT Part Description Material Dimensions KIT building instructions Paper, 80 g / m² Decal sheet Printed self-adhesive film 700 x 1000 mm L.H. fuselage shell Moulded Elapor foam Ready made R.H. fuselage shell Moulded Elapor foam Ready made Front fuselage hatch Moulded Elapor foam...
- Page 9 Abb. 01 3 x 20 3 x 21 1 2 3 4 5 6 7 8 9 0 1 2 3 4 5 6 7 8 9 0 1 Inbus 1,5 mm 1 2 3 4 5 6 7 8 9 0 1 2 3 4 5 6 7 8 1 2 3 4 5 6 7 8 9 0 1 2 3 4 5 6 7 8 9 0 1 1 2 3 4 5 6 7 8 9 0 1 2 3 4 5 6 7 8 1 2 3 4 5 6 7 8 9 0 1 2 3 4 5 6 7 8 9 0 1...
- Page 10 51, 52, 53 Abb. 03 Abb. 04 alternativ alternativ Abb. 06 Abb. 05 Abb. 07 Abb. 08 alternativ Abb. 09 Abb. 10...
- Page 11 Abb. 11 Abb. 12 90° ca. 5-7 mm Abb. 14 Abb. 13 Abb. 16 Abb. 15 Abb. 17 Abb. 18...
- Page 12 Abb. 20 Abb. 19 Ø 1,6 mm Abb. 21 Abb.22 27, 26, 24, 25, 28 27, 26, 35, 25, 28 Ø 2,5 mm Abb. 23 Abb. 24 Abb. 25 Abb. 26...
- Page 13 16 61 1 mm Abb. 27 = -5 Abb. 29 Abb.30 Power Set # 33 2634 Abb. 31 Abb. 32 75 mm Abb.33 Abb. 34...
- Page 16 Kit de timones Larguero # 22 4219 # 72 4453 Kleinteilesatz Dekorbogen Small items set Decal sheet Petit nécessaire Planche de décoration Minuteria Decals Piezas pequeñas Lámina decorativa MULTIPLEX Modellsport GmbH & Co.KG Westliche Gewerbestrasse 1 D-75015 Bretten (Gölshausen) www.multiplex-rc.de...


Need help?
Do you have a question about the 21 4224 and is the answer not in the manual?
Questions and answers