Table of Contents
Advertisement
Quick Links
Advertisement
Table of Contents

Related Manuals for Reflex EZ-TRAC


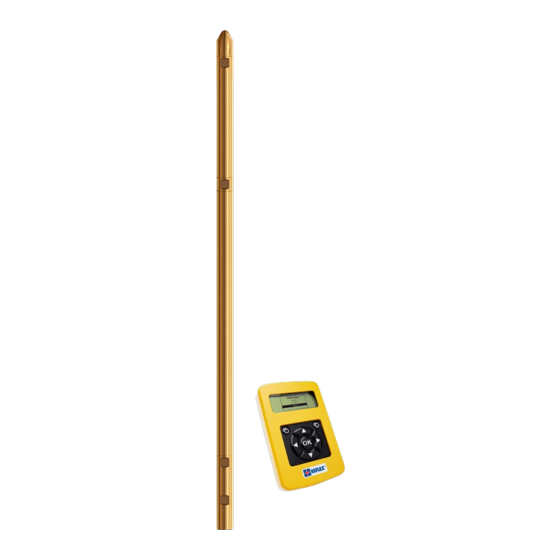
Summary of Contents for Reflex EZ-TRAC
- Page 2 +61 (0) 8 9445 4020 +1 (705) 235 2169 Reflex South Africa Reflex South America +27 (0) 11 792 045 +56 (2) 247 9504 Reflex Europe +44 (0) 1273 475 928 www.reflexinstruments.com © Copyright 2008, Reflex Instrument AB, Sweden Part no. 100672...
-
Page 3: Single Shot Survey
SINGLE SHOT SURVEY 1. Turn REFLEX™ EZ-COM on. 2. The MAIN menu screen will appear. Highlight Survey and press OK. 3. SURVEY menu screen will appear. Highlight Single Shot and press OK. 4. You will now be asked if you would like to create a New Survey or add to an Existing Survey file. - Page 4 6. Now enter your survey file name (e.g. Hole ID Number). When finished, highlight CONTINUE and press OK. 7. Enter the survey depth (e.g. 100m). When finished, highlight CONTINUE and press OK. Note: This existing survey file named after the Hole ID Number can be used for all surveys performed in this drill hole with only the need to change the survey depth as the hole progresses.
- Page 5 8. a) A confirmation screen will appear. If the information is correct, highlight INIT (initialize). The IR port on the REFLEX™ EZ-COM must now be pointed at the IR port on the survey instrument. Press OK. (There is no need to set a survey time.) b) If the information is incorrect, highlight BACK and press OK.
- Page 6 11. a) If a good survey has been taken, highlight END and press OK. b) If you are not sure whether or not a good survey has been taken, highlight REDO and press OK. Repeat step 10. 12. Pull the instrument to surface. Undo the instrument from the top sub to expose the IR port.
- Page 7 13. If there are more than one survey using the same Hole ID Number, use the left and right arrows to scroll to the other survey depths in this file. 14. To return to the MAIN menu, scroll down and highlight MAIN MENU.
- Page 8 MULTI SHOT SURVEY – Out of hole 1. Turn REFLEX™ EZ-COM on. 2. The MAIN menu screen will appear. Highlight Survey and press OK. 3. The SURVEY menu screen will appear. Highlight Multi Shot and press OK. 4. A default survey file name will now appear. Highlight NO and press OK.
- Page 9 6. If surveying OUT OF HOLE, enter the deepest survey depth (e.g. 200 m bottom of the hole). When finished, highlight CONTINUE and press OK. 7. Enter the survey interval (e.g. 9m or how often you would like to take a survey shot). 8.
- Page 10 9. a) A confirmation screen will appear. If the information is correct, highlight INIT (initialize). The IR port on the REFLEX™ EZ-COM must now be pointed at the IR port on the survey instrument. Press OK. (There is no need to set a survey hold off time.)
- Page 11 MEASURE is highlighted; press OK to take the shot. Note: REFLEX™ EZ-COM will hibernate if not used for 2 minutes. Press the ON button to continue. 12. Raise the drill string to the desired survey interval (e.g.
- Page 12 13. When the last station has been surveyed, a message is displayed. YES is highlighted; press OK to end the survey. 14. Pull the instrument to surface. Undo the instrument from the top sub to expose the IR port. Highlight DOWNLOAD, point the IR ports at each other and press OK.
- Page 13 15. Using the left and right arrows you can scroll through other survey depths. 16. To return to the MAIN menu, scroll down and highlight MAIN MENU. Press OK.
-
Page 14: Orientation Survey
ORIENTATION SURVEY 1. Turn REFLEX™ EZ-COM on. 2. The MAIN menu screen will appear. Highlight Survey and press OK. 3. The SURVEY menu screen will appear. Highlight Orientation and press OK. 4. A default survey file name will now appear. Highlight NO and press OK. -
Page 15: Register New Zeroing
Register New Zeroing Note, if a New Zeroing value is registered, the Stored Zeroing value is replaced. 6. a) If there is a Stored Zeroing value that can be used for this survey, continue to step 9 below. b) To register a new Zeroing value, highlight GRAVITY TOOLFACE - if orientating angled holes - and press OK. -
Page 16: Use Stored Zeroing
8. MEASURE is highlighted on the screen. The IR port on the REFLEX™ EZ-COM must now be pointed at the IR port on the survey instrument. Press OK. When “Tool is now set to zero” is displayed, go to step 11 below. - Page 17 10. a) If the Stored Zeroing is applicable for the present survey, highlight CONTINUE and press O.K. Go to step 11 below. b) If the Stored Zeroing is not applicable for the present survey, highlight BACK and press OK. Go to step 6 above and register a new Zeroing value.
-
Page 18: Downhole Survey
Note: REFLEX™ EZ-COM will hibernate if not used for 2 minutes. Press the ON button to continue. 12. Highlight INIT, point the IR ports at each other and press OK. - Page 19 14. a) If a good survey has been taken, highlight END and press OK. b) If you are not sure whether or not a good survey has been taken, highlight REDO and press OK. Repeat step 13. 15. Retrieve the instrument. Check that the Muleshoe lead has been ‘stung’.
- Page 20 16. The Gravity Toolface is displayed in degrees from zero (TDC). Press OK to continue and display the ORIENTATION menu. 17. a) If the reading is not as desired, highlight Enter desired Toolface and press OK. Go to step 18 below. b) To save the results to file, highlight End survey and Save results and press OK.
-
Page 21: Enter Desired Toolface
Enter desired Toolface 18. Enter your required Toolface setting (e.g. 90). When finished, highlight CONTINUE and press OK. 19. a) Rotate the rods clockwise by the amount displayed. b) To verify the toolface by a new measurement, highlight RE-MEASURE and press OK. Repeat step from step 12. -
Page 22: End Survey And Save Results
End survey and Save results 20. a) Gravity Toolface, Inclination and Gravity values are displayed. b) To return to the MAIN menu, highlight MAIN MENU and press OK. c) To view the stored Zeroing value, highlight ZEROING and press OK. 21.
Need help?
Do you have a question about the EZ-TRAC and is the answer not in the manual?
Questions and answers