
Related Manuals for BALAY 3HB558.PE


Summary of Contents for BALAY 3HB558.PE
- Page 1 3HB557.PE / 3HB558.PE [en] Instruction manual ..........2 *9000546373* 9000546373...
-
Page 2: Table Of Contents
Ú Table of contents Before using the self-clean function..........9 Safety advice and information ..........2 Before installation ................2 Setting ....................10 Safety advice and information ............2 After using the self-clean function ..........10 Items that may damage the appliance ...........3 Care and cleaning .............. -
Page 3: Items That May Damage The Appliance
Items that may damage the appliance Hot oven interior ã= Risk of burns.! Caution! Never touch the oven's inner surfaces or heater elements Accessories, pans, film, greaseproof paper or aluminium foil ■ ■ when they are hot. Always carefully open the oven door. The on the oven floor: Do not place any accessory on the oven oven may let out steam. -
Page 4: Your New Oven
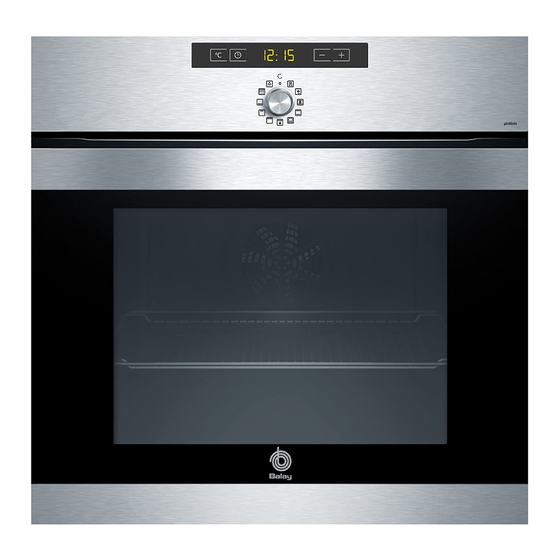
Your new oven We will now describe your new oven. This chapter explains the functions of the control panel and its individual elements. Information is also provided about the oven's accessories and internal components. Control panel Below is a general overview of the control panel. The display panel cannot show all the symbols at the same time. -
Page 5: Sensors And Display Panel
Sensors and display panel Accessories The sensors are used to set different functions. The set values Racks may be positioned in the oven at 5 different heights. are shown on the display panel. Up to 2/3 of a rack may be pulled out without it tipping over. This makes it easy to remove food. -
Page 6: Before Using The Oven For The First Time
Before using the oven for the first time Heating the oven In this section, you can find out what you must do before using your oven to prepare food for the first time. First read the To remove the "new" smell, heat the oven empty with the door section on Safety information. -
Page 7: Setting The Time Functions
Setting the time functions This oven has various time functions. The sensor activates Programme the cooking time using the sensors. the menu and moves through the different functions. The time Sensor suggested value = 30 minutes. symbols remain lit up while settings are programmed. A time Sensor suggested value = 10 minutes. -
Page 8: Time
Press the sensor. Changing the end time The time when the dish will be ready and the end time Press the sensor twice. Change the cooking time using the symbol will be shown on the display panel. sensors. The altered time is shown after a few seconds. Do not change the end time if the cooking time has already started to count down. -
Page 9: Automatic Shut Off
The oven must be switched off. Confirm with the sensor The display panel shows the following basic setting. The Press the sensor for approximately 4 seconds. sensor allows you to run through all the settings and the The display panel will show the current basic setting for the sensors allow you to modify them. -
Page 10: Setting
Setting Delaying the end time The oven allows you to programme the self-cleaning end time. Once the cleaning level has been selected, set the oven. Self-cleaning can therefore be programmed at night for Select the self-cleaning function with the function control example, leaving the oven free for use during the day. -
Page 11: Light
Install the wire shelves or rails Zone Cleaning products First insert the shelf or the rail in the rear groove by pushing it Oven interior Hot water with a little soap or water back slightly (figure A) and vinegar: Clean with a dishcloth. then insert it in the front groove (figure B). -
Page 12: Fitting And Removing The Glass Panels
Completely remove the door base (figure C). Hanging the door Rehang the door by following the same steps but in reverse & order. When refitting the door, check that both hinges are positioned exactly inside their respective openings (picture A). The bottom groove of the hinges must fit snugly on both sides. -
Page 13: Troubleshooting
Refit the clamps on the bottom left and right hand side First, screw the two lower bolts into place then the two upper (figure B). To do this, hook the clamps in the upper part of bolts (figure E). the support and press into place (figure C). &... -
Page 14: Protective Glass Panels
Protective glass panels Damaged protective glass panels must be replaced. Protective glass panels cay be obtained from the Technical Assistance Service. Please quote your appliance's product number and production number. After-sales service Our after-sales service is there for you if your appliance needs to be repaired. -
Page 15: Tables And Suggestions
Accessory Level Temperature Cooking time, in °C minutes Apple pie universal deep tray 170-180 55-65 Swiss roll flat oven tray 160-170 15-20 Small sponge cakes flat oven tray 150-160 20-30 Cream-filled buns universal deep tray 200-210 35-40 Butter buns (12 units) flat oven tray 170-180 15-20... -
Page 16: Meat, Poultry, Fish And Gratin
Meat, poultry, fish and gratin Turn pieces of meat over halfway through cooking. Turn the whole bird over after two thirds of the cooking time has The cooking times in the table below have been calculated for elapsed. use without preheating the oven. The times in the table are given as a guide and may vary depending on the quality and Practical tips for grilling nature of the meat. -
Page 17: Frozen Ready-Meals
Allow the dough with yeast to rise Prepare the dough as usual. Pour the dough into a heat resistant ceramic baking dish and cover it. Preheat the oven for 5-10 minutes. Turn off the appliance and allow the dough to rise inside the oven. - Page 20 (901122)
Need help?
Do you have a question about the 3HB558.PE and is the answer not in the manual?
Questions and answers