Table of Contents
Advertisement
Advertisement
Table of Contents

Related Manuals for Beko WTG741M1W


Summary of Contents for Beko WTG741M1W
-
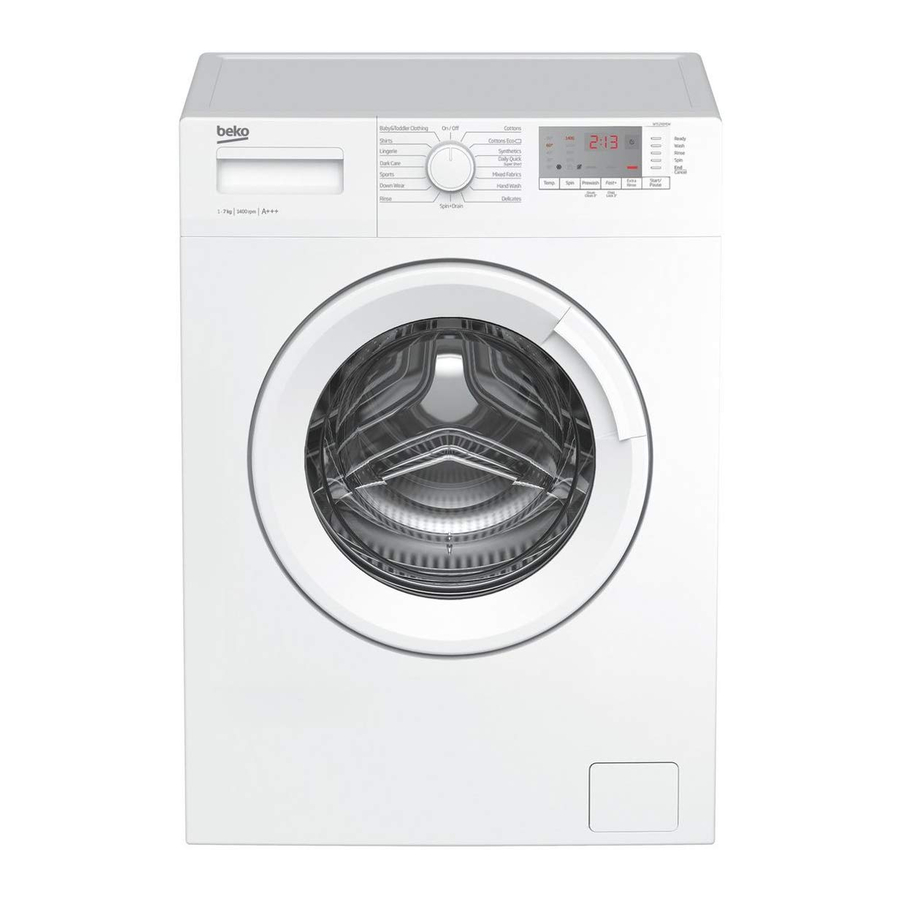
Page 1: Washing Machine
Washing Machine User Manual WTG741M1W Document Number= 2302061190... - Page 2 This product was manufactured using the latest technology in environmentally friendly conditions.
-
Page 3: General Safety Instructions
General safety instructions This section includes security instructions which may help prevent the injuries and material damage risks. All kinds of warranties shall be invalid if these instructions are not observed. 1.1 Life and property safety Never place the product on a carpet-covered floor. Electrical parts will get overheated since air cannot circulate from under the device. -
Page 4: Hot Surface Safety
Electrical products are dangerous for the children. Keep the children away from the product when it is in use. Do not allow them to play with the product. Use child lock to prevent children from intervening with the product. Do not forget to close the loading door when leaving the room where the product is located. -
Page 5: Important Instructions For Environment
Important instructions for environment 2.1 Compliance with WEEE Directive This product complies with EU WEEE Directive (2012/19/EU). This product bears a classification symbol for waste electrical and electronic equipment (WEEE). This product has been manufactured with high quality parts and materials which can be reused and are suitable for recycling. - Page 6 Complying Commission Delegated Regulation (EU) No 1061/2010 Supplier name or trademark Beko WTG741M1W Model name Rated capacity (kg) Energy efficiency class / Scale from A+++ (Highest Efficiency) to D (Lowest Efficiency) Annual Energy Consumption (kWh) 0.93 Energy consumption of the standard 60°C cotton programme at full load (kWh) 0.64...
-
Page 7: Appropriate Installation Location
4.1 Installation • Apply to the nearest authorized service agent for the installation of your product. • Preparation of the location and electrical, tap water and waste water installations at the place of installation is under customer's responsibility. • Make sure that the water inlet and discharge hoses as well as the power cable are not folded, pinched or crushed while pushing the product into its place after installation or cleaning procedures. • Make sure that the installation and electrical connections of the product are performed by authorized service. Manufacturer shall not be held liable for damages that may arise from procedures carried out by unauthorized persons. -
Page 8: Connecting Water Supply
4.1.4 Connecting water supply The water supply pressure required to run the product is between 1 to 10 bars (0.1 – 1 MPa). It is necessary to have 10 – 80 liters of water flowing from the fully open tap in one minute to have your machine run smoothly. Attach a pressure reducing valve if water pressure is higher. CAUTION: Models with a single water inlet should not be connected to the hot water tap. In such a case the laundry will get damaged or the product will switch to protection mode and will not operate. CAUTION: Do not use old or used water inlet hoses on the new product. -
Page 9: Adjusting The Feet
4.1.6 Adjusting the feet CAUTION: In order to ensure that the product operates more silently and vibration-free, it must stand level and balanced on its feet. Balance the machine by adjusting the feet. Otherwise, the product may move from its place and cause crushing and vibration problems. -
Page 10: Important Fitting A Different Plug
If the fitted moulded plug is not suitable for your socket, then the plug should be cut off and an appropriate plug fitted. Destroy the old plug, which is cut off as a plug with a bared cord could cause a shock hazard if inserted into a socket elsewhere in the house. -
Page 11: Initial Use
4.1.8 Initial use Before starting to use the product make sure that the preparations are made which are in line with the “Important Safety and Environment Instructions” and the instructions in the “Installation” section. To prepare the product for washing laundry, perform first operation in Drum Cleaning programme. -
Page 12: Sorting The Laundry
4.2 Preparation 4.2.1 Sorting the laundry * Sort laundry according to type of fabric, color, and degree of soiling and allowable water temperature. * Always obey the instructions given on the garment tags. 4.2.2 Preparing laundry for washing • Laundry items with metal attachments such as, underwired bras, belt buckles or metal buttons will damage the machine. -
Page 13: Using Detergent And Softener
4.2.6 Using detergent and softener When using detergent, softener, starch, fabric dye, bleacher and decolorant, descaling agents; read the manufacturer's instructions written on the package and follow the dosages specified. Use measuring cup if available. The detergent drawer is composed of three compartments: – (1) for prewash – (2) for main wash... - Page 14 Using liquid detergents If the product contains a liquid detergent cup: • Put the liquid detergent container into the compartment no “2”. • If the liquid detergent lost its fluidity, dilute it with water before putting it into the detergent container. If the product does not contain a liquid detergent cup: • Do not use liquid detergent for the prewash in a programme with prewash. • Liquid detergent stains your clothes when used with Delayed Start function. If you are going to use the Delayed Start function, do not use liquid detergent.
-
Page 15: Tips For Efficient Washing
4.2.7 Tips for efficient washing Clothes Delicates/ Light Colours and Black/Dark Colours Woolens/ Whites Colours Silks (Recommended (Recommended (Recommended temperature (Recommended temperature temperature range temperature range range based on soiling level: range based on soiling level: based on soiling level: based on soiling 40-90 cold -40... -
Page 16: Operating The Product
4.3 Operating the product 4.3.1 Control panel 90° 1000 60° 40° 30° 20° 1 - Programme Selection knob (Uppermost 6 - Auxiliary function button 3 7 - Auxiliary function button 2 2 - Display 8 - Auxiliary function button 1 3 - Delayed Start button 9 - Spin Speed Adjustment button 4 - Programme Follow-up indicator... - Page 17 4.3.4 Programme and consumption table Auxiliary functions Programme 1600 • • • • Cold - 90 2.25 Cottons 1600 • • • • Cold - 90 1.70 1600 • • • • Cold - 90 1.05 60** 1600 Cold - 60 0.93 Cottons Eco 60** 3.5...
-
Page 18: Main Programmes
Indicative values for Synthetics programmes (EN) Remaining Moisture Remaining Moisture Content (%) ** Content (%) ** ≤ 1000 rpm > 1000 rpm Synthetics 60 1,10 100/130 Synthetics 40 0,80 100/130 * You can see the washing time of the programme you have selected on the display of the machine. It is normal that small differences may occur between the time shown on the display and the real washing time. - Page 19 • Baby&Toddler Clothing This is a long-duration programme that you can use for your laundry requiring a hygienic washing at high temperatures with intensive and long washing cycle. The high level of hygiene is ensured thanks to long heating duration and additional rinsing step. •...
-
Page 20: Temperature Selection
4.3.7 Special programmes For specific applications, select any of the following programmes. • Rinse Use when you want to rinse or starch separately. • Spin+Drain You can use this function to remove the water on the garment of drain the water in the machine. Before selecting this programme, select the desired spin speed and press Start / Pause button. -
Page 21: Auxiliary Functions
4.3.10.1 Auxiliary functions • Prewash A Prewash is only worthwhile for heavily soiled laundry. Not using the Prewash will save energy, water, detergent and time. Prewash without detergent is recommended for tulle and curtains. • Fast+ When this function is selected, the durations of the relevant programmes get shorter by 50%. Thanks to the optimised washing steps, high mechanic activity and optimum water consumption, high washing performance is achieved in spite of the reduced duration. -
Page 22: Delayed Start
To deactivate the Child Lock: Press and hold the Auxiliary Function button 2 for 3 seconds while a programme is running. C03, C02, C01 will appear on the display respectively while you keep the button pressed for 3 seconds. Then, while the light of the auxiliary function button 2 is flashing, "COF" will appear on the display indicating that the child lock has been deactivated. -
Page 23: Progress Of Programme
4.3.13 Progress of programme Progress of a running programme can be followed from the Programme Follow-up indicator. At the beginning of every programme step, the relevant indicator light will turn on and light of the completed step will turn off. You can change the auxiliary functions, speed and temperature settings without stopping the programme flow while the programme is running. -
Page 24: Cancelling The Programme
4.3.16 Cancelling the programme To cancel the programme, turn the Programme Selection knob to select another programme. Previous programme will be cancelled. End / Cancel light will flash continuously to notify that the programme has been canceled. Your machine will end the programme when you turn the Programme Selection knob; however, it does not drain the water inside. -
Page 25: Maintenance And Cleaning
4.4 Maintenance and cleaning Service life of product extends and frequently experienced problems will be reduced if it is cleaned at regular intervals. 4.4.1 Cleaning the detergent drawer Clean the detergent drawer at regular intervals (every 4-5 washing cycles) as shown below in order to prevent accumulation of powder detergent in time. -
Page 26: Draining Remaining Water And Cleaning The Pump Filter
4.4.5 Draining remaining water and cleaning the pump filter The filter system in your machine prevents solid items such as buttons, coins and fabric fibres clogging the pump impeller during discharge of washing water. Thus, the water will be discharged without any problem and the service life of the pump will extend. -
Page 27: Troubleshooting
Troubleshooting Problem Reason Programme does not start Start / Pause / Cancel button was not pressed. after c Programme cannot be started or selected. pressure, etc.). mode after the programme water. the programme started. low voltage. come to an end. 27 / EN... - Page 28 Problem Reason Solution Washing takes longer time than Water pressure is low. • Machine waits until taking in adequate specified in the manual.(*) amount of water to prevent poor washing quality due to the decreased amount of water. Therefore, the washing time extends. Voltage might be low.
- Page 29 Problem Reason Solution Washing performance is poor: Regular drum cleaning is not applied. • Clean the drum regularly. For this, please Oily stains appeared on the see 4.4.2. laundry. (**) Washing performance is poor: Odours and bacteria layers are formed on the • Leave the detergent drawer as well as Clothes smell unpleasantly.
- Page 30 Problem Reason Solution Too much foam forms in the Improper detergents for the washing machine are • Use detergents appropriate for the washing machine. (**) being used. machine. Excessive amount of detergent is used. • Use only sufficient amount of detergent. Detergent was stored under improper conditions.
- Page 31 flaps, handles or Should you experience any difficulty in container lids. obtaining service please contact the Beko Customer Help-Line. including but not limited to, ice trays, scrapers, cutlery baskets, filters and light bulbs.
- Page 32 Instruction Booklet and service can be obtained at a charge. Label affixed to the appliance) Should you experience any difficulty in obtaining service please contact the Beko Model No: Customer Help-Line. Serial No: Tel: 0845 600 4911 or...
- Page 33 BEKO plc. Beko House, 1 Greenhill Crescent, Watford Herts WD18 8QU...
Need help?
Do you have a question about the WTG741M1W and is the answer not in the manual?
Questions and answers
The washing fills with water but the drum does not spin to wash
The Beko WTG741M1W washing machine may fill with water but not spin due to the following reasons:
1. Unbalanced Load: The automatic unbalanced load detection system may be activated if the laundry is unevenly distributed in the drum, preventing the spin cycle.
2. Water Not Drained: The machine will not spin if water is not completely drained. This could be due to a clogged filter or draining hose.
3. Excessive Foam: Using too much detergent can cause excessive foam, activating the automatic foam absorption system and stopping the spin cycle.
Check the load distribution, ensure proper drainage, and use the recommended amount of detergent.
This answer is automatically generated