Table of Contents
Advertisement
Quick Links
Advertisement
Table of Contents

Related Manuals for Kärcher K 6.200


Summary of Contents for Kärcher K 6.200
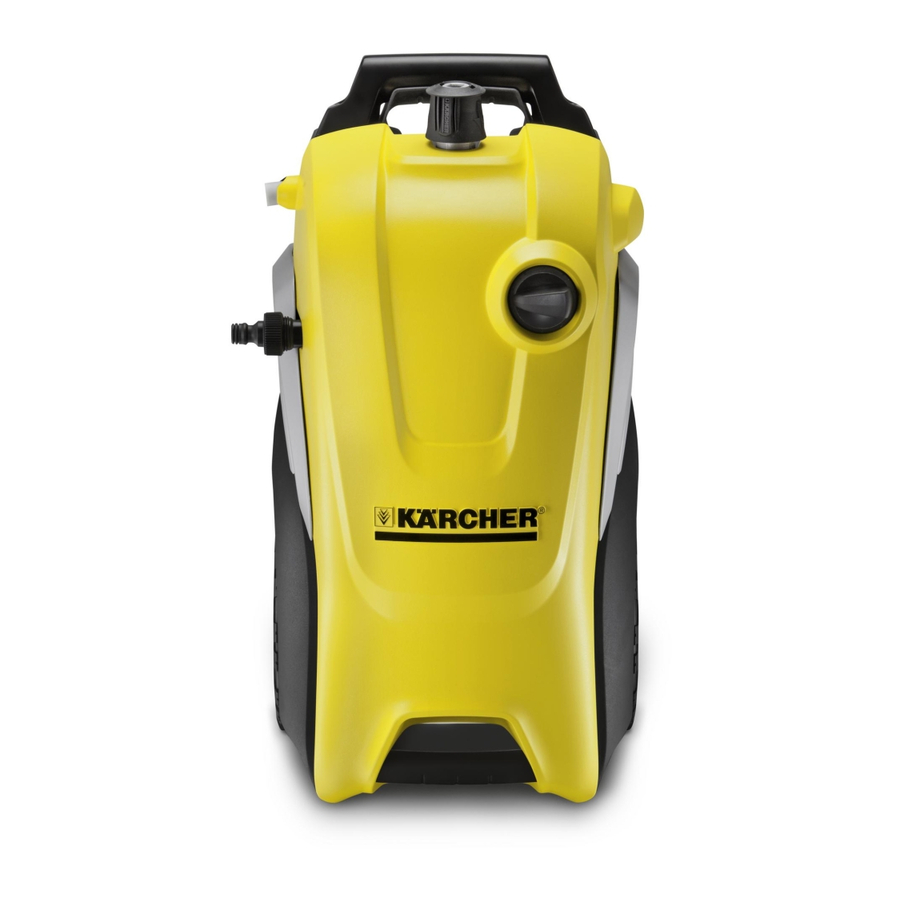
- Page 1 K 6.200 K 7.200 K 7 Compact Service Manual English 5.906-591.0 Rev. 00 (01/14)
-
Page 2: Table Of Contents
Contents Preface Safety instructions Hazard levels Description in this service manual Service groups Functional group structure Textual description Technical Features Intended use Field of application Safety installations Lock trigger gun Overflow valve with pressure switch Type plate Overview of the appliance Overview appliance components Casing Pump motor... - Page 3 AEPM Uninstall / install pump motor AESG Uninstall / install valve gear casing AESH Uninstall / install quick coupling of the high-pressure hose AESV Uninstall / install control valve AETS Uninstall / install swash plate AEZK Uninstall / install cylinder head 050 Maintenance and inspection Care Storing the device...
-
Page 4: Preface
Preface Good service work requires extensive and practice-orient- If you should require supplements, have corrections or ed training as well as well-structured training materials. questions regarding this document, please address these Hence we offer regular basic and advanced training pro- citing the following subject to: grammes covering the entire product range for all service international-service@de.kaercher.com... -
Page 5: Description In This Service Manual
Description in this service manual Service groups Example: ABGH Uninstalling / installing casing Uninstalling / installing casing Product group Service group Functional group, component, activity Plain text description Observe the allocation of service groups to the appliance components in the overview diagram in Chapter "Overview over the service and functional groups". -
Page 6: Technical Features
– agents approved by KÄRCHER. Please observe the in- formation accompanying the cleaning agents. Field of application This service manual describes the appliance family: K 6.200 – K 7.200 – K 7 Compact –... -
Page 7: Type Plate
Type plate The type plate is located at the bottom of the appliance. 1 Appliance description 2 Serial number 3 Specifications 4 Part number 5 Sound pressure level L 6 Address of manufacturer 7 Bar code. Contains part and serial number. 8 IP rating/ protection class 9 Max. -
Page 8: Pump Motor
Pump motor 1 Holder pump motor Cylinder head 2 Water channel 10 Valve gear casing 3 Pump motor 11 Quick coupling 4 Casing bottom 12 Valve detergent 5 Covering lid 13 Water pipes 6 Power switch 14 Fine filter 7 Swash plate 15 Capacitor 8 Piston guide English 5.906-591.0 Rev. -
Page 9: Overview Over The Service And Functional Groups
Overview over the service and functional groups English 5.906-591.0 Rev. 00 (01/14) -
Page 10: Ab Service Group Casing
AB Service group casing 010 Safety information General Observe general safety information! Service and maintenance tasks may only be performed by qualified and specially trained specialists. Danger Prior to all work on the appliance, switch off the appliance and pull the power plug. Caution Risk of damage by electrostatic discharge (ESD)! Take suitable measures for discharging electrostatic charge pri-... -
Page 11: 040 Service Activities
040 Service activities ABGH Uninstall / install appliance hood 1 Screws 2 Chassis Unscrew the screws. Note Use special tools. Torques Screws 1,2...1,9 1 Cover 2 Engine mount 3 Lever appliance switch 4 Rubber guiding device mains cable 5 Mains cable 6 Chassis ... -
Page 12: Abrd Uninstall / Install Wheels
ABRD Uninstall / install wheels 1 Wheel 2 Safety ring 3 Wheel cap Remove the wheel cover. Remove the retaining ring. Remove wheel. Installation information Use new retaining ring. ABSB Uninstall / install push handle ABGH Uninstall / install appliance hood 1 Screws 2 End pieces 3 Pipes... -
Page 13: Ad Service Group Water System
AD Service group water system 010 Safety information For this service group there is no special safety informa- tion. Observe general safety information! 020 Overview 1 Suctioning of detergent 2 Water inlet 3 Water return flow 4 Control valve 5 High-pressure outlet English 5.906-591.0 Rev. -
Page 14: 030 Function
030 Function The appliances are equipped with innovative water-cooled motor technologies. Water instead of a fan wheel is used for cooling the motor. Before the water is used for cleaning, it flows round the motor casing. This way constant cooling with less moving parts is achieved and the service life is in- creased. -
Page 15: Adid Uninstall / Install Injector Nozzle
ADID Uninstall / install injector nozzle AESH Uninstall / install quick coupling of the high-pres- sure hose 1 O rings 2 Injector nozzle 3 Quick coupling Unscrew the injector nozzle. Note Check O-rings for damage. Pay attention to the correct fitting position during reinstal- lation. -
Page 16: 050 Maintenance And Inspection
050 Maintenance and inspection The appliance is maintenance free. Care Danger Risk of electric shock. Turn off the appliance and remove the mains plug prior to any care and maintenance works. Prior to longer periods of storage, e.g. in the winter: ... -
Page 17: Ae Service Group Pump
AE Service group pump 010 Safety information Danger Prior to all work on the appliance, switch off the appliance and pull the power plug. 020 Overview Valve detergent 12 Piston guide Suctioning of detergent 13 Spacer Control valve, complete * 14 High-pressure seal with support washer Control boring 15 Cylinder head... -
Page 18: 040 Service Activities
040 Service activities AEOK Uninstall / install oil seal piston guide AEZK Uninstall / install cylinder head 1 Plunger 2 Piston guide 3 Support disc Pull out support washers. Pull out piston. Check piston for wear. 1 Oil seal piston guide ... -
Page 19: Aepm Uninstall / Install Pump Motor
AEPM Uninstall / install pump motor AETS Uninstall / install swash plate 1 Casing bottom 2 Covering lid 3 Lever appliance switch 4 Power switch 5 Seal 6 Rubber seal casing 7 Screw 8 Plug connections Unclip casing cover. ... -
Page 20: Aesg Uninstall / Install Valve Gear Casing
AESG Uninstall / install valve gear casing AEZK Uninstall / install cylinder head 1 Cylinder head 2 O rings 3 Seals control piston 4 Control valve 5 Guide sleeve 6 Injector nozzle 7 Check valve 8 Valve gear casing ... -
Page 21: Aesv Uninstall / Install Control Valve
AESV Uninstall / install control valve AEZK Uninstall / install cylinder head 1 Seals control piston 2 O rings 3 Guide sleeve 4 Control valve 5 Valve gear casing 6 Cylinder head Disconnect the cylinder head from the valve gear cas- ing. -
Page 22: Aezk Uninstall / Install Cylinder Head
AEZK Uninstall / install cylinder head ADVR Uninstall / install valve for detergent 1 O rings 2 Water pipes 3 Safety clip 4 Holder capacitor Remove the pump motor from the chassis. Unhook the holder of the capacitor. ... -
Page 23: 050 Maintenance And Inspection
Installation information 1 Holes Thread a thread prior to reinstallation of the piston guide. 1 Screws 2 Piston guide 3 Cylinder head 4 Valve gear casing During later upcoming repair work on the valve gear casing or cylinder head, screws that hold down the piston guide can be screwed in. -
Page 24: 060 Error Diagnosis
060 Error diagnosis Fault Cause Correction Appliance is not running There is no voltage in the machine. Check whether the voltage indicated on the type plate corresponds to the volt- age of the mains supply. Check the mains connection cable for damages. -
Page 25: Ah Service Group Electrics
AH Service group electrics 010 Safety information Danger Prior to all work on the appliance, switch off the appliance and pull the power plug. 020 Overview Circuit diagram Pump motor Capacitor Power switch Thermal switch 030 Function Safety devices serve to protect the user and must not be rendered in operational or their functions bypassed. -
Page 26: 040 Service Activities
040 Service activities AHNK Uninstalling / installing mains cable ABGH Uninstall / install appliance hood 1 Plug connections 2 Screw 3 Seal 4 Mains cable 5 Covering lid Unclip casing cover. Disconnect the connectors. Loosen the screw. ... -
Page 27: Ahse Uninstall / Install Appliance Switch
AHSE Uninstall / install appliance switch ABGH Uninstall / install appliance hood 1 Guidance 2 Lever appliance switch 3 Plug connections 4 Power switch 5 Covering lid Unclip casing cover. Unhook lever of appliance switch. Remove appliance switch. ... -
Page 28: Technical Documentation
Technical Documentation Appliance type Appliance no. Circuit diagram Operating instruc- Spare parts list tions K 6.200 1.446-000.0 0.089-226.0 5.964-673.0 5.972-214.0 1.446-001.0 5.965-054.0 K 7.200 1.447-000.0 0.089-226.0 5.964-673.0 5.971-607.0 1.447-001.0 5.965-054.0 K 7 Compact 1.447-002.0 0.089-226.0 5.965-162.0 5.971-607.0 1.447-003.0 1.447-004.0 Technical specifications K 6.200... -
Page 29: Special Tools
Special tools Electric measuring appliance 6.803-022.0 Shut-off valve with thermometer 2.901-030.0 Adapter system 2000, M22x1.5 with ex- 4.401-072.0 Screwdriver bit T15 6.815-150.0 tended union nut Removal pliers, pressure/suction valves 4.901-062.0 Installation mandrel oil seal, high-pres- 5.901-224.0 and water sieves sure seal Installation sleeve, high pressure seal 5.901-223.0 Test manometer for working pressure...
Need help?
Do you have a question about the K 6.200 and is the answer not in the manual?
Questions and answers