Avanti WC681BG Instruction Manual

Avanti WC681BG Instruction Manual

Avanti products wine chiller / vinera instruction manual wc681bg / wcr682ss

Advertisement

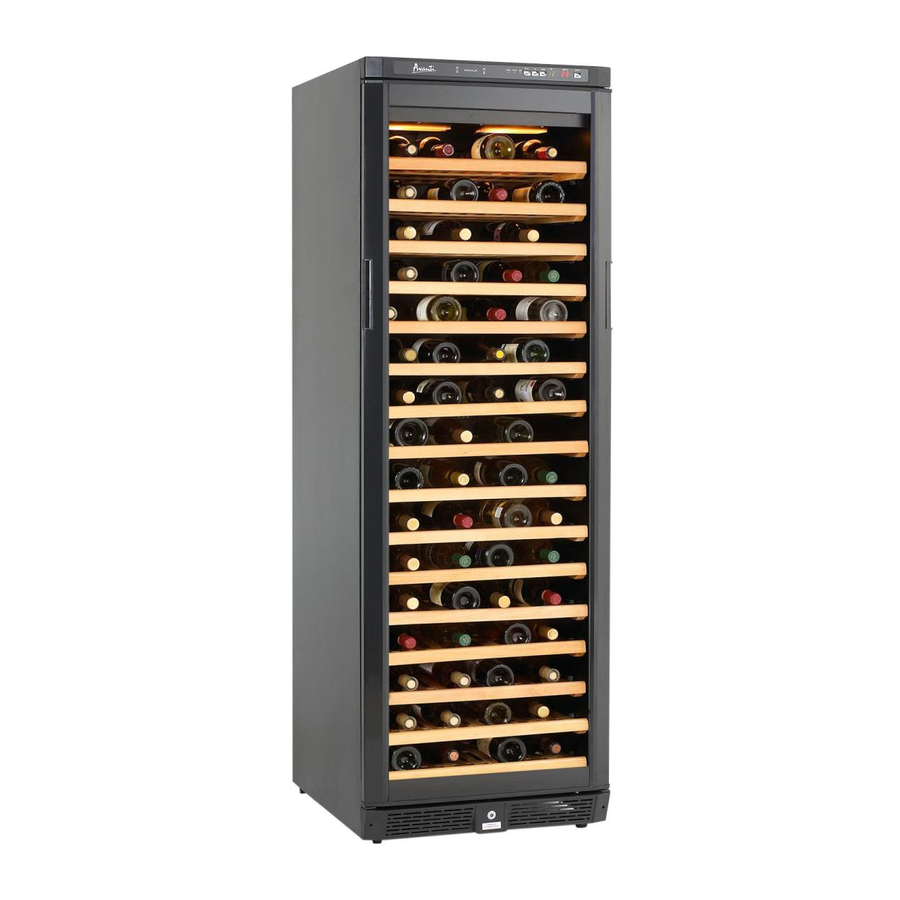
WINE CHILLER / VINERA
INSTRUCTION MANUAL
MANUAL DE INSTRUCCIONES
WC681BG / WCR682SS
Model Numbers / No. de Modelos:
(Picture May Vary)
BEFORE USE, PLEASE READ AND FOLLOW ALL SAFETY RULES AND OPERATING
INSTRUCTIONS.
La sección en español empieza en la página 20.
Avanti Products has a policy of continuous improvement on its products and reserves the right to change materials and
specifications without notice.
Avanti Products, A Division of The Mackle Co., Inc.
P.O. Box 520604 - Miami, Florida 33152
www.avantiproducts.com

Advertisement

Table of Contents
loading
Need help?

Need help?

Do you have a question about the WC681BG and is the answer not in the manual?

Questions and answers

Summary of Contents for Avanti WC681BG

  • Page 1 INSTRUCTIONS. La sección en español empieza en la página 20. Avanti Products has a policy of continuous improvement on its products and reserves the right to change materials and specifications without notice. Avanti Products, A Division of The Mackle Co., Inc.
  • Page 2: Appliance Safety

    Your safety and the safety of others are very important. We have provided many important safety messages in this manual and on your appliance. Always read and obey all safety messages . This is the Safety Alert Symbol. This symbol alerts you to potential hazards that can kill or injure you and others.
  • Page 3: Important Safeguides

    IMPORTA NT SAFEGUIDES Before the appliance is used, it must be properly positioned and installed as described in this manual , so read the manual carefully. To reduce the risk of fire, electrical shock or injury when using the appliance, follow basic precaution, including the following: Plug into a grounded 3 -prong outlet, do not remove grounding prong, do not use an ad apter, and do not use an extension cord.
  • Page 4: Registration Information

    REGISTRATION INFORMATION Thank you for purchasing this fine Avanti products. Please fill out this form and return it within 100 days of purchase and receive these important benefits to the following address: Avanti Products, A Division of The Mackle Co., Inc.
  • Page 6: Help Us Help You

    Keep it handy to answer your questions. If you don't understand som ething or you need more assistance, please call: Avanti Customer Service 800-220-5570 Keep proof of original purchase date (such as your sales slip) with this guide to establish the warranty period.
  • Page 7: Parts And Features

    PARTS & FEATURES (Only for WC681BG) 1. DIGITAL CONTROL PANEL TOP INSERT 3. GLASS DOOR RECESSED HANDLE 5. LARGE WOODEN SHELVES (TOTAL 14) 6. SMALL WOODEN SHELVES (TOTAL 2) 7. LEVELING LEGS 8. SECURITY LOCK 9. BOTTOM GRILLE 10. CABINET...
  • Page 8 PARTS & FEATURES (Only for WCR682SS) 1. DIGITAL CONTROL PANEL 2. TOP INSERT 3. STAINLESS STEEL DOOR 4. STAINLESS STEEL HANDLE 5. ROLL-OUT LARGE SHELVES (TOTAL 14) 6. ROLL-OUT SMALL SHELF (TOTAL 1) 7. BOTTOM WOODEN SHELF (TOTAL 1) 8. LEVELING LEGS 9.
  • Page 9: Table Of Contents

    T ABLE OF CONTENTS Appliance Safety Important Safeguides Registration Information ________________________________________________________ 4 Help Us Help You…_____________________________________________________________ 6 Parts And Features ___________________________________________________________7~8 Important Safety Instructions ___________________________________________________ 10 Installation Instructions ________________________________________________________ 10 Before Using Your Wine Chiller _________________________________________________ 10 Installation Of Your Wine Chiller ________________________________________________ 10 Electrical Connection __________________________________________________________ 11 Extension Cord Reversing The Door Swing Of Your Appliance...
  • Page 10: Important Safety Instructions

    2 Keys 1 Stainless Steel Handle Assembly for WCR682SS 1 Door Lower Hinge for Door Opening from the Right Side for WC681BG 1 Instruction Manual Before connecting the Wine Chiller to the power source, let it stand upright for approximately 2 hours.
  • Page 11: Electrical Connection

    Improper use of the grounded plug can result in the risk of electrical shock. If the power cord is damaged, have it replaced by an authorized Avanti Products service center. This appliance should be properly grounded for your safety. The power cord of this appliance is equipped with a three-prong plug which mates with standard three prong wall outlets to minimize the possibility of electrical shock.
  • Page 12: On/Off Power

    Recommended Temperatures for Chilling Wine Red Wines 58-65 F Dry/White Wines 48-57 F Rose Wines 49-51 F Sparkling Wines 40-47 F WINE CHILLER ? ON/OFF Power To turn OFF the appliance, press the ON/OFF button. Setting the Temperature Control You can set the temperature as you desire by pushing the UP or DOWN button. When you push the two buttons for the first time, the LED readout will show the original temperature set at previous time (the temperature preset at the factory is 54ºF) in the “display”...
  • Page 13: Door Lock

    Remove the key and place it in a secure place for safekeeping. ? Shelves Appliance WC681BG is equipped with the normal wooden shelves and appliance WCR682SS is equipped with a pull-out roller assembly (except for the bottom shelf). You can move the wooden shelves out and in smoothly.
  • Page 14 To remove the shelves out of the rail pull each shelf approximately 1/3 out. Use a long flat screwdriver to press down the right plastic notch as shown in Figure A and at the same time lift the left plastic notch as shown in Figure B. Then proceed to pull out the shelf slowly. Contact our service department if assistance is needed.
  • Page 15: Care And Maintenance

    CARE AND MAINTENANCE ? Cleaning Your Wine Chiller Turn off the power, unplug the appliance, and remove all items including shelves and rack. Wash the inside surfaces with a warm water and baking soda solution. The solution should be about 2 tablespoons of baking soda to a quart of water. Wash the shelves with a mild detergent solution.
  • Page 16: Troubleshooting Guide

    PROBLEMS WITH YOUR WINE CHILLER? You can solve many common Wine Chiller problems easily, saving you the cost of a possible service call. Try the suggestions below to see if you can solve the problem before calling the servicer. TROUBLESHOOTING GUIDE PROBLEM Wine Chiller does not operate.
  • Page 17: Service For Your Wine Chiller

    We are proud of our customer service organization and the network of professional service technicians that provide service on your Avanti appliances. With the purchase of your Avanti appliance, you can have the confidence that if you ever need additional information or assistance, the Avanti Products Customer Service team will be here for you.
  • Page 18: What Is Not Covered

    WHAT IS COVERED LIMITED ONE-YEAR WARRANTY For one year from the date of purchase by the original owner, Avanti Products will, at its option, repair or replace any part of the unit, which proves to be defective in material or...
  • Page 19: Wiring Diagram

    WIRING DIAGRAM...
  • Page 20: Instrucciones En Español

    INSTRUCCIONES DE SEGURIDAD Este aparato electrodoméstico debe estar conectado a tierra. En caso de un cortocircuito eléctrico, la conexión a tierra reduce el riesgo de choque eléctrico proporcionando un cable a tierra con una enchufe de conexión a tierra. Este enchufe debe estar conectado en un tomacorriente instalado correctamente y conectado a tierra.
  • Page 21 Temperaturas recomendadas para enfriar vinos: Vinos tintos: Vinos blanco/seco: Vinos rosé/Zinfandel: Vinos blanco/espumante: WINE CHILLER Operación El enfriador de vino viene programado de fábrica. Si en su mayoría Usted solamente guarda vinos blancos, presione el botón designado “white” o blanco y la vinera mantendrá una temperatura entre 9º...
  • Page 22 NOTA: Para remover los estantes de madera corredizos, mueva cada uno de ellos aproximadamente una tercera parte fuera de los raíles. Presione el lado plástico derecho usando un destornillador plano (siga la flecha) como se muestra en el dibujo “A” de la página 13 y a la misma vez haga lo mismo con el plástico del lado izquierdo como se muestra en el dibujo “B”...

This manual is also suitable for:

Wcr682ss

Table of Contents

Save PDF