Table of Contents
Advertisement
INSTRUCTION MANUAL
MANUAL DE INSTRUCCIONES
WC400SS
Model Number / No. de Modelo:
WINE CHILLER / VINERA
BEFORE USE, PLEASE READ AND FOLLOW ALL SAFETY RULES AND OPERATING
INSTRUCTIONS.
La sección en español empieza en la página 15.
Avanti Products has a policy of continuous improvement on its products and reserves the right to change materials and
specifications without notice.
Avanti Products, A Division of The Mackle Co., Inc.
P.O. Box 520604 - Miami, Florida 33152
www.avantiproducts.com
Advertisement
Table of Contents

Related Manuals for Avanti WC400SS


Summary of Contents for Avanti WC400SS
- Page 1 INSTRUCTIONS. La sección en español empieza en la página 15. Avanti Products has a policy of continuous improvement on its products and reserves the right to change materials and specifications without notice. Avanti Products, A Division of The Mackle Co., Inc.
-
Page 2: Table Of Contents
Cleaning Your Wine Chiller Power Failure Vacation Time Moving Your Wine Chiller Energy Saving Tips Troubleshooting Guide Service for Your Appliance Wiring Diagram Your Avanti Products Warranty Instrucciones en Español Registration Information and Registration Card TABLE OF CONTENTS 15 ~ 17... -
Page 3: Appliance Safety
Your safety and the safety of others are very important. We have provided many important safety messages in this manual and on your appliance. Always read and obey all safety messages. This is the Safety Alert Symbol. This symbol alerts you to potential hazards that can kill or injure you and others. -
Page 4: Important Safeguides
IMPORTANT SAFEGUIDES Before the appliance is used, it must be properly positioned and installed as described in this manual, so read the manual carefully. To reduce the risk of fire, electrical shock or injury when using the appliance, follow basic precaution, including the following: •... -
Page 5: Help Us Help You
Keep it handy to answer your questions. If you don't understand something or you need more assistance, please call: Avanti Customer Service 800-220-5570 Keep proof of original purchase date (such as your sales slip) with this guide to establish the warranty period. -
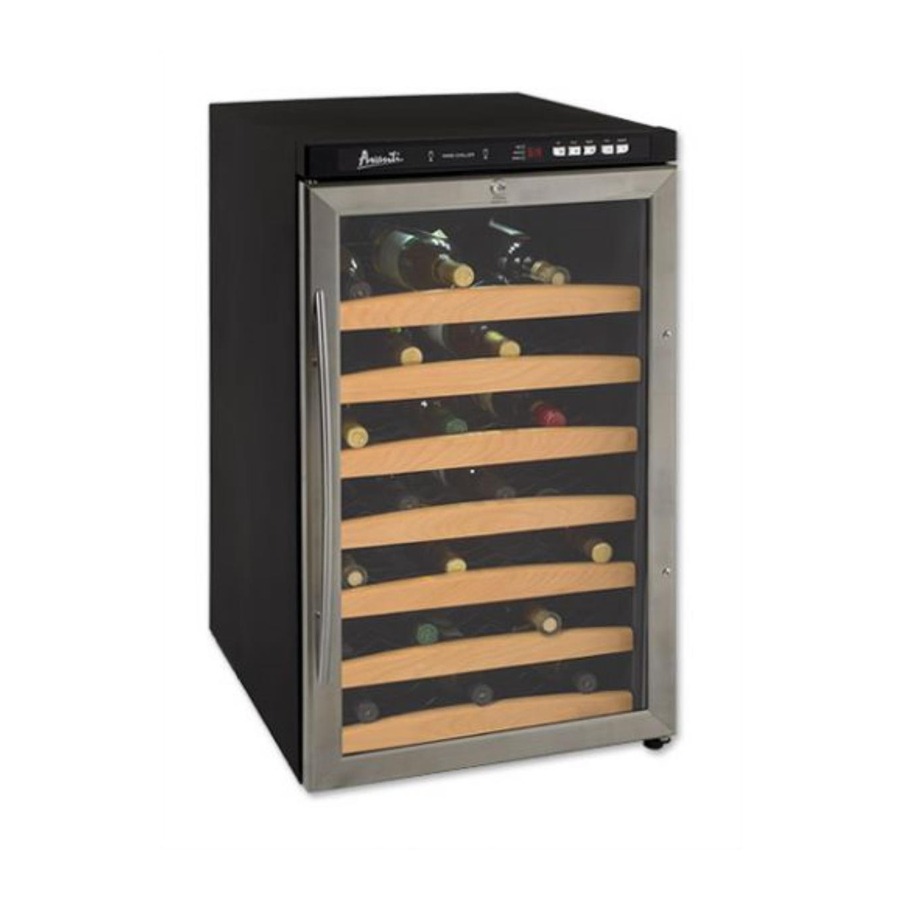
Page 6: Parts And Features
PARTS & FEATURES 1. DIGITAL CONTROL PANEL 2. SECURITY LOCK 3. STAINLESS STEEL GLASS DOOR 4. STAINLESS STEEL HANDLE 5. LARGE SHELVES (Total 5) 6. SMALL SHELVES(Total 2) 7. LEVELING LEGS (4) 8. CABINET... -
Page 7: Important Safety Instructions
(ground) prong from the power cord. Any questions concerning power and/or grounding should be directed toward a certified electrician or an authorized Avanti Products service center. To reduce the risk of fire, electrical shock,... -
Page 8: Electrical Connection
Improper use of the grounded plug can result in the risk of electrical shock. If the power cord is damaged, have it replaced by an authorized Avanti Products service center. This appliance should be properly grounded for your safety. The power cord of this appliance is equipped with a three-prong plug which mates with standard three prong wall outlets to minimize the possibility of electrical shock. -
Page 9: Operating Your Wine Chiller
frame. Follow the sequence shown below in Illustration # 2. 4. Align the handle with the screws installed in the above step # 3. Tighten the screws using a Phillips head screwdriver until the handle sets both flush and secured tightly against the door frame. -
Page 10: On/Off Power
ON/OFF POWER To turn OFF the appliance, press the ON/OFF button. SETTING THE TEMPERATURE CONTROL • You can set the temperature as you desire by pushing the UP or DOWN button. When you push the two buttons for the first time, the LED readout will show the original temperature set at previous time (the temperature preset at the factory is 12ºC/54ºF). -
Page 11: Care And Maintenance
shelf to the position where the notch of shelf is exactly under the plastic post and lift the shelf. In order to replace the shelf, repeat steps described above in reverse. CARE AND MAINTENANCE CLEANING YOUR WINE CHILLER • Turn off the power, unplug the appliance, and remove all items including shelves. •... -
Page 12: Troubleshooting Guide
PROBLEMS WITH YOUR WINE CHILLER? You can solve many common Wine Chiller problems easily, saving you the cost of a possible service call. Try the suggestions below to see if you can solve the problem before calling the servicer. TROUBLESHOOTING GUIDE PROBLEM Wine Chiller does not operate. -
Page 13: Service For Your Appliance
We are proud of our customer service organization and the network of professional service technicians that provide service on your Avanti appliances. With the purchase of your Avanti appliance, you can have the confidence that if you ever need additional information or assistance, the Avanti Products Customer Service team will be here for you. -
Page 14: Your Avanti Products Warranty
WHAT IS COVERED LIMITED ONE-YEAR WARRANTY For one year from the date of purchase by the original owner, Avanti Products will, at its option, repair or replace any part of the unit, which proves to be defective in material or... -
Page 15: Instrucciones En Español 15
INSTRUCCIONES DE SEGURIDAD Este aparato electrodoméstico debe estar conectado a tierra. En caso de un cortocircuito eléctrico, la conexión a tierra reduce el riesgo de choque eléctrico proporcionando un cable a tierra con una enchufe de conexión a tierra. Este enchufe debe estar conectado en un tomacorriente instalado correctamente y conectado a tierra. - Page 16 Temperaturas recomendadas para enfriar vinos: Vinos tintos 15º - 18º C Vinos blanco/seco 9º - 14º C Vinos rosé/Zinfandel 10º - 11º C Vinos blanco/espumante 5º - 8º C Operación El enfriador de vino viene programado de fábrica. Si en su mayoría Usted solamente guarda vinos blancos, presione el botón designado “white”...
- Page 17 NOTA: Para remover las repisas corredizas, vacíe las repisas antes de sacarlas. Hálelas aproximadamente un tercio hacia afuera hasta que la marca en el raíl se alinee con el poste plástico en ambos lados. Levante cada repisa y sáquela suavemente de la unidad. Para reemplazar de nuevo la repisa, repita los pasos anteriores en dirección opuesta.
-
Page 19: Registration Information And Registration Card
REGISTRATION INFORMATION Thank you for purchasing this fine Avanti products. Please fill out this form and return it within 100 days of purchase and receive these important benefits to the following address: Avanti Products, A Division of The Mackle Co., Inc. - Page 20 PRINTED IN CHINA...
Need help?
Do you have a question about the WC400SS and is the answer not in the manual?
Questions and answers