Table of Contents
Advertisement
Quick Links
Advertisement
Table of Contents

Related Manuals for Braun DigiFrame 1091


Summary of Contents for Braun DigiFrame 1091
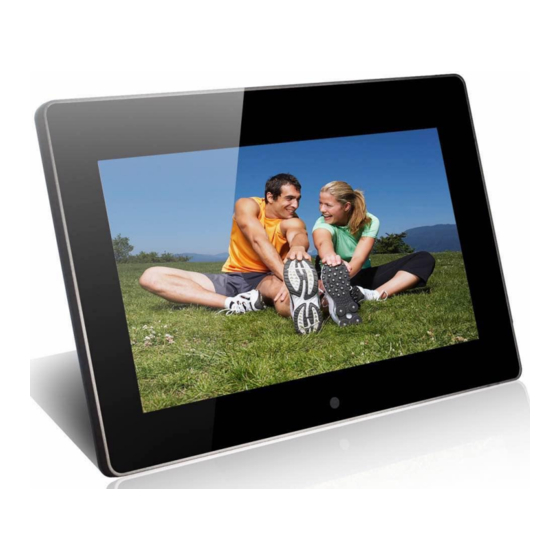
- Page 1 DigiFrame 1091 Full HD IPS Digital Photo Frame User Manual...
-
Page 2: Table Of Contents
Contents Introduction ............................2 Safety Precautions ..........................2 Features ............................. 3 Package Contents ..........................4 Controls and Connectors ........................5 Remote Control ..........................7 Getting Started ..........................9 Main Menu ............................10 Viewing Your Photos ........................11 Listening To Your Music ........................12 Viewing Your Videos ........................ -
Page 3: Introduction
Introduction Read this manual carefully before operating the digital photo frame, and retain it for future reference. This manual will help you using the many exciting and useful features that will make your photo frame viewing more enjoyable. It includes a step by step guide to the basics on photo frame operation including instructions on uploading and playing photos, music or videos. -
Page 4: Features
Features Hi-tech IPS screen, LED backlight High resolution 1280 x 800 Wide viewing angle Compatible with SD/MMC Card HDMI input (mini HDMI) USB2.0 Host Supports MPEG2, MPEG4, H.264, RM, RMVB, MPG, MOV, AVI, MKV, TS, M2TS, etc. ... -
Page 5: Package Contents
Package Contents Check that all of the following is included when unpacking your digital photo frame. Digital photo frame Power adapter Remote control User manual Stand... -
Page 6: Controls And Connectors
Controls and Connectors... - Page 7 Serial number Function Remote receiver Power on/off SD/MMC card slot USB2.0 port HDMI input (mini HDMI) DC In Navigation up Navigation down Navigation left Navigation right Menu/Play/Enter/Pause Exit Speakers Stand connection...
-
Page 8: Remote Control
Remote Control POWER Power on/off. MUTE Mute, but not in system setup. HDMI/AV/DMP channel switch. CALENDAR Enter calendar play mode directly. PHOTO Enter photo playback mode directly, but not in system setup. MUSIC Enter music playback mode directly, but not in system setup. MOVIE Enter video playback mode directly, but not in system setup. - Page 9 ENTER Confirm and enter. VOL+ VOL- Adjust the volume. Play or pause file in movie playback mode, fast forward or rewind. Play the previous or next one program. Play or pause the file. Show user the info bar.
-
Page 10: Getting Started
Getting Started To set up your digital photo frame, you first need to attach the stand. Place the digital photo frame horizontally on a flat surface. Insert the power lead into the digital photo frame’s socket marked DC In. Turn on the digital photo frame by either pressing the power button on the back of the unit or by pressing ON/OFF on the remote control. -
Page 11: Main Menu
Main Menu After turning the unit on the following menu appears: After inserting the memory device (USB/SD), use the / buttons on the remote control to select the desired function; then press ENTER to select the menu item. -
Page 12: Viewing Your Photos
Viewing Your Photos Select the photo icon from the main menu and press ENTER. Use the / buttons to select the memory device and press ENTER. You have now access to your photos in thumbnail view. Navigate your photos using the /// buttons. Press ENTER to start playing your photos. -
Page 13: Listening To Your Music
Listening To Your Music Select the music icon from the main menu and press ENTER. Use the / buttons to select the memory device and press ENTER. Your music files are displayed on screen. Navigate your music files using the / / buttons. Press ENTER to start playback. Viewing Your Videos Select the movie icon from the main menu and press ENTER. -
Page 14: Calendar And Clock Display
Calendar and Clock Display To view the calendar, select the calendar icon from the main menu. A photo slideshow will play in a small window on the left side of the screen. -
Page 15: Hdmi-In Function
HDMI-IN Function Connect the HDMI-out device with the HDMI-IN interface of the photo frame. Press SOURCE to choose HDMI to select input Source “HDMI”. Scroll Subtitle Function... - Page 16 The photo frame supports scrolling subtitles when playing photo, music and video files. The setting steps are as follows: Create a TXT file. Then save this file with the code format of “Unicode” and name it as “SCROLL.TXT”. Copy this TXT file to USB disk or memory card. Insert the USB disk or memory card into the photo frame, it will show the subtitles when playing photos, music or videos.
-
Page 17: Setup Menu
Setup Menu Select the setup icon from the main menu to adjust the settings on your digital photo frame. Alternatively, press the SETUP button on the remote control. Various options are displayed: / button: Move through the items or select parameters. /...
Need help?
Do you have a question about the DigiFrame 1091 and is the answer not in the manual?
Questions and answers