Advertisement
Advertisement
Table of Contents

Related Manuals for PRIXTON DV650


Summary of Contents for PRIXTON DV650
- Page 1 MULTISPORT PRIXTON DV650 WIFI ...
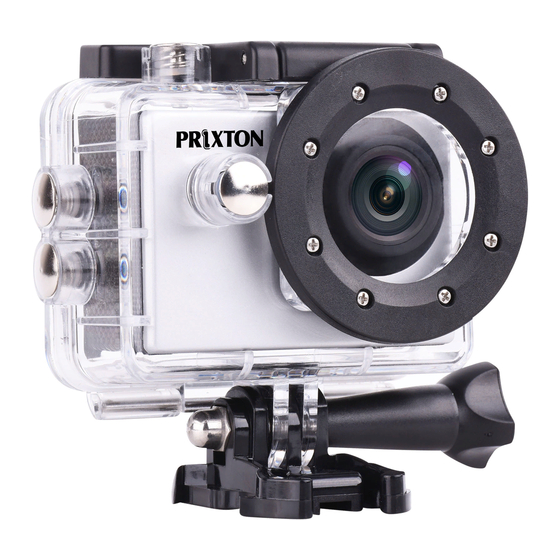
- Page 2 Features MicroSD Slot Shutter/Select Button WiFi ON/OFF Microphone Micro USB Power/Mode Button Port Status Indicator Lens Light Micro HDMI Port ...
- Page 3 Status Indicator Light Up Button Speaker Down Button Screen Menu Charging Status Light ...
- Page 4 Battery Door Latch Battery Door ...
- Page 5 Waterproof Housing Latch Select/Shutter Button Up Button Power/Mode Button Down/Shutter Button ...
- Page 6 Accessories Waterproof Handle Bar/Pole Mount 1 Housing Mount Mount 2 Mount 3 Adhesives Helmet USB Cable Manual Mounts Battery Bandages Clip ...
- Page 7 1. Video Record Video 2. Playback (Event, Video or JPEG) 3.Settings (Video Settings, Photo Settings, and System Settings) To access to Video Settings, go to the Video mode and press the down button. To access the Photo Settings, go to the Photo mode and press the down button. a.Video Settings: ...
- Page 8 You can then choose different settings such as Movie Size:1080P 30fps or 720p 60fps Micro SD Card 1080p 30fps 720p 60fps 32GB 240mins 320mins 16GB 120mins 160mins 8GB 60mins 80mins 4GB 30mins 40mins You can also choose Video Quality, Seamless Mode, White Balance mode, Motion Detection ‐ usefull in driver mode so you can save battery and memory space, and Date Stamp display. b.Photo Settings: You can select different resolutions up to 12 MP, White Balance modes, Driver/Timer modes, Burst mode, Date Stamp Display. c.System Settings: ...
- Page 9 1)Sounds: On/Off, Start‐up 1/2/3/None, Beep On/Off, Volume 0/1/2/3 2)Power Frequency:50Hz/60Hz/Auto 3)Panel Protect(Screen Saver):Off/1 mins/3 mins/5 mins 4)Power Save: Off/1 mins/3mins/5mins 5)Date&Time: YY/MM/DD 6)Language: English/Simplified Chinese/ Traditional Chinese/France/Spanish/Italian/ Portuguese/Dutch/Polish/Russian/Japanese 7)Format: No/Yes 8)IR mode 9)Reset All: No/Yes 10)Version Capturing Video +Photos To capture the photos and videos, click on the button OK/Shutter modes. ...
- Page 10 Storage/MicroSD Cards This camera is compatible with 4GB,16GB, and 32GB capacity microSD, microSDHC, and microSDXC memory cards. You must use a microSD card with a Class 10 speed rating. We recommend using brand name memory cards for maximum reliability in high‐vibration activities . Charging the Battery If recording is occurring when battery reaches 0%, the camera will save the file and power OFF. To charge the battery: 1.Connect the camera to a computer or USB power supply. 2.The Charging Status Light remains ON while the battery is charging. 3.The Charging Status Light will turn OFF when the battery is fully charged. ...
- Page 11 Connecting to the iSmart DV App The iSmart DV App lets you control you camera remotely using a smartphone or tablet. Features include full camera control, live preview, photo playback and sharing of select content and more. 1.Download the iSmart DV App to your smartphone or tablet at the Apple App Store or Google Play. 2.Press the Power/Mode Button to power camera ON. 3.Press the OK/Shutter button for 3 seconds until you see “waiting for WIFI connection” 4.In your smartphone or tablet’s Wi‐Fi settings, connect to the network called “Action Cam” followed by a series of numbers. 5.Enter the password“1234567890” 6.Open the iSmart DV App on your smartphone or tablet. ...
- Page 12 Compatibility The iSmart DV App is compatible with some smartphones and tablets listed below. ...
Need help?
Do you have a question about the DV650 and is the answer not in the manual?
Questions and answers