Table of Contents
Advertisement
Quick Links
Advertisement
Table of Contents

Related Manuals for Sper scientific 840081


Summary of Contents for Sper scientific 840081
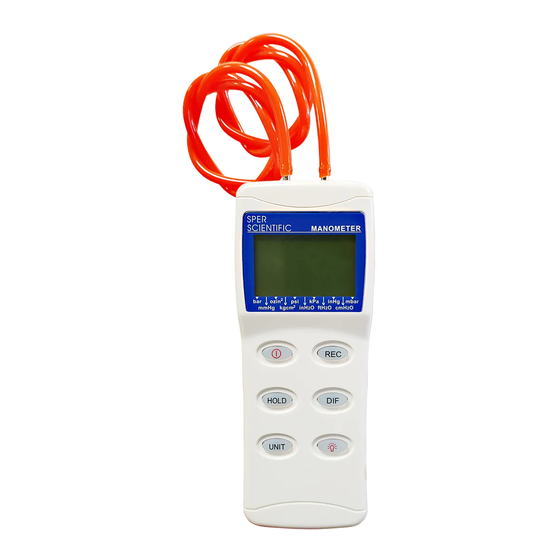
- Page 1 Manometers 2PSI, 5PSI, 15PSI, 30PSI, 100PSI 840080, 840081, 840082 840083, 840085...
-
Page 2: Table Of Contents
Manometers 840080, 840081, 840082, 840083, 840085 Copyright ©2015 by Sper Scientific ALL RIGHTS RESERVED Printed in the USA TABLE OF CONTENTS 1. INTRODUCTION ......2 2. -
Page 3: Panel Description
PANEL DESCRIPTION 1. “-” Negative pressure hose plug. 2. HOLD Freezes pressure reading. 3. “-” Minus pressure display. HOLD 4. REC starts/displays max/min pressure. 5. MAX MIN pressure recorded. MAX MIN BAT 6. BAT Low Battery Indicator 7. On/Off button 8. -
Page 4: Instructions
GENERAL INSTRUCTIONS The Manometer measures “Gauge Pressure.” This combines Differential pressure with a PSI measurement as referenced to ambient pressure. When the manometer is first powered on, the entire LCD display flashes for approximately 3 seconds. The LCD is divided into two distinct sections: One large (Primary) top screen and one smaller section at the bottom-right of the LCD (Relative Clock). -
Page 5: Zero Setting
CAUTION During the Zero Setting. Make sure the tube is disconnected and do not apply pressure to the connector. Doing so can cause permanent damage to the unit, which is not covered by the warranty. Zero Setting Do not apply pressure to the connector and disconnect the tube. Failure to follow this procedure can cause damage and void the warranty. -
Page 6: Auto Power Off
13. Set the calibrator to 80.00 PSI. 14. Check manometer readings. If it is not within specs, enter the calibration mode by pressing POWER and REC buttons simultaneously. 15. Press UNIT button to enter negative calibration mode. 16. Press REC button to save calibration point. 17. -
Page 7: Screen Examples
PSI Range Calibration Recommended 840085 0 to ±2 1.5 to 1.7 840080 0 to ±5 4.000 3.900 to 4.100 840081 0 to ±15 12.00 11.70 to 12.30 840082 0 to ±30 24.00 23.40 to 24.60 840083 0 to ±100 80.00... -
Page 8: Specifications
(1) year from the date of purchase and agrees to repair or replace any defective unit without charge. If your model has since been discontinued, an equivalent Sper Scientific product will be substituted, if available. This warranty does not cover probes, batteries, battery leakage, or damage resulting from accident, tampering, misuse, or abuse of the product.
Need help?
Do you have a question about the 840081 and is the answer not in the manual?
Questions and answers