Table of Contents
Advertisement
Advertisement
Table of Contents

Subscribe to Our Youtube Channel
Related Manuals for Albrecht DR 460 C


Summary of Contents for Albrecht DR 460 C
- Page 1 Internet Radio Adapter ALBRECHT DR 460 C User Manual English English...
-
Page 2: Table Of Contents
1 Introduction Thank you for choosing the ALBRECHT Internet Adapter DR 460 C. In this printed quick start manual the first steps for a successful connection and operation of the device are explained. The full manual with detailed explanation of all features and details is available for free download on our website at: www.alan-electronics.de... -
Page 3: Package Contents
3 Package contents Please make sure that the following contents are included in the package: DR 460 C Adapter Power supply Remote control DR 460 C User Manual RCA connection cable 4 Connecting DR 460 C to your existing Hi-Fi English... -
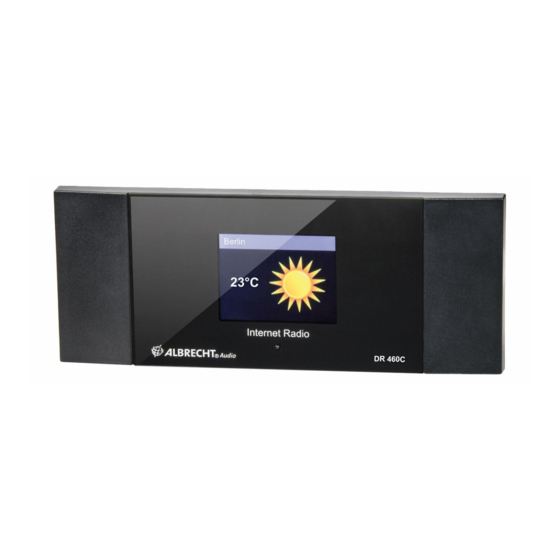
Page 4: Front Panel
5 Front panel There is no keypad or buttons on your DR 460 C. All is working entirely from the enclosed remote control. The design is made simple and user - friendly so the navigation is handled completely by the R/C. -
Page 5: Remote Control
7 Remote control Power button Press to switch the device between standby and on mode. Menu button Press to return to the main menu. Volume- button Press to decrease the output volume. Mute button Press to mute the audio output. Volume+ button Press to increase the output volume. -
Page 6: Turning On The Dr 460 C
Connect RCA cables to your existing Hi-Fi stereo. First time configuration The first time the DR 460 C is powered on you have to choose the language first: Use the up/down navigation buttons on your remote control to choose your preferred language and press OK. - Page 7 If Yes was chosen first, find your network on the list shown on the screen and press ok. Enter your password if your wi-fi connection is encrypted. If your router supports WPS and Yes (WPS) was chosen simply press the WPS button on your router within 120 seconds.
-
Page 8: Text Entry
Text entry When you add the address of an online radio station or use a WEP key for wireless network security, you need to enter text. It is the same procedure to set the time, date or the alarm. But of course you can only select numbers. To enter upper/lower case letters, symbols, or numbers: Press the up/down navigation button to select a character from the following: A a B b…Z z $ % &... -
Page 9: Establishing A Wireless Connection
NOTE! This is only needed if a connection has not already been established on the first power on or the DR 460 C needs to connect to a different network. Set up your access point (AP) to receive/broadcast a wireless signal. -
Page 10: Dlna / Airmusic Control App
DLNA / AirMusic Control App The DR 460 C can be controlled with your smartphone via WiFi. It is recommended to use the AirMusic Control App. Additionally to controlling the radio, the app is able to play the smartphone’s local music files on the DR 460 C. -
Page 11: Specifications
9 Specifications Connectivity Wireless Access Point Data transfer rates 54 Mbit / s (WLAN) WLAN security WPA and WPA2-AES 64/128-Bit WEP Audio Format Decoder Real/MP3/WMA/Flac/Ogg. 32 Kbit/s~320 Kbit/s Signal to Noise Ratio >90 dB Display 128 x 64 FSTN graphical display blue with white LED Inputs/Outputs Line Out (RCA socket) -
Page 12: Warranty And Recycling Information
10 Warranty and Recycling Information We are legally obliged to include disposal and warranty information as well as EU declaration of conformity with the use instructions in different countries for every unit. Please find this information on the following pages. 2-Year Warranty from Date of Purchase The manufacturer/retailer guarantees this product for two years from date of purchase.
Need help?
Do you have a question about the DR 460 C and is the answer not in the manual?
Questions and answers