Advertisement
Quick Links
Download this manual
See also:
Owner's Manual
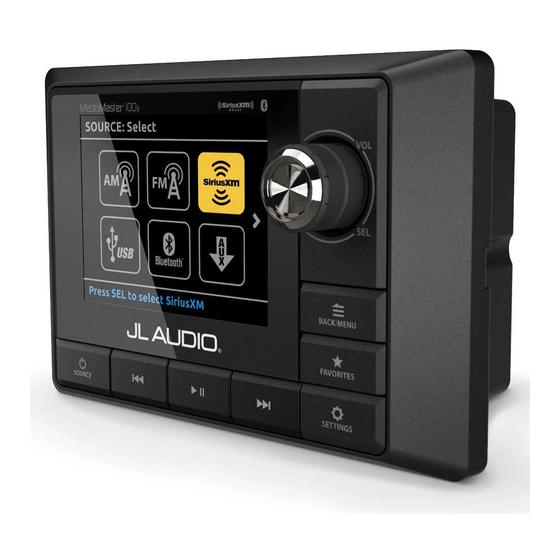
OWNER'S MANUAL
Thank you for purchasing a JL Audio MediaMaster®
Source Unit for your sound system.
This product has been designed and manufactured to exacting
standards in order to deliver years of musical enjoyment. For maximum
performance, we highly recommend that you have your MM100s
installed by an authorized JL Audio dealer. Your authorized dealer has
the training, expertise and installation equipment to ensure optimum
performance from this product. Due to the complexity of modern
vehicle systems, we do not recommend self-installation unless you have
extensive experience in automotive and marine electrical systems.
Should you decide to install this product yourself, please take the time to
read this manual thoroughly to familiarize yourself with its installation
requirements and setup procedures.
If you have any questions regarding the instructions in this manual or
any aspect of the product's operation, please contact your authorized
JL Audio dealer for assistance. If you need further assistance, please contact
the JL Audio Technical Support Department at technical@jlaudio.com
or call (954) 443–1100 during business hours.
Advertisement

Related Manuals for JL Audio MediaMaster 100s


Summary of Contents for JL Audio MediaMaster 100s
- Page 1 If you have any questions regarding the instructions in this manual or any aspect of the product’s operation, please contact your authorized JL Audio dealer for assistance. If you need further assistance, please contact the JL Audio Technical Support Department at technical@jlaudio.com...
- Page 2 Protect Your Hearing! We value you as a long-term customer. For that reason, we urge you to practice restraint in the operation of this product so as to not damage your hearing and that of others in your vehicle. Studies have shown that continuous exposure to high sound pressure level can lead to permanent (irreparable) hearing loss.
- Page 3 This device complies with part 15 of the FCC Rules. Operation is subject to the following two conditions: (1) This device may not cause harmful interference, and (2) this device must accept any interference received, including interference that may cause undesired operation.
- Page 4 Mounting and Installation The diagram below shows a typical mounting procedure into a fiberglass panel. Always follow proper safety procedures. Wear eye-protection at all times with a dust mask and gloves when cutting. A mounting template is included to aid in measuring and marking the mounting surface before cutting or drilling.
-
Page 5: Wiring Harness Connections
Power Connections continued... Disconnect the NEGATIVE battery post connection and secure the disconnected cable to prevent accidental reconnection. This is an essential safety precaution during installation! Label Wire Color Connection Connect to a positive (+12V) source. This can be an ignition controlled, accessory circuit or a vessel battery equipped with a main disconnect switch. - Page 7 General Control Functions Below is a list of general commands, including many common operations. The functionality of each control will vary depending on the current source and menu selected. Use this button to turn ON or OFF and to access the source selection menu. Source/ •...
- Page 8 Audio Zones continued... Access the Audio Zone Setup menu to configure the functionality of each zone. 1. Press and hold SETTINGS to access the System Settings: Main Menu. 2. Press to select Audio Zone Setup. 3. Use to make selections. Refer to the table and info below for each zone’s available setting and functionality.
- Page 9 Selecting a Source 1. Press to access the SOURCE: Select menu. 2. Rotate to highlight a desired source. 3. Press to select. Favorites You may store up to 18 of your preferred stations or channels from your available tuner options (AM/FM/WB/SiriusXM®) as a preset for quick tuning access. SiriusXM®...
- Page 10 Listening to SiriusXM® 1. Press and turn to select SiriusXM. 2. Press to begin listening to SiriusXM. Channel Selection 1. Press to select the next or previous channel. Channel Browse Channel Browse allows you to preview other channels without leaving your current channel.
- Page 11 Resetting SiriusXM® Radio Settings A reset of the SiriusXM® tuner will erase all presets and settings, including parental controls, restoring all SiriusXM® settings back to their factory defaults. 1. Press to access the SiriusXM®: Main Menu. 2. Turn to My Account and press to enter. 3.
- Page 12 Connect an iPhone An iPhone® may also be connected to the USB port using an appropriate Lightning® to USB cable (not included). Once connected, select USB from the SOURCE: Select menu to access the connected device with the following controls: Use this button to make a forward selection.
- Page 13 Low Voltage Alert A built-in alert is included to notify when the +12VDC supply voltage drops below 10 volts. If triggered, the unit will enter Safe Mode and mute audio output. A warning will also display on-screen with instructions to turn the unit off until normal operating voltage is restored.
-
Page 14: Troubleshooting
Troubleshooting Problem Possible Cause Possible Solution Remove fuse and check with continuity meter. Faulty fuse Replace if necessary. Unit doesn’t turn on Check “Ground” and “+12VDC” connections for Poor connection integrity pinched wires; ensure tight connections. Mute is on Press to verify that Mute is not on. -
Page 15: Specifications
The Bluetooth® word mark and logos are registered trademarks owned by Bluetooth SIG, Inc. The aptX® word mark and logos are registered trademarks owned by CSR. iPhone® and Lightning™ are registered trademarks of Apple Inc. Use of all trademarks by JL Audio is under license.
Need help?
Do you have a question about the MediaMaster 100s and is the answer not in the manual?
Questions and answers