Advertisement
User Guide for RTP3280 Ethernet Interface
Description:
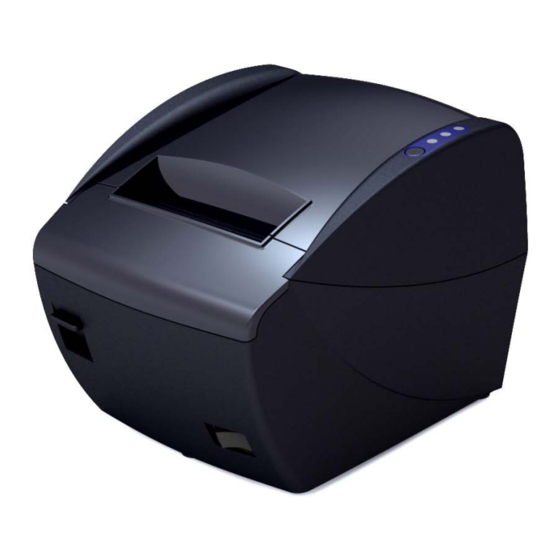
RTP‐3280 Thermal Receipt Printer comes with three different I/O interfaces in I/O board replaceable version. And
one of the three I/O interface board is Ethernet & USB board. Since the usage of Ethernet interface is quite
different from other interfaces, the methods of configuration and utilization of Ethernet board are documented in
the paper. Please read this paper before using the RPT‐3280 with Ethernet interface.
With Ethernet interface, the RPT‐3280 is a network printer and can serve more than one PCs while on duty. Over
the Ethernet, we implement the TCP/IP protocol which is the most popular standard in the industry to transfer
data and manage printer from PC which has the ability to browse the internet with varies browser such as IE from
Microsfot, chrome from Google , Firefox and so forth.
Installation
Before the RTP‐3280 can work with network interface, both the hardware and software are needed to be setup in
proper way. The section details the installation on both hardware and software.
Hardware
Please connect RTP‐3280 with a RJ‐45 Ethernet cable. While connecting, the LED on the RJ‐45 connector will blink.
There is no other setting needed on the printer.
Software
Since the data transfer is via TCP/IP protocol, each RPT‐3280 must own an IP address before it can work on the
network. Before the RPT‐3280 can be shipped out, each printer is programmed a default IP address as follow.
Default IP address of RPT‐3280: 192. 168. 1. 200
Default ID: admin
Default Password: 1234
Note that you can change the IP address as you want. If you forget the IP address assigned to an RTP‐3280, you
can retrieve the machine's status with the VCOM tool which mentioned in later section.
Configure RTP3280
1.
Connect your RTP‐3280 with RJ‐45 Ethernet cable and power on the machine.
2.
Open the IE or other internet browser you familiar with.
3.
Type the IP address of your RTP‐3280 in the URL field. If you do not change the IP address, it should be the
default value mentioned above. The following login screen will be displayed if the IP address is correct.
4.
Use default ID and password to log in. Please enter the exact ID and Password if you have changed the ID
and Password. The Administrator Setting screen will show up after logged in. With the Administrator
Setting screen, you can change the TCP/IP related attributes such as IP address, subnet mask and Gateway
to fit your network configuration. If you don't know how to setting these data, please consult you IT
technician for help.
Appostar Technology Co., Ltd.
User Guide for RTP‐3280 Ethernet Interface
Page 1
Advertisement
Table of Contents

Subscribe to Our Youtube Channel
Related Manuals for Appostar RTP-3280


Summary of Contents for Appostar RTP-3280
- Page 1 User Guide for RTP3280 Ethernet Interface Description: RTP‐3280 Thermal Receipt Printer comes with three different I/O interfaces in I/O board replaceable version. And one of the three I/O interface board is Ethernet & USB board. Since the usage of Ethernet interface is quite different from other interfaces, the methods of configuration and utilization of Ethernet board are documented in the paper. Please read this paper before using the RPT‐3280 with Ethernet interface. With Ethernet interface, the RPT‐3280 is a network printer and can serve more than one PCs while on duty. Over the Ethernet, we implement the TCP/IP protocol which is the most popular standard in the industry to transfer data and manage printer from PC which has the ability to browse the internet with varies browser such as IE from Microsfot, chrome from Google , Firefox and so forth. Installation Before the RTP‐3280 can work with network interface, both the hardware and software are needed to be setup in proper way. The section details the installation on both hardware and software. Hardware Please connect RTP‐3280 with a RJ‐45 Ethernet cable. While connecting, the LED on the RJ‐45 connector will blink. There is no other setting needed on the printer. Software Since the data transfer is via TCP/IP protocol, each RPT‐3280 must own an IP address before it can work on the network. Before the RPT‐3280 can be shipped out, each printer is programmed a default IP address as follow. Default IP address of RPT‐3280: 192. 168. 1. 200 Default ID: admin Default Password: 1234 Note that you can change the IP address as you want. If you forget the IP address assigned to an RTP‐3280, you can retrieve the machine’s status with the VCOM tool which mentioned in later section. Configure RTP3280 Connect your RTP‐3280 with RJ‐45 Ethernet cable and power on the machine. Open the IE or other internet browser you familiar with. Type the IP address of your RTP‐3280 in the URL field. If you do not change the IP address, it should be the default value mentioned above. The following login screen will be displayed if the IP address is correct. Use default ID and password to log in. Please enter the exact ID and Password if you have changed the ID and Password. The Administrator Setting screen will show up after logged in. With the Administrator Setting screen, you can change the TCP/IP related attributes such as IP address, subnet mask and Gateway to fit your network configuration. If you don’t know how to setting these data, please consult you IT technician for help. Appostar Technology Co., Ltd. Page 1 ...
- Page 2 User Guide for RTP‐3280 Ethernet Interface Printing via TCP/IP There are two methods of sending data to RTP‐3280 for printing. The first one is use standard TCP/IP port as connection port of printer driver. The second one is use VCOM tool to create a virtual COM port as the connection port of printer driver. We detail the two methods below. Use Standard TCP/IP Port Install the printer driver that comes with the companion Disc. Open the Printers and Faxes from Windows Start menu Select RTP‐3280 and click right bottom of mouse, click Properties bottom to show the property page of RTP‐3280. Select Ports page. Press Add Port … bottom. Select Standard TCP/IP Port and press New Port … to add a standard TCP/IP port. Appostar Technology Co., Ltd. Page 2 ...
- Page 3 User Guide for RTP‐3280 Ethernet Interface The Add Standard TCP/IP Port Wizard will be evoked. Press Next bottom to proceed. Input the IP address in the upper field and press Next bottom. Select Standard type and Generic Network Card. After displaying the information of the newly added port, press Finish bottom to end the procedure. In the Port page of RTP‐3280’s properties sheets, a newly added TCP/IP port can be found. Please select the new port by having the check box of the port checked. And then press Apply bottom to make you selection effect. Appostar Technology Co., Ltd. Page 3 ...
- Page 4 User Guide for RTP‐3280 Ethernet Interface Use virtualCOM tool Install VCOM application that comes with the companion Disc. Execute the VCOM application after installed. Press Search bottom to search printer on the network. You can get IP address of the printer from here. Click COM Mapping icon to switch to COM Mapping mode Press Add bottom to enter virtual COM setting screen. Select the RTP‐3280 in the device list and most of fields are fill with proper values automatically. You can select a different COM number only can you make sure the COM number not occupied by other COM port. Press OK bottom to create a virtual COM. Appostar Technology Co., Ltd. Page 4 ...
- Page 5 User Guide for RTP‐3280 Ethernet Interface After the virtual COM has been created, you can see the mapping on the list. Your PC now has a new COM port virtually. You can check the device manager for the new COM port. Install the printer driver with port created above. Please press configure port button in printer properties then make sure com port setting is correct. Appostar Technology Co., Ltd. Page 5 ...
Need help?
Do you have a question about the RTP-3280 and is the answer not in the manual?
Questions and answers