
Related Manuals for ATA GDO-6 EasyRoller


Summary of Contents for ATA GDO-6 EasyRoller
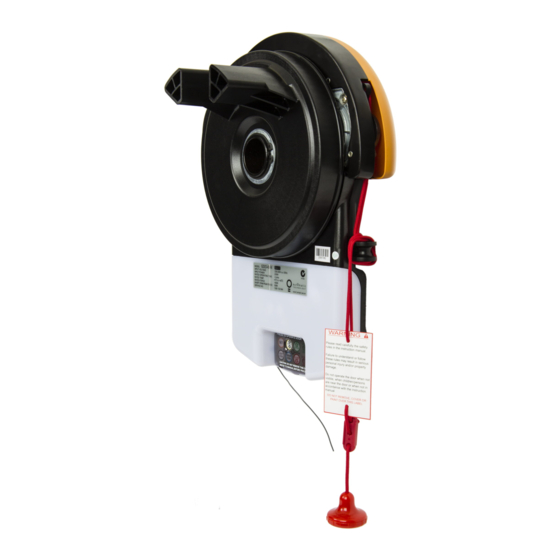
- Page 1 GDO-6 ® EasyRoller Rolling Door Opener Instruction Manual Doc # 160072_00 Part # 13456 Released 25/08/16...
-
Page 2: Table Of Contents
GDO-6 Instruction Manual Table of Contents Installation Instructions 1. Installation Safety Warnings! 13. Auto-Close Safety Beams 2. Kit Contents Auto Close Option 3. Tools Required 14. Coding a Transmitter 4. Setup Requirements Storing the Transmitter Code The Opener: Coding a Transmitter to Enable Vacation Mode Unsuitable Door Types Coding a Transmitter to enable AUX Output Sideroom... -
Page 3: Installation Safety Warnings
GDO-6 Instruction Manual 1. Installation Safety Warnings! This automatic garage door opener is designed and tested to offer safe service provided it is installed and operated in strict accordance with the following safety warnings. Failure to comply with the following instructions may result in death, serious personal injury or property damage. -
Page 4: Kit Contents
GDO-6 Instruction Manual 2. Kit Contents Fastner Bag 1. Power Drive 1 x GDO-6V4 drive unit 5. 2 x Nilock Nut 2. 2 x Locking Bar Covers 6. 2 x 3/16 x 1/2 flat washers 3. Power Drive 2 x PTX-5 Transmitters 7. -
Page 5: Setup Requirements
GDO-6 Instruction Manual 4. Setup Requirements The Opener: a. MUST BE installed in a dry position, protected from weather. (Moisture or corrosion not covered by Warranty) b. Is factory set for RIGHT HAND SIDE installation (from inside garage), but capable of LEFT HAND SIDE installation. c. -
Page 6: Door Preparation
GDO-6 Instruction Manual 5. Door Preparation Prepare the Door: a. Clean the guides if there is any oil or wax present using a suitable white spirit. The only lubricant suitable for use on door guides is silicon spray. DO NOT use WD-40, RP-7, petroleum grease, or similar. b. -
Page 7: Pinning The Door
GDO-6 Instruction Manual 7. Pinning the Door Pinning the Door to the drum: Screw into the Pinning the door’s curtain to its drum maintains security when the opener is low part of closed. If the curtain is not pinned the door can be partially opened manually. grove a. -
Page 8: Mounting The Opener
GDO-6 Instruction Manual 9. Mounting the Opener Raising the Door: a. When in position, remove the U-bolt (or bolts) and saddle from the door bracket. b. Lift the door up and away from the wall until clear of the door bracket, before lowering the door to rest on the door stand or prop. -
Page 9: Setting The Travel Limits
GDO-6 Instruction Manual 10. Setting the Travel Limits Initial Preparation: a. Move the door to the half way position. b. Engage the opener by pulling down on the manual release string until a click sounds. c. Remove the clear button cover from the unit. d. -
Page 10: Safety Testing
GDO-6 Instruction Manual 11. Safety Testing Test the Close Cycle CAUTION: Take care when completing a a. Press the OPERATE button to open the door. safety test. Failure to follow this warning b. If the door closes, press the OPERATE button to stop the door, can result in serious personal injury and/or then press OPERATE again to open. -
Page 11: Accessories
GDO-6 Instruction Manual 12. Accessories GDO-6V4 GDO-6V3 30V PWR Auxiliary Output External device, The auxiliary output can be used to control Relay Alarm, Door or PE (OV) alarm or another garage door opener. A valid Gate opener. transmission from the pre-coded transmitter will cause the auxiliary output to pulse for approximately 1 (one) second. -
Page 12: Coding A Transmitter
GDO-6 Instruction Manual 14. Coding a Transmitter Storing the Transmitter Code The opener can only operated from remote control transmitters that have been programmed into its memory. Up to 64 codes can be stored in the memory. a. Press and hold the DOOR CODE button. b. -
Page 13: Easy Access Transmitter (Eat) Coding
GDO-6 Instruction Manual 14. Coding a Transmitter Easy Access Transmitter (EAT) Coding a. Press and hold the DOOR CODE button. b. Press the EAT’s buttonfor two (2) seconds, pause for two (2) seconds, then press the button again for two (2) seconds. c. -
Page 14: Home Owner Safety Warnings
GDO-6 Instruction Manual 15. Home Owner Safety Warnings! This automatic garage door opener is designed and tested to offer safe service provided it is installed and operated in strict accordance with the following safety warnings. Failure to comply with the following instructions may result in death, serious personal injury or property damage. -
Page 15: Opener Safety & Security
GDO-6 Instruction Manual 16. Opener Safety & Security Your Door CAN NOT be used by the opener when: WARNING! When operating the manual a. There is a locking device installed. release (while the door is open) the door b. There is a power failure. may fall rapidly due to weak or broken springs, or due to being improperly Your Door CAN be used when:... -
Page 16: User Operating Controls
GDO-6 Instruction Manual 18. User Operating Controls Button Function 1. OPERATE Opens/stops/closes the door 2. CODING LED (Red) Flashes when a code is being stored or when the transmitter button is pressed 3. LIGHT CODE (White) Is used for storing or erasing the transmitter button (code) you wish to use to switch the courtesy light on the opener on or off. -
Page 17: Specifications
GDO-6 Instruction Manual 20. Specifications Technical Specifications GDO-6V4 GDO-6V3 EasyRoller ® EasyRoller ® Power supply 230V - 240Va.c. 50Hz 230V - 240Va.c. 50Hz Maximum door opening Door Height: 3.25 turns of the drum wheel 3.25 turns of the drum wheel (approx. -
Page 18: Troubleshooting
GDO-6 Instruction Manual 21. Troubleshooting Symptom Possible cause Remedy The opener does The opener does not have power Plug a device of similar voltage (e.g. a hairdryer) into not work from the the power point and check that it is OK transmitter The battery in the transmitter is flat Replace the battery... - Page 19 GDO-6 Instruction Manual 21 Troubleshooting Symptom Possible cause Remedy The SERVICE LED has A Fault has been detected. The fault Record opener function (How many beeps?) then started to flash and will be active each time an attempt is press the SET button once to reset the opener. If the is beeping numerous made to operate the door.
-
Page 20: Maintenance
GDO-6 Instruction Manual 22. Maintenance Door Maintenance WARNING! Failure to maintain your A poorly maintained door could cause fatal / serious injuries or damage garage door may void the warranty on to property. your garage door opener. • Frequently examine the door, particularly the cables, springs and mountings for signs of wear, damage or imbalance. -
Page 21: Service Schedule
GDO-6 Instruction Manual 25. Service Schedule Year / Date Details Approx. Cycles 1 / 3,000 2 / 6,000 3 / 9,000 4 / 12,000 5 / 15,000 6 / 18,000 7 / 21,000... -
Page 22: Warranty
(u) acts or omissions of any person (including service providers approved by ATA) other 5. Subject to all of the matters set out below, ATA warrants in relation to the Product than ATA. -
Page 23: Optional Accessories
GDO-6 Instruction Manual 27. Optional Accessories There are a range of additional accessories for your added convenience and security. Contact your Dealer for installation of these accessory items. • Safety Beams - Provides additional protection if the door is closing onto your property or person. Simply breaking the beam “stops”... - Page 24 Is your door sticking and hard to operate? It may be time for a service (for more details see section 22) For a service, contact your dealer using the details below... Dealer:...
Need help?
Do you have a question about the GDO-6 EasyRoller and is the answer not in the manual?
Questions and answers
I lost the remote power in a thunderstorm and can't get it back. I have tried the recommended method, to no avail. when I press the door code button the rec light flashes and begins to beep. Can you help?