
Related Manuals for Hydro Doors Digi One

Summary of Contents for Hydro Doors Digi One
- Page 1 Types of Doors that can be automated using the digi.one: • Sectional overhead doors, single/double, steel or timber. • Tip – up doors, steel or timber.
- Page 2 Page 1 eatures Microprocessor based control system One button to open, close and stop Bright LED courtesy light, with a 3 minute time-out Easily adjustable operating force/obstacle sensing Supports Safety Beams Optional back-up battery Auto-close feature 24V DC Motor provides superior power to weight, giving quiet, smooth operation with soft starting and stopping Protected against overload and over-heating Reliable chain-drive Sturdy steel Rail...
- Page 3 Page 2 Installation 4.1 Recommended Tools and Equipment for this Installation Electric Drill – Spirit Level Impact, Variable Speed, Reversible Tape Measure – 5m Drill Bits Hammer Masonry: 6mm, 10mm Spanners Steel: 6mm, 10mm, 12mm Sockets: 8mm, 11mm, 13mm Hacksaw Flat/Ring: 10mm, 11mm, 13mm, 14mm Screwdriver - Step Ladder –...
- Page 4 Page 3 Using suitable material bolted to the Cross Member, secure the Power Head overhead, so that the Rail is horizontal. Plug the Mains Cord into a socket installed according to regulations. Electrical Terminals and Connections Note: The Terminals can be accessed by un-clipping and removing the Light Lens. Should the main cover need to be removed, remove the screw at the front and support the cover so that the hook at the rear is not stressed.
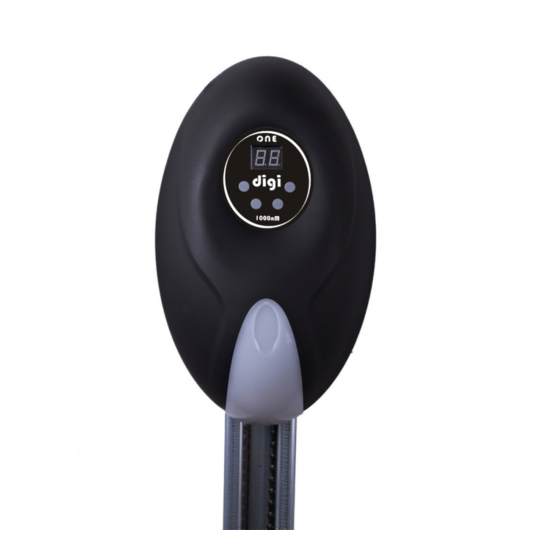
- Page 5 Page 4 Programming the operator (Note: The operator will exit programming if left for 30 seconds.) (Programming cont.) Press and hold the CODE button for 8 seconds. Preparation dL dL ‘dL’ is displayed With the Carriage Release Lever horizontal, Operating Force Adjustment move the door by hand until the Carriage engages with the Shuttle.
- Page 6 Section 5. ‘Electrical Terminals and Connections Manufacturer’s Warranty Hydro Doors and Gates (Pty) Ltd (Hydro) warrants the first purchaser of the digi.one, that the product shall be free of any • defects in materials and/or workmanship for a period of twelve months (one Year) from the verifiable date of purchase. Such verification shall include a valid proof of purchase by the first retail purchaser, which shall include, if possible, the Serial number of the motor under warranty.
Need help?
Do you have a question about the Digi One and is the answer not in the manual?
Questions and answers
Hi when pressing the up or down button to set the open and close settings on the digione motor while holding it down there is an H that displays the motor does not move in any direction what could be the problem
If the Hydro Doors Digi One motor displays an 'H' and does not move when pressing the UP or DOWN button, the Safety Beam may be enabled without being installed or is faulty. In this case, the motor will open but not close. To fix this, disable the Safety Beam by selecting ‘CL’, then press the DOWN button to display ‘H0’. Press SET to confirm.
This answer is automatically generated