
Related Manuals for Braun DigiFrame 1590


Summary of Contents for Braun DigiFrame 1590
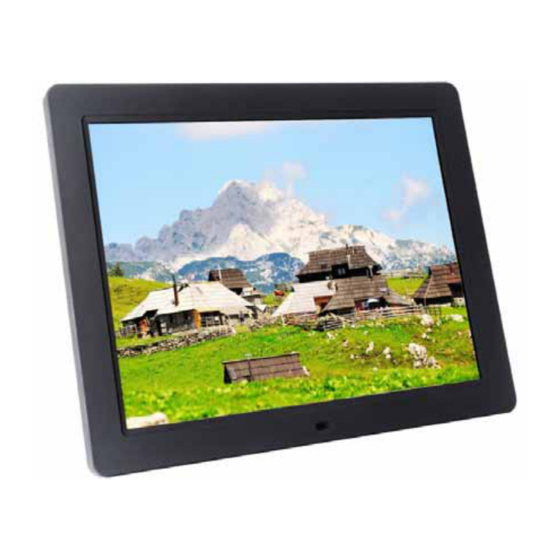
- Page 1 BRAUN DigiFrame 1590 User Manual BRAUN PHOTO TECHNIK GMBH, Merkurstr. 8, 72184 Eutingen, Germany ...
- Page 2 Features: Supports image formats: JPEG, BMP, PNG Supports audio format: MP3 Supports video formats: MPEG1, MPEG2, MPEG3, H264, RM, RMVB, MOV, MJPEG, DivX Supports memory cards: SD/SDHC/MMC USB connection: USB 2.0 HDMI interface: supports HDMI‐IN function Slideshow with background music Supports scrolling subtitles when playing photos, music, movies Supports standby mode 10. Built‐in clock, auto on/off 11. Adjustable brightness, contrast, saturation 12. Supports file copy from USB to SD card 13. OSD languages: English and other languages selectable ...
- Page 3 Controls POWER Switch on / off. MUTE Mute (doesn't work in the system setup) SOURCE Signal input HDMI / AV / DMP CALENDAR Calendar function directly Photo and music playback mode directly (doesn't work in the system setup) PHOTO Photo playback mode directly (doesn't work in the main menu) MUSIC Music playback mode directly (doesn't work in the main menu) MOVIE Video‐playback mode directly (doesn't work in the main menu) ...
-
Page 4: Picture Mode/Delete Function
Main Menu: Supports SD/SDHC/MMC and USB 2.0. Press twice to access photo, music, video, calendar and settings menus. Press ENTER to confirm selection. Note: 1) Make sure there are supported picture, music or video files on the memory card or USB device. 2) Select Photo, Music, Movie or Photo + Music, Off in the Setup Menu. Picture Mode/Delete Function: Highlight Photo from the main menu, press ENTER to select the USB or memory card for playback ... -
Page 5: Delete Function
and press ENTER again to access thumbnail mode. Press to select the photo for playback and press ENTER to confirm. Delete function: In thumbnail mode, use to select the image file to be deleted and press INFO to delete, then press ENTER to confirm. During photo playback, press OSD to display the on‐screen controls and select the desired function with ... -
Page 6: Music Mode/Delete Function
Music Mode/Delete Function: Highlight Music from the main menu, press ENTER to select the USB 2.0 or memory card for playback and press ENTER again to access thumbnail mode. Press to select the music for playback and press ENTER to confirm. Delete Function: In thumbnail mode, use to select the music file to be deleted and press INFO to delete, then press ENTER to confirm. ... - Page 7 Music Playback: During music playback, press INFO to display the on-screen controls and select the desired function with : Play, Fast Rewind, Fast Forward, Previous, Next, Stop, Repeat all, Mute, Playlist, Info, Goto Time, then press ENTER to confirm. Video Mode/Delete Function: ...
-
Page 8: Video Playback
Delete Function In thumbnail mode, use to select the video file to be deleted and press INFO to delete, then press ENTER to confirm. Video Playback: During video playback, press INFO to display the on‐screen controls and select the desired function with : Play, Fast Rewind, Fast Forward, Previous, Next, Stop, Repeat all, Set A, ... -
Page 9: Scroll Subtitle Function
Playlist, Info, Slow Forward, Step Forward, Goto Time then press ENTER to confirm. Copy Function for Image, Music and Video Files: Copying all files from USB device to SD Card is supported. Enter the Settings menu, select “Copy” in the list, and press ENTER to confirm. Press or ENTER to select “Yes”. The progress is displayed. After successfully copying all files the slideshow will start automatically. Note: Make sure the photo/music/videos files are saved in the root directory of the USB device, not in any folder of the USB. Otherwise copying will fail. Scroll Subtitle function ... - Page 10 During photo, music and video playback scrolling subtitles are supported. Follow the steps below to set the scrolling subtitles: Create a TXT file. Save the TXT file in “Unicode” naming it “SCROLL.TXT”. Copy the TXT file to a USB device or memory card. Insert the USB device or memory card to display the subtitles during photo, music or video playback. Calendar: Enter the Calendar menu from the main menu. Browse the calendar with . ...
-
Page 11: Hdmi-In Function
HDMI‐IN Function Connect the HDMI device at the HDMI‐IN interface of the digital picture frame. Press SOURCE to select HDMI as input source. Setup Menu Language: German, English, French, Italian Slideshow Time: 3S/5S/10S/30S/60S Slideshow Mode: Off/On Repeat Mode: All/One/Off Display Mode: Auto, Fit, Panorama Time: Press ENTER to enter the sub menu, then press to adjust the time: Date, Month, Year, Hour, Minute, Second Brightness: Press to select from 0 (lowest) to 100 (highest) Contrast: ... - Page 12 Saturation: Press to select from 0 (lowest) to 100 (highest) Auto Power: Press ENTER, then press to set the frequency: Once, Every Day, Off. Press to select alarm ID and press to select On/Off. If “On” is selected, you can set Hour and Minute for Auto On and Auto Off Auto Play: Press ENTER, then press to select auto play mode: Photo, Music, Movie, Photo+Music, Off ...
Need help?
Do you have a question about the DigiFrame 1590 and is the answer not in the manual?
Questions and answers