Table of Contents
Advertisement
Advertisement
Table of Contents

Subscribe to Our Youtube Channel
Related Manuals for Bush CDVD3601HDMIU


Summary of Contents for Bush CDVD3601HDMIU
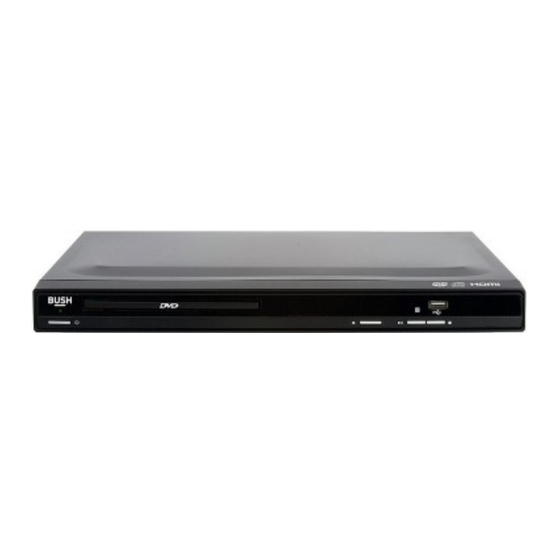
- Page 1 Instruction manual CDVD3601HDMIU...
- Page 2 You’ll soon be enjoying your new DVD Player. It all begins here, with your instructions. Don’t worry, there’s nothing too technical coming up. Just simple, step-by-step guidance to get you up and running quickly. Sound good? Then let’s get started. Help and Guidance We’re here to help you get the most from your DVD Player.
-
Page 3: Table Of Contents
Contents Safety information Using your DVD Player Safety information Zoom (DVD, Picture disc) Volume up/down (DVD, CD) Getting to know your DVD Mute (DVD, CD) Player Reset Ready? Let’s begin USB/DVD Accessories Program playback Front & rear panel JPG picture viewer Remote control Setup menu Making the video connections... - Page 4 This page is left intentionally blank...
- Page 5 Safety information...
-
Page 6: Safety Information
Safety information Important - Please read these instructions fully before installing or operating Power source Heat build up • This symbol means that this unit is double • During use the unit will heat up, this is not a insulated. An earth connection is not malfunction. - Page 7 Safety information Important - Please read these instructions fully before installing or operating Laser warnings • This product utilizes a Class 1 laser. • This laser CD Player is equipped with safety switches to avoid exposure when the door is open and the safety interlocks are defeated.
- Page 8 This page is left intentionally blank...
-
Page 9: Getting To Know Your Dvd Player
Getting to know your DVD Player... -
Page 10: Ready? Let's Begin
If you require any further assistance, our technical experts are happy to help. For full details, refer to the product support section at the end of these instructions. Accessories CDVD3601HDMIU DVD Player Remote control 2 x AAA batteries Instruction manual DVD Player... -
Page 11: Front & Rear Panel
Getting to know your DVD Player You’ll be up and running in no time Pb/Cb Pr/Cr VIDEO HDMI L-AUDIO-R COAXIAL S-VIDEO SCART OUT STANDBY indicator: Displays the standby status. 11. COMPOSITE VIDEO socket: Connect a composite video cable (not supplied). STANDBY button: Switch standby mode on or off.. -
Page 12: Getting To Know Your Dvd Player
Getting to know your DVD Player You’ll be up and running in no time Menu : Jump to the DVD menu Power: Standby mode ON/ OFF Subtitle: Press to cycle between button subtitle tracks : Press to open/close the disc Title: Press to display the DVD Title drawer menu (if available) - Page 13 Getting to know your DVD Player You’ll be up and running in no time Making the video connections Follow the below guides to connect the DVD Player to various TV inputs. DO NOT power on the mains until all other connections are made. HDMI cable (not supplied) Scart cable (not supplied) High definition (HD)
-
Page 14: Making The Video Connections
Getting to know your DVD Player You’ll be up and running in no time Component cable (not supplied) Installing the remote batteries High definition (HD) A component cable carries video only. There are 3 coloured cables (Red, Green & Blue). HD resolutions can be obtained up to 1080i (no 1080p). -
Page 15: Connecting The Mains Power
Getting to know your DVD Player You’ll be up and running in no time Connecting the mains power Connect the mains plug to a wall outlet and power on. NOTE: DO NOT power on the mains until all other connections are made. Standby mode This unit is designed to enter STANDBY mode automatically after 20 MINUTES (approximately) of... - Page 16 This page is left intentionally blank...
-
Page 17: Using Your Dvd Player
Using your DVD Player... -
Page 18: Getting Started
Using your DVD Player Let’s get started Getting started Skip chapter (DVD) or track (CD) Follow the below steps to get started Press either buttons during playback to skip a chapter (DVD) or a track (CD) ahead or Ensure you have correctly connected all the backwards. -
Page 19: Menu (Dvd)
Using your DVD Player Let’s get started Menu (DVD) Multi-angle (DVD) Pressing the MENU button during playback Some disc contain scenes which have been shot displays the disc main menu. simultaneously from a number of different angles. For these discs, the same scene can be viewed from each of these angles by using the ANGLE button. -
Page 20: Zoom (Dvd, Picture Disc)
Using your DVD Player Let’s get started Zoom (DVD, Picture disc) Program playback To zoom into the displayed image follow the below Press the PROG button to begin the program steps. function. Press the ZOOM button to activate the zoom setting of 2X. -
Page 21: Jpg Picture Viewer
Using your DVD Player Let’s get started Press the ZOOM button to activate the default JPG picture viewer zoom setting of 100%. Every subsequent press JPEG picture discs can be obtained from any cycles through the zoom options eg: 100%, 125%, good photo developing lab when your photos are 150%, 200%, 75% &... -
Page 22: Setup Menu
Using your DVD Player Let’s get started Setup menu Screen saver When the unit is not in use, the DVD logo will appear as The setup menu contains various preferences for a screen saver to prevent screen burn in. Choose ON functions found on the unit. -
Page 23: Dolby (Audio Output)
Using your DVD Player Let’s get started Dolby (Audio output) Video (adjustments) General Audio Dolby Video Preference General Audio Dolby Video Preference - - Dolby Digital Setup - - Video Quality Setup Dual Mono Stereo Output Mode S-Video Dynamic L-Mono Resolution Component R-Mono... -
Page 24: Video > Quality
Using your DVD Player Let’s get started Video > Quality Preferences General Audio Dolby Video Preference Sharpness - - Preference Page - - Set the video sharpness level. Select from:- TV Type Audio AUTO • Low Subtitle NTSC Disc Menu •... -
Page 25: Disc Menu
Using your DVD Player Let’s get started Disc menu This option sets the default DVD menu language. Once set if the DVD you are watching contains a menu with your specified language that is used by default. Select from:- • English •... - Page 26 This page is left intentionally blank...
-
Page 27: Other Information
Other information... -
Page 28: Technical Specification
Other information Helpful technical information Technical specification DVD player Power 100-240V ~ 50/60Hz Frequency response CD: 20Hz-20KHz(EIAJ) DVD: 20Hz-44KHz(96KHz)(Sample result) 20Hz-22KHz(48KHz)(Sample result) Audio S/N ratio > 9 0 d B Power consumption 12W MAX Video/Picture MPEG1 V2.0; MPEG2 Audio MPEG LAYER2 standard Audio output (analog audio) Electric level output: 1.8 ±... -
Page 29: Product Support
Product support... -
Page 30: Troubleshooting
Product support Help is always at hand Troubleshooting No power. • Ensure the mains plug is connected to a power supply, and is switched ON. • Make sure there is power to the mains socket. No picture? • The TV is not set to the correct input. Refer to the TV manual for details. •... -
Page 31: Help And Assistance
If you still require further assistance, call one of our experts on 0345 604 0105*. To help give us give you a fast and efficient service please have the following information ready: You can find these on CDVD3601HDMIU Model Ref. the rating plate - a small... -
Page 32: Disposal
Product support Help is always at hand Disposal UK mains plug information • Disposal of your old product. Your product For your convenience a mains plug with a fuse (3 Amp) is designed and manufactured with high has been fitted to this appliance. For your safety please quality materials and components, which observe the following information. -
Page 33: Guarantee
Help is always at hand Call us now and activate your 12 month guarantee Thank you for choosing Bush. Your new product is guaranteed against faults and breakdowns for 12 months. Don’t forget to register it with us today so we can provide you with our best possible after-sales service and useful updates. - Page 36 Contact: www.argos-support.co.uk Helpline: 0345 604 0105...
Need help?
Do you have a question about the CDVD3601HDMIU and is the answer not in the manual?
Questions and answers