
Related Manuals for Advanced PureAir Newport ULTRA


Summary of Contents for Advanced PureAir Newport ULTRA
- Page 1 NEWPORT U L T R A AIR PURIFIER Real Spirit USA, Inc. 320 South Rock Blvd. Ste. 210 Reno, Nevada 89502 PURE Tel:1-888-601-5886 Website: www.AdvancedPureAir.com CONTROL Info@AdvancedPureAir.com...
-
Page 2: Air Purifier
NEWPORT U L T R A AIR PURIFIER PURE CONTROL... - Page 4 SAFETEY OPERATION Please exercise caution when using this air purifier or any other electrical device! This manual describes the safety precautions which should be observed in relation to your air purifier. Please review carefully BEFORE using this product. CAUTION To prevent the possibility of electrical shock The voltage rating for air purifiers sold in the USA, Japan and Canada is AC100-120V, or short-circuiting your air purifier, Do NOT...
-
Page 5: Description Of The Appliance
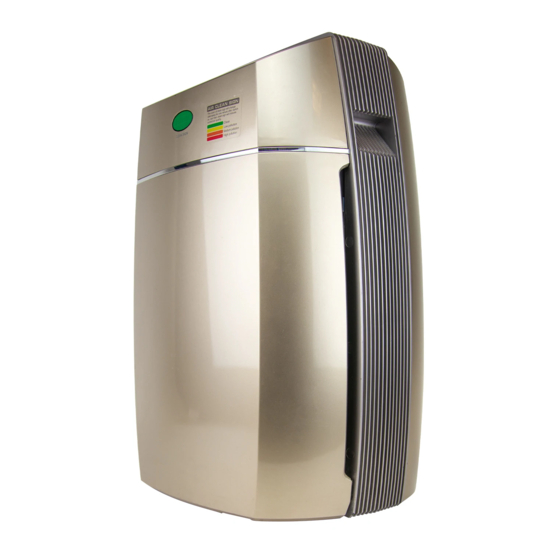
DESCRIPTION OF THE APPLIANCE Control panel Handle Clean sign Air Inlet Air Inlet Back View Air Outlet Dust Sensor Handle Gas Sensor MAJOR COMPONENTS DC FAN Filter Activiated Carbon/Formaldhyde Filter HEPA Filter Dust Collector Cell Pre-filter UV LED Front cover... -
Page 6: Preparations Before Use
PREPARATIONS BEFORE USE ACCESSORY LIST Please check all the accessories are available before operating Owner's Manual Pre-filter Dust Collector Cell HEPA Filter Activated Carbon/Formaldhyde Filter Filter USES OF FILTERS For initial use or filter replacement, please remove the plastic bag of filter. If the plastic bag is not removed, the unit may operate noisily. -
Page 7: Operation
PREPARATIONS BEFORE USE Operation Locate the unit on a solid surface. Be sure the air inlet/outlet is not blocked by other objects. (At least 30cm clearance on the sides) It is best to locate the unit where it will be out of any children's play area. Before plugging in the unit, please open the windows in the area where you will be using the unit. -
Page 8: Instructions For Operating
INSTRUCTIONS FOR OPERATING Control Panel Instructions A) On/Off Button By pressing button A once, you can switch the unit on, display screen will illuminate. The appliance will start to operate under AUTO mode. By pressing it twice, the unit is switched off. B) Fan Modes This unit has six different fan modes to choose from. -
Page 9: Sleep Mode
INSTRUCTIONS FOR OPERATING C) Operation with photocatalyst(TiO Button C is used for switching the photocatalyst on and off (Symbol “UV” lights up). This appliance combines advanced photocatalyst technologies to reduce odors and chemical fumes from glues, solvents, and synthetic materials when air passes through the filter and is activated by the internal UV LED. -
Page 10: Remote Control
INSTRUCTIONS FOR OPERATING H) Child lock By pressing button E and A for 3 seconds until buzzer beeps, Symbol “LOCK” appears on the display, child lock function is activated to prevent incorrect operation by children, all buttons are not unable to operate. -
Page 11: Cleaning And Maintenance
CLEANING AND MAINTENANCE Cleaning the unit while it is plugged in may rusult in electric shock, electric spark and serious injury.Unplug the unit before cleaning or maintenance. Disassembling the Air Purifier After unplugging, disassemble the unit in sequence of 1 to 5 as shown below. (Put the unit back together in the reverse 5 to 1 sequence.) Remove the Pre-filter Remove the Front Cover... - Page 12 CLEANING AND MAINTENANCE CLEANING AND MAINTENANCE Clean the Front Cover Clean the Pre-filter ·Use a soft and wet cloth to clean, avoid scraping off ·Suggested cleaning time: 2-4 weeks the paint on the cover. ·Rinse thoroughly by flowing water and dry ·Use provided brush to clean the air inlets and outlets Clean the Dust Collector Cell Replace the filters...
- Page 13 CLEANING AND MAINTENANCE Reset the "REPLACE FILTER” indicator Please refer to instructions on page 7 for resetting after replacement, otherwise the indicator will remain on screen. Cleaning the Dust Collector Cell Caution The dust collector cell may not require cleaning if “arcing” occurs. Arcing is a sharp snapping sound that occurs when large particles are collected in the dust collector cell or the appliance used in over damp rooms.
- Page 14 CLEANING AND MAINTENANCE Clean the dust collector cell Use provided brush or toothbrush to clean. Please take care not to damage any wiring while cleaning the dust collector cell, if any wire is broken, the unit will lose part or all of its dust collecting capability.
-
Page 15: Troubleshooting
TROUBLESHOOTING Service problems that appear to be major can often be solved easily. You can be your own troublesho- oter by reviewing this guide. All other servicing should be done by a local authorized service center. Problem Check Solution Power cord Plug in power cord Power button Appliance does... - Page 16 TROUBLESHOOTING Problem Check Solution Open the window to improve the ventilation Environment Dust sensor gets dirty, please clean the dust senor, refer to “CLEAN SIGN” is instructions on page 10 always displaying Possibly because the room is not really a closed environment Sensors polluted and pollution keeps coming in from the outside.
-
Page 17: Specifications
SPECIFICATIONS Model AP-HC300B AC110~120V/50-60Hz Rated Voltage AC220~240V/50Hz Power 55W (Not include UV LED 10W) Activated Oxygen Output ≤0.05ppm Noise Level (dB) Silent 25/Low 35/Med 45/High 55dB/Turbo 60dB CADR Value 300M/H Dimensions (mm) 410×288×535mm 20-50m Room Size Net Weight 6.8kg... - Page 18 Real Spirit USA, Inc. 320 South Rock Blvd. Ste. 210 Reno, Nevada 89502 Tel:1-888-601-5886 Website: www.AdvancedPureAir.com Info@AdvancedPureAir.com...
Need help?
Do you have a question about the Newport ULTRA and is the answer not in the manual?
Questions and answers