Table of Contents
Advertisement
Advertisement
Table of Contents

Related Manuals for Hisense HR6FDFF701SW


Summary of Contents for Hisense HR6FDFF701SW
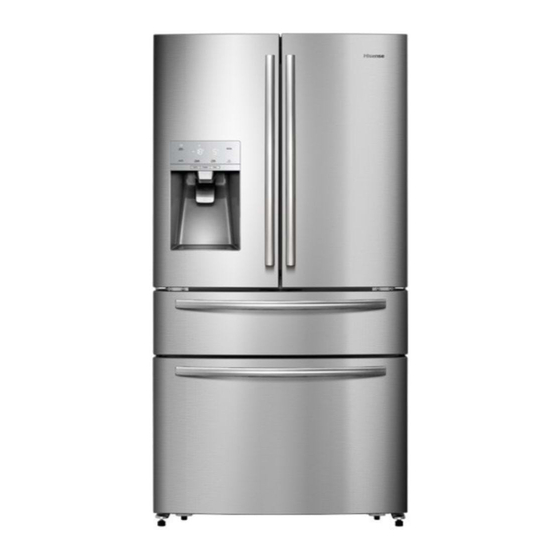
- Page 1 MODEL:HR6FDFF701SW...
-
Page 2: Table Of Contents
Contents Brief introduction Using your appliance Important safety instructions Cleaning and care Installing your new appliance Helpful hints and tips Description of the appliance Troubleshooting Display controls Disposal of the appliance Brief introduction Thank you for your choosing our products. lack of experience and knowledge, unless We are sure you will find your new they have been given supervision or... -
Page 3: Important Safety Instructions
Important safety instructions General safety and daily use Safety about electricity It is important to use your To avoid the risks that are appliance safely. always present when using an recommend that you follow the electric appliance, guidelines below. recommend that you pay more attention to Store any food in accordance with the the instructions about electricity below. - Page 4 Avoid open flames (candles, l amps etc.) and sources of ignition. Thoroughly ventilate the room in which the appliance is situated.
-
Page 5: Installing Your New Appliance
Installing your new appliance Before using the appliance for the first time, you should be informed of the following tips. Warning! For proper installation, this refrigerator must be placed on a level surface of hard material that is the same height as the rest of the flooring. - Page 6 Warning! Disconnect power and shut off the bottom feet may need to be adjusted. water supply to the fridge before removing You can adjust them manually by hand or the door or drawer. Failure to do so could by using a suitable spanner. result in death or serious injury.
- Page 7 hinges with a Wrench (8mm) and 1 ground screws (F) attached to the hinge with Philips (+) screwdriver. Remove the upper left and right door hinges (G). 2. Make sure the clips are properly connected to the coupler. Caution! In case the fridge doors can’t be 4.
- Page 8 4. Remove the 2 screws attached to the lifting it up from the rail system. supporting frame (E) with a Philips screwdriver (+). 4. Remove the Pizza basket (C) by lifting it 5. Pull out the My Fresh Choice door and lift it up in the direction of the arrow.
- Page 9 purchase a water purifying system to do First, turn off the main water supply line. that. Screw the adaptor onto a suitable 3/4 ” In order for the BSP connector water outlet and use the water dispenser/ice maker operate properly, a water pressure of spanner to tighten it.
- Page 10 the inlet line of the refrigerator by a the potable water only. Two-Way Connector. The water line must The water lines should not be pressed by be fully inserted into the center of the heavy things and should not bend too connector to prevent water leaking.
-
Page 11: Description Of The Appliance
Slide-Away shelf... -
Page 12: Display Controls
Display Controls Your product has two control panels, one is on the fridge door and the other is on My Fresh Choice door. Use your appliance according to the following control guidelines. Using the control panel on the fridge door The control panel on the fridge door shows in the diagram below. - Page 13 I ce Control F ridge temperature control “ “ “ “ ” ” ” ” “ “ “ “ ” ” ” ” This button controls the ice maker. You You can touch the F ridge icon to “ ” can touch I ce Off button to control the...
- Page 14 temperature and freeze your food faster filter every 6 months to ensure the highest than usual. This can retain more of the possible water quality. vitamins and nutrition in fresh food and After the refrigerator has dispensed about keep your food longer. 1000 gallons of water(used the water filter The super freeze option allows you to for about 6 months), the filter icon...
- Page 15 the icons of the control panel the icons of the control panel will light up setting reverts back to the previous back to the previous for 3 seconds, and a buzzer sounds. The buzzer sounds. The setting. Child Lock is off. And the temperature And the temperature Using the control panel on Using the control panel on My Fresh Choice door...
-
Page 16: Using Your Appliance
Using your appliance This section tells you how to use most of the useful features. We recommend that you read through them carefully before using the appliance. 1. Fixing the handle Getting cold water Before you use the appliance, please The water dispenser is located in the check the handle. - Page 17 Ice is made in cubes. When cubes. When you select be sure to clear the ice cubes that spilled sure to clear the ice cubes that spilled ‘Crushed’, the ice maker grinds the ice ice maker grinds the ice out of the drawer. cubes into crushed ice.
- Page 18 refrigerator. The water supply to this accumulated in receiving tank might refrigerator must only be installed by a overflow, thus you should clean it with dry suitably qualified person. towel regularly to avoid water spilling out To operate the ice maker properly, water onto the floor.
- Page 19 pull it out. 3. Additional flushing may be required in When you pull the water filter, a little some households. water can leak from the opening. This is 4. Open the refrigerator door and make normal. To minimize the water leaks, keep sure there are no water leaks coming from the filter cartridge horizontal when pull it.
- Page 20 The refrigerator compartment provides a plastic wine rack, which could be used for placing 2 bottles of wine or 12 eggs. Warning! Do not place too many heavy things in the baskets. Before you lift up the door shelf Vegetable and fruit crispers vertically, please take the food out.
- Page 21 remove the lower drawer with your both hands. Pizza basket The basket on the freezer door is for To remove My Fresh Choice, refer to page pizzas. Pizzas inside should be packed. 7 for disassembly instruction. To place pizzas to the basket, put them into the basket in the directing of the Using the freezer compartment arrow.
-
Page 22: Cleaning And Care
Cleaning and care hygienic reasons appliance food stocks are low. Wipe the inside of the (including exterior and interior accessories) fridge freezer with a weak solution of should be cleaned regularly at least every bicarbonate of soda, and then rinse with two months. - Page 23 warm water. Rinse and dry it thoroughly powered on after cleaning. Replacing the LED light Warning: The LED light must be replaced by a competent person. If the LED light is damaged, follow the steps below: 1. Unplug your appliance. 2.
-
Page 24: Helpful Hints And Tips
Helpful hints and tips Energy saving tips drawer provided. We recommend that you follow the tips Butter and cheese: below to save energy. Should be wrapped in airtight foil or plastic Try to avoid keeping the door open for film wrap. long periods in order to conserve energy. - Page 25 1. Remove all food. 4. Ensure that all the doors are wedged 2. Remove the power plug from the mains open slightly to allow air to circulate. socket. 3. Clean and dry the interior thoroughly.
-
Page 26: Troubleshooting
Troubleshooting If you experience a problem with your appliance or are concerned that the appliance is not functioning correctly, you can carry out some easy checks before calling for service, please see below. Warning! Don’t try to repair the appliance yourself. If the problem persists after you have made the checks mentioned below, contact a qualified electrician, authorized service engineer or the shop where you purchased the product. - Page 27 for a long time. Check that the air outlets are not blocked by food and ensure A layer of frost occurs in food is placed within the appliance to allow sufficient the compartment ventilation. Ensure that door is fully closed. To remove the frost, please refer to the “...
-
Page 28: Disposal Of The Appliance
Disposal of the appliance It is prohibited to dispose of this appliance as household waste. Packaging materials Packaging materials with the recycle symbol are recyclable. Dispose of the packaging into a suitable waste collection container to recycle it. Before disposal of the appliance 1.
Need help?
Do you have a question about the HR6FDFF701SW and is the answer not in the manual?
Questions and answers