Advertisement
Quick Links
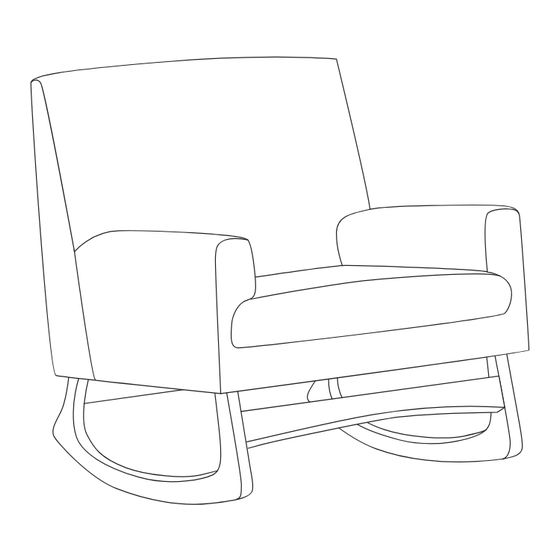
SLEEPYTIME ROCKER
Instruction Manual
Congratulations!
You are now the owner of a Nursery Works
product...a line of modern baby furniture that
redefines the nursery. Nursery Works' products
are designed with both style and functionality
in mind, and we hope it becomes a source of
pleasure for you and your family. Quality mate-
rial, workmanship and pride have gone into
these products. Proper assembly is important
to ensure a safe and comfortable end result for
your baby. Please read all instructions before
assembly, and keep instructions for future use.
revised 29SEP2015
Advertisement

Summary of Contents for Nursery Works sleepytime rocker
- Page 1 SLEEPYTIME ROCKER Instruction Manual Congratulations! You are now the owner of a Nursery Works product...a line of modern baby furniture that redefines the nursery. Nursery Works’ products are designed with both style and functionality in mind, and we hope it becomes a source of pleasure for you and your family.
- Page 2 finish. With proper care and assembly, your Nursery Works products will be a part of your family for years to come. Please note that due to the handcrafted nature of our prod-...
- Page 3 Thank you for purchasing Nursery Works. For any questions or assistance, please contact us at 02 8064 2305, or via email at support@modernnursery.net.au. For addi- tional information on our Purchase Terms and Conditions, please visit www.nurseryworks.net.
- Page 4 WARNING • Failure to follow these warnings and the assembly instructions could result in serious injury or death. • Read all instructions before assembling this product. • Keep instructions for future use. • FALL HAZARD – To prevent death or serious injury, always keep child within arm’s reach.
-
Page 5: One-Year Limited Warranty
ONE YEAR LIMITED WARRANTY: We will replace any missing parts at the time of purchase or any defective item within a one year period from the date of original pur- chase. Please keep your receipt so that we may process your warranty request. This war- ranty only covers new units with original packaging and ownership, and is not trans- ferable. - Page 6 SLEEPYTIME ROCKER Hardware and Tools List Hardware & Tools Ref. No Description Screw (70mm/2.75”) A x 8 Dowel B x 8 (40mm/1.6”) C x 8 Washer D x 8 Spring Washer F x 4 Cam Lock G x 4 Cam Bolt...
-
Page 7: Parts List
SLEEPYTIME ROCKER Parts List Parts Ref. No Description Front Leg Cross Bar Rear Leg Cross Bar front back A x2 A x1 Chair Be sure you follow the instructions in the order that they appear. To avoid possible scratching, assemble furniture on a soft surface. - Page 8 Rocker legs are stored under the seat cushion.
- Page 9 Sleepytime Rocker Assembly Instructions Step 1 Insert four Dowels B into the pre-drilled holes of the Front Leg Cross Bar and the Rear Leg Cross Bar Total of 8 Dowels. Insert Cam Locks F into the pre-drilled holes as indicated.
- Page 10 Step 2 Insert the Cam Bolt G into the middle holes of the Repeat the same procedure for the other leg. front back front back...
- Page 11 Step 3 Connect the Front Leg Cross Bar and Rear Leg Cross with the 2 legs by inserting the dowels of the cross bars into the pre-drilled holes of the 2 legs.
- Page 12 Step 4 Use a screw driver and turn the Cam Locks F 90 degrees clock wise. * Rotate F clockwise to secure.
- Page 13 Step 5 Put the Spring Washer D into Screw A and then followed by Washer C. Repeat the same procedures for all 8 Screws A.
- Page 14 Step 6 Connect the Legs to the wooden frame of the rocker by inserting Screws A into the pre-inserted nuts of the wooden frame and screw them tightly using the Allen Wrench H. Repeat the same procedures for 4 corners. A X 8...
- Page 15 Step 7 Assembly is complete.


Need help?
Do you have a question about the sleepytime rocker and is the answer not in the manual?
Questions and answers