Table of Contents
Advertisement
Quick Links
LG PCS150R Pro:Centric Server Warranty
Broadcast Products
Welcome to the LG family! We believe that you will be pleased with your new PCS150R Pro:Centric
Server. Please read this warranty carefully, it is a "LIMITED WARRANTY" as defined under Federal
Law. This warranty gives you specific legal rights, and you may also have other rights that vary from
state-to-state within the U.S.A.
LG's RESPONSIBILITY
Warranty Term
One year parts and labor from date of purchase or delivery date.
Parts
New or remanufactured replacements for factory-defective parts may be used. Such replacement
parts are warranted for the remaining portion of the original warranty period.
Warranty Service
Warranty service is provided at LG. Customer pays for shipping charges to LG; LG pays for return
shipping charges to return PCS150R Pro:Centric Server to customer. Call 1-888-865-3026 for
further information.
Not Covered
This warranty covers manufacturing defects and does not cover installation, adjustment of customer
controls, installation or repair of antenna systems, cable converters or cable company-supplied
equipment; it also does not cover damage due to misuse, abuse, negligence, acts of God or other
causes beyond the control of LG. Any alteration of the product after manufacture voids this warranty
in its entirety.
THIS WARRANTY IS IN LIEU OF ANY OTHER WARRANTY, EXPRESS OR IMPLIED, INCLUDING
WITHOUT LIMITATION, ANY WARRANTY OF MERCHANTABILITY OR FITNESS FOR A
PARTICULAR PURPOSE, AND LG SHALL NOT BE LIABLE FOR ANY CONSEQUENTIAL,
INDIRECT, OR INCIDENTAL DAMAGES OF ANY KIND, INCLUDING LOST REVENUES OR
PROFITS IN CONNECTION WITH THIS PRODUCT. SOME STATES DO NOT ALLOW
LIMITATIONS ON HOW LONG AN IMPLIED WARRANTY LASTS OR THE EXCLUSION OR
LIMITATION OF INCIDENTAL OR CONSEQUENTIAL DAMAGES, SO THE ABOVE LIMITATIONS
OR EXCLUSIONS MAY NOT APPLY TO YOU.
OWNER'S RESPONSIBILITY
Effective Warranty Date
Warranty begins on the date of delivery of the PCS150R Pro:Centric Server.
For your convenience, keep the dealer's dated bill of sale or delivery ticket as evidence of the
purchase date.
Installation Guide
Read the Installation & Setup Guide carefully so that you will understand the operation of the
PCS150R Pro:Centric Server and how to adjust the settings.
Warranty Service
For warranty service information, call 1-888-865-3026. Parts and service labor that are LG's
responsibility (see above) will be provided without charge. Other service is at the owner's expense.
If you have any problem in obtaining satisfactory warranty service, call 1-888-865-3026.
You must provide the model number, serial number and date of purchase or date of original installation.
For Customer Support/Service, please call:
1-888-865-3026
www.LGsolutions.com
Pro:Centric is a trademark of LG Electronics U.S.A., Inc. All other trademarks or
registered trademarks are the property of their respective owners.
® Copyright 2011, LG Electronics U.S.A., Inc.
206-4191
Revision A
© Copyright 2011, LG Electronics U.S.A., Inc.
PCS150R Pro:Centric™ Server
Installation & Setup
Quick Reference | Warranty
The latest product information and documentation is available online at:
www.LGsolutions.com/products
P/N: 206-4191 (Rev A)
Advertisement
Table of Contents

Related Manuals for LG PCS150R Pro:Centric


Summary of Contents for LG PCS150R Pro:Centric
- Page 1 LG PCS150R Pro:Centric Server Warranty Broadcast Products Welcome to the LG family! We believe that you will be pleased with your new PCS150R Pro:Centric Server. Please read this warranty carefully, it is a “LIMITED WARRANTY” as defined under Federal Law. This warranty gives you specific legal rights, and you may also have other rights that vary from state-to-state within the U.S.A.
- Page 2 CAUTION: Do not attempt to modify this product in any way without written authorization from LG Electronics U.S.A., Inc. Unauthorized modification could void the user’s authority to operate this product.
-
Page 3: Important Safety Instructions
20. Test Equipment the cart/apparatus combination in order In some cases, LG has supplied or recom- to avoid injury from tip-over. mended the use of test equipment and devices for the setup and testing of the equip- 13. -
Page 4: Troubleshooting / Specifications
IMPORTANT SAFETY INSTRUCTIONS Troubleshooting / Specifications 24. Safety Check (Continued from previous page) Troubleshooting Upon completion of any service or repairs to 21. Damage Requiring Service this product, ask the service technician to If the PCS150R is not connecting to the network, i.e., the Eth0 IP field in the System Unplug this product from the wall power out- perform safety checks to determine that the Information display (see setup procedure on previous page) is blank:... - Page 5 • Install the equipment in an environment com- and bottom) of the PCS150R. Do NOT stack PCS150R Pro:Centric Server v4.5 patible with the maximum operating ambient other equipment on the top of the PCS150R. temperature (Tma) specifi ed by the manufac- 001-12410005 C.
-
Page 6: Pcs150R Product Description
PCS150R Product Description System Setup (Cont.) The PCS150R Pro:Centric™ server is a stand-alone, remotely-controlled VPN Network Connections Overview processor and controller for the Pro:Centric system. This device can be used to capture data from an Internet source, assemble the data as display pages, Pro:Centric and output the pages in DTV format over an ASI or RF interface. -
Page 7: System Setup
__ Carefully follow the installation procedure for the PCS150R (see page 9). Network __ Complete the system setup for the PCS150R (see pages 10 to 12). PCS150R RF Out Refer to the PCS150R Pro:Centric™ Server Installation & Setup Guide for further Laptop RS-232 Port installation and confi guration information. Connection Product documentation is available online at: www.LGsolutions.com/products. -
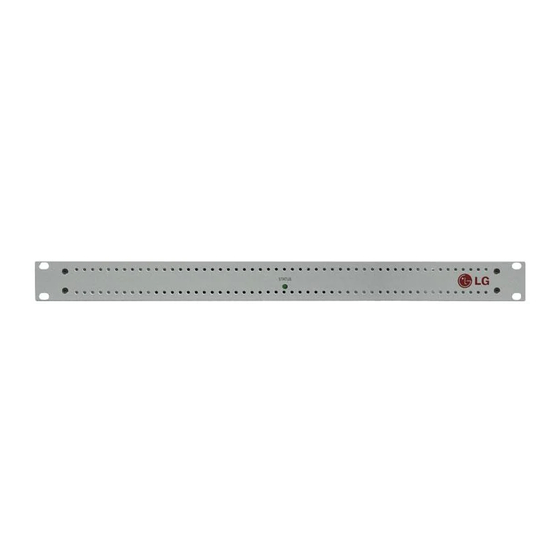
Page 8: Rear And Front Panel Overviews
Rear and Front Panel Overviews Rack Installation PCS150R Rear View Typical PCS150R Rack Installation 1. Carefully slide the chassis into a standard 19-inch equipment rack. S TA T U S 2. Use all four mounting R F -O screws to secure the .
Need help?
Do you have a question about the PCS150R Pro:Centric and is the answer not in the manual?
Questions and answers