Advertisement
Quick Links
Advertisement

Subscribe to Our Youtube Channel
Related Manuals for Direct Bikes DB50QT-16


Summary of Contents for Direct Bikes DB50QT-16
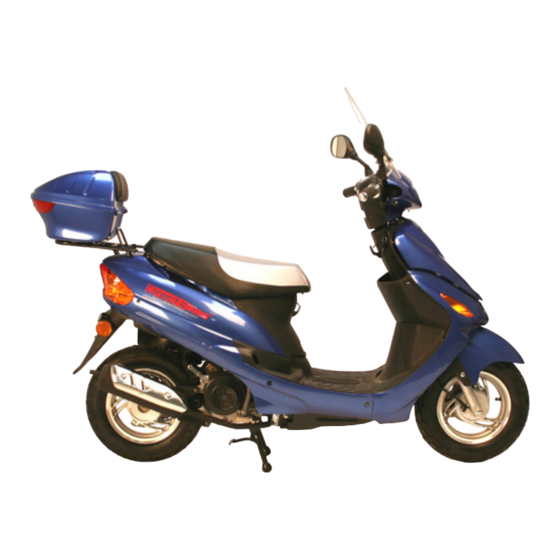
- Page 2 Introduction Direct Bikes thanks you for purchasing your new DB50QT-16 / DB50QT-5 scooter. We produce our scooters using some of the most advanced production techniques in the world. We want you to enjoy your new machine and have compiled a basic manual for you that covers the assembly out of the crate and the basic maintenance.
- Page 3 The Crate Before starting check the model details against the invoice details and any signs of damage to the box. Please ensure you have adequate space. Using scissors cut the nylon bands that surround the box and discard. Cut the cardboard to reveal the steel frame supporting the scooter.
- Page 4 (Illustration only) Assembly Screen The screen mounting kit utilises the mirror mounts to fix it to the scooter. Start by sliding 2 of the plastic lugs over the L shaped chrome bars. The bars are handed left and right. Next screw 1 nut onto the short threaded part all the way, finger tight.
- Page 5 the frame. Use the M6 nuts and washers to fasten the screen. Position the screen and tighten. Top box The top box is supplied with a universal fitting kit. The two long slotted bars go on the inside of the box.
- Page 6 Filling the battery The battery supplied is a SEALED lead acid type. Please wear protective clothing at all times when assembling the battery. If spilled rinse the area immediately with water. Place battery on level ground out side. Using blister pack of acid supplied, turn upside down and put onto the top of the battery.
-
Page 7: Fitting The Battery
Fitting the Battery Whether the battery is located under the seat or in the foot well of the scooter it is vitally important that you ensure the correct fitment and pay attention to the polarity. Red and + are the positive side. Black and –... - Page 8 Fuel / Vacuum Pipes Please check before usage that all fuel / vacuum pipes are connected correctly. If you have any questions regarding this please contact us for assistance. Tyres The tyre pressure is 1.75 bar for the front tyre and 2.0 bar for the rear.
-
Page 9: Engine Oil
Engine oil The engine oil dipstick and cap are combined and is located on the right side of the engine. With the bike on its centre stand and on level ground remove the dipstick and clean it. Re-insert it and remove it again. - Page 10 the engine. To operate this you still need to have the rear brake applied. Push the kick-start pedal down slowly until there is resistance in the engine then release until the pedal returns to the top. Push the pedal all the way down briskly and release. Repeat as necessary until the scooter has started.
- Page 11 For safety do not ride your scooter in freezing weather conditions; in cold weather conditions it is advisable to lubricate throttle cable with wd40 or silicon greece. Running in Your new scooter requires a ‘running in’ period. This is very important because it allows the mechanical parts to bed in and will increase the serviceable life of the machine.
- Page 12 It is suggested that you service it according to the table. It will not harm the machine if you choose to service it more regularly than suggested. A smear of grease on spindles and nut and bolts will aid in assembly, removal and seized parts.
- Page 13 Key: I: inspect, clean, adjust, lubricate or change A: adjust C: clean R: change T: tighten item Distance km (months) 16000kms / 19000kms / 22000kms / 25000kms / 28000kms / 31000kms / 42 months 48 months 54 months 60 months 66 months 72 months Drive strap...
-
Page 14: Troubleshooting
Cleaning Your new machine should be cleaned on a regular basis. This stops the ingress of corrosion, maintains its lustrous finish and gives you a chance to observe anything that may be broken or damaged. The bike should be washed off in warm soapy water using a sponge or soft cloth. - Page 15 rod free play thickness the rear Bad handling Check front Check front Check front Check front and rear tyre and rear tyres and rear and rear pressures for excessive suspension for wheel wear stiction and bearings play Carburettor In the unlikely event that your scooter fails to start please check the air pilot screw on the side of the carburettor.
Need help?
Do you have a question about the DB50QT-16 and is the answer not in the manual?
Questions and answers