Table of Contents
Advertisement
Quick Links
Advertisement
Table of Contents

Related Manuals for KEDDY K700


Summary of Contents for KEDDY K700
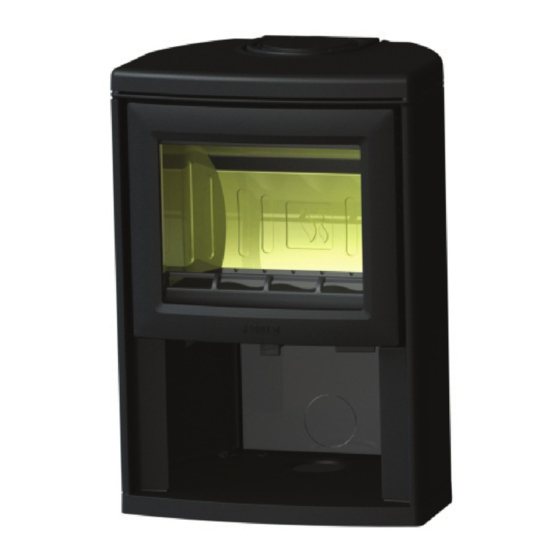
- Page 1 K700 Installation Instructions...
-
Page 2: Table Of Contents
CONTENTS GENERAL INFORMATION......................3 IMPORTANT POINTS......................3 PRECONDITIONS........................4 Floor plate Outdoor air supply Flue PREPARATIONS........................5-7 Flue connections for rear and top installation Floor plate and outdoor air connection INSTALLATION INSTRUCTIONS..................7-8 CARE & FIRING INSTRUCTIONS..................9-10 TECHNICAL SPECIFICATION....................11 CERTIFICATES........................12 - 2 -... -
Page 3: General Information
GENERAL * Easy to install. Important! Save these installation instructions and the associated firing instructions! Manufacturer's declaration IMPORTANT POINTS * NOTE! Read through all of the installation instructions before beginning the installation. control-area-rules - 3 -... -
Page 4: Preconditions
PRECONDITIONS BUILDING NOTICE FLOOR PLATE on each side. DISTANCE TO FLAMMABLE STRUCTURAL UNITS in the desired place. OUTDOOR AIR SUPPLY top connected densation. FLUE ney. CHIMNEY CONNECTIONS The illustration on page 11 shows the distance from the rear edge of the stove to the centre of the chimney. If you add the distance to the wall, you obtain the position LOAD-BEARING SURFACE Read the chimney's installation instructions before... -
Page 5: Preparations
PREPARATIONS Outdoor air Rear Installation 1. FLOOR PLATE AND OUTDOOR AIR CONNECTION Outdoor air Bottom Installation Floor Plate accessory. Outdoor air Rear Installation Please note that 2. FLUE CONNECTION return to this at the end of the Installation instructions on p. 9. - 5 -... - Page 6 EXAMPLE A Rear connection directly into a chimneybreast or a masonry chimney, e.g. a Heda Chimney. Chimney Mark Pre-bushing Connecting pipe Concrete Wall installed. NOTE! Brick- ing the pipe into the chimney is not allowed. EXAMPLE B Chimney Pre-bushing Rear connection through a flammable wall Fire proof insulation 100mm material Wall...
-
Page 7: Installation Instructions
INSTALLATION INSTRUCTIONS Before starting on the installation of the stove, the following steps need to be fully completed: The chimney: Outdoor air supply Hearth floor plate Tip! hearth. - 7 -... - Page 8 Click! sealed. NOTE! Always leave at least 10 mm of venti- lated space between the top of the stove and the chimney's insulation/outer steel jacket. (see illustration) You have now made your stove ready for use. In order for the sealant to harden properly, you must leave the stove for at least three days before firing it for the first time.
-
Page 9: Care & Firing Instructions
CARE & FIRING INSTRUCTIONS Keddy's K700 has been tested by a certified testing institute. It has extremely good environ- mental values and a useful efficiency exceeding 80%. For the stove to work optimally, it is of key importance that you follow the care and firing instructions below. Non-compliance will invalidate the warranty. -
Page 10: Care & Firing Instructions
Pay attention to the risk of fire when you throw out the ash, as the ash may contain The K700 is equipped with an innovative self- live embers for a very long time! closing and self-locking door. When putting... -
Page 11: Technical Specification
K700 TECHNICAL SPECIFICATION DIMENSIONS AND PERFORMANCE Rated output 6 kW Output 4-9 kW - 11 -... - Page 12 - 12 -...
Need help?
Do you have a question about the K700 and is the answer not in the manual?
Questions and answers