Advertisement
Quick Links
PRODUCT REFERENCE GUIDE
Thank you for purchasing a quality VALCO BABY product. Please read and follow the instructions outlined in
this guide carefully. Familiarise yourself with the construction and safety features; be sure that you understand
all the warnings and safety guidelines before use.
Important: Please read the following instructions carefully before assembling this product. Retain this
guide in a safe place for future reference.
© Copyright
VE 2012
vs100412
Due to our policy of continuous
product development, this product
is constantly evolving. It is possible
that some features or procedures
outlined here have changed since
this document was written. If you are
unsure of any procedure shown here,
please contact us via the web at
info@valco.com.au to obtain the most
up to date information before use.
Include the batch number, which can
be found on a sticker on the frame.
All pictures and diagrams herein are
provided for illustration purposes only.
Actual product, colour or fabric may
vary. VALCO BABY reserves the right
to modify or alter any specification
or colour without notice or obligation
to modify any product previously
purchased
FURTHER INFORMATION:
www.valco.com.au
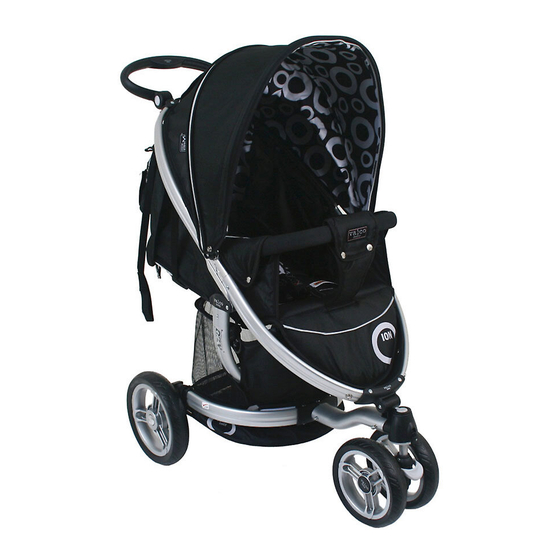
ION
STROLLER
Find us on:
Advertisement

Subscribe to Our Youtube Channel
Related Manuals for Valco baby ION


Summary of Contents for Valco baby ION
- Page 1 STROLLER PRODUCT REFERENCE GUIDE Thank you for purchasing a quality VALCO BABY product. Please read and follow the instructions outlined in this guide carefully. Familiarise yourself with the construction and safety features; be sure that you understand all the warnings and safety guidelines before use.
- Page 2 OPENING Remove the stroller from the carton and dispose of all packaging thoughtfully. FIGURE A 1. Lift your stroller handle upward. You will feel the stroller chassis opening. FIGURE B 2. Continue unfolding the chassis until you hear the chassis click open in the locked position.
- Page 3 INSERTING REaR whEELS FIGURE E 1. Simultaneously press on the spring loaded axle button and insert it through the central hub of the rear wheel. Repeat this process for the other rear wheel. FIGURE F 2. Pressing the axle button again, insert the axle end into the side of the brake housing as far as it will go.
-
Page 4: Adjusting The Handle
SECURING ThE FRONT whEELS FIGURE H 1. Your front wheels can be set to swivel freely (360º) or can be fixed in place for use over rough or sandy surfaces. 2. To fix the front wheel in the non swivel position, turn the wheel so that the two notches on both housings line up. -
Page 5: Tether Strap
TEThER STRaP FIGURE L 1. Your stroller has been equipped with a safety tether strap. This strap has Lock been designed to always keep your Strap stroller within constant reach. Tether NOTE: The tether strap doubles as Strap your locking strap (Figure O). IMPORTANT: AlwAys slIP The lOOP IN The sTRAP secuRely OveR yOuR wRIsT wheNeveR A chIld Is IN... - Page 6 INSERTING REaR axLE FIGURE O 5. Continue to fold the frame forward. Make sure that the lock strap is threaded through handlebars FIGURE P 6. To lock the frame, the keyhole of the lock strap should be engaged over the locking pin found on the frame chassis behind the front wheel.
- Page 7 USING YOUR haRNESS can be adjusted at 3 points. FIGURE R To change the shoulder strap position: your stroller harness is specifically designed with many built in safety features. from the rear of the seat, thread the top of the strap back through the harness slot (26) This includes the requirement that, when by manoeuvring the locking ring so that it opened, all straps are released so that no...
- Page 8 As rADiAtors, etC. whiCh MAy Be in the iMMeDiAte ViCinity oF your stroller. • it MAy Be unsAFe to use Any ACCessories other thAn VAlCo BABy ApproVeD ones. • this proDuCt is intenDeD For DoMestiC use only. it is not intenDeD For CoMMerCiAl use.
Need help?
Do you have a question about the ION and is the answer not in the manual?
Questions and answers