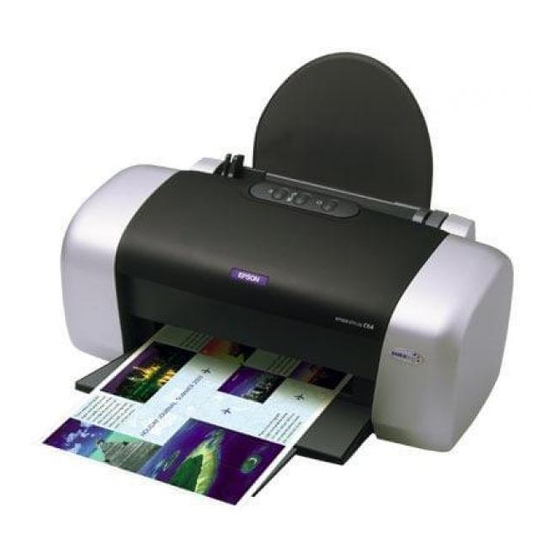
Epson Stylus C63 Installation Instruction
Hide thumbs
Also See for Stylus C63:
- Specifications (2 pages) ,
- Setup manual (2 pages) ,
- Service manual (50 pages)
Table of Contents
Advertisement
Quick Links
Continuous Ink Supply System
for
Epson Stylus C63/C65/C84/C86 Printer
Installation Instruction
For MT Empty Cartridge Version
With Auto Reset Chips
CIS for Epson C63/C65/C84/C86 Instruction
I. What's in the MT-C63 Continuous Ink Supply system?
1) 4 * 100ml Reservoir Bottles;
2) Tubing Attached with Cartridge and Chips;
3) A set of Support Arm & Black Rubber;
4) 4 * Vacuum Pump (Filling tools).
Advertisement
Table of Contents

Summary of Contents for Epson Stylus C63
- Page 1 Continuous Ink Supply System Epson Stylus C63/C65/C84/C86 Printer Installation Instruction For MT Empty Cartridge Version With Auto Reset Chips CIS for Epson C63/C65/C84/C86 Instruction I. What’s in the MT-C63 Continuous Ink Supply system? 1) 4 * 100ml Reservoir Bottles; 2) Tubing Attached with Cartridge and Chips;...
- Page 2 1) Open the window of the Computer and find the Control Panel. Then click “Printer and Other Hardware” 2) Click the right button of mouse on EPSON Stylus C63 Series. Then click the Properties and choose the “Nozzle Check” as the below picture shown.
- Page 3 3) Using the EPSON Utility, print a “ Nozzle Check” to make sure that all the nozzles are firing properly. 2. Press the “ink cartridge replace button” (Picture A) on the printer to move the cartridge to the cartridge remove position (Picture B).
- Page 4 (Picture A) (Picture B) 3. Unplug the power connector at the back of the printer (Picture A). This will prevent the printer from “auto powering down”, allowing you have as much time as you need to complete the installation. Remove the cartridges as the below picture B shown. Then use a small screwdriver to remove the original cover (Picture C) (Picture A).
- Page 5 Stopping Working 2) Roll up the Plastic Valve. 5. Firstly use a needle to poke the film of the cartridge (Picture A); Then insert the vacuum pump into the holes of Cartridge as the below picture shown and pull the plunger backward (Picture B);...
- Page 6 (Picture A) (Picture B) 7. Attach the small tube clamp at the right of the printer and Make sure it is parallel with the Support Arm as the below picture shown. 8. Insert the cartridge into the cartridge carriage after finishing ink-filling; Make sure the cartridge is down all the way and they are making contact with the fingers that read chips;...
- Page 7 10. Slide the cartridge back and forth from left to right several times; make sure the tubes not too tight when cartridge is in the far right and left position. Now everything is put together! Double check your cartridge; then turn on the power.
- Page 8 IV. Auto Reset Procedure 13. When the indicator light on printer shows short of ink and change cartridges (Picture A); Please turn off the printer for about 30 seconds, then switch it back on. At this time the Ink meter bar shall show 99% (Picture B). You can start printing as usual. (Picture A) (Picture B) P.S:...

Need help?
Do you have a question about the Stylus C63 and is the answer not in the manual?
Questions and answers