Advertisement

Quick Links

IPLEX RX/RT Operation Manual
Carefully read and understand the information and follow the instructions in the IPLEX RX/RT in-
struction manual before using the instrument.
This operation manual is an introduction to the setup, instrument's various basic functions, indica-
tors, menu displays, and safety precautions excerpted from the IPLEX RX/RT instruction manual.
Intended use
This instrument is intended for inspecting and observing the interior of machinery, equipment, materials, and
other objects,without damaging the object being inspected.
IPLEX RX/RT Setup
Setup of the IPLEX RX/RT videoscope can be done easily by any operators.
When setting up, simply follow the three steps outlined below:
1. Taking the instrument out of the case
Remove the equipment in the order of: Main unit → Insertion tube → Control unit.
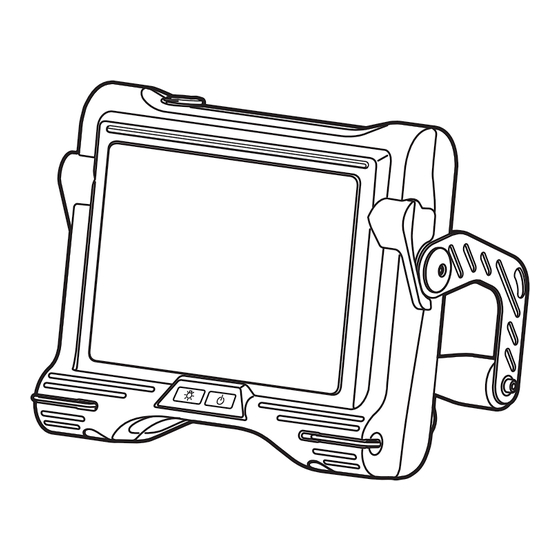
Main unit
Insertion tube
Universal cable
2. Preparing the power supply
• Using the battery
• Using the AC adapter : Connect AC adapter to the main unit's AC adapter terminal, making sure the cord
MM1951 02
Control unit
1
Remove the main unit.
: Make sure battery is fully charged before setting up the videoscope.
is inserted securely.
Battery
2
- 1 -
Remove the control unit
and insertion tube.

Advertisement

Table of Contents
loading

Summary of Contents for Olimpus IPLEX RT

  • Page 1 IPLEX RX/RT Operation Manual Carefully read and understand the information and follow the instructions in the IPLEX RX/RT in- struction manual before using the instrument. This operation manual is an introduction to the setup, instrument’s various basic functions, indica- tors, menu displays, and safety precautions excerpted from the IPLEX RX/RT instruction manual. Intended use This instrument is intended for inspecting and observing the interior of machinery, equipment, materials, and other objects,without damaging the object being inspected.
  • Page 2: Turning On The Power

    3. Attach the optical adapter (optionally available) Remove the tip cap. Positioning the optical adapter with the distal end so they are directly opposite each other, carefully insert the optical adapter into the distal end. Optical adapter Second screw thread positioning cut surface Optical adapter O-ring...
  • Page 3: Setting Up The Main Unit

    Setting up the main unit The main unit can be used in any one of the three setup configurations shown below. Use the handle as a stand Hang it from the handle Put it on a tripod CAUTION • Place the main unit on a level surface so it is stable. The main unit can tip over if it is not stable. •...
  • Page 4: Using The Strap

    Using the strap While pressing the shoulder strap hook lever, attach Strap ring the hook to a main unit strap ring or the strap bracket. Two strap rings are provided for attaching the strap when transporting the main unit. Attach the strap to the two strap brackets and to one of the strap rings to Strap bracket do observations.
  • Page 5: Indicator Display

    Control unit nomenclature and functions [FRZ/REC] button Freeze/record observed image (two locations; [ANGLE] Joystick Joystick guard left and right) Angulation operation [ZOOM] lever Zooming the image [LIVE/GAIN] button Live image display/gain (RX only) [MEAS/ENTER] joystick Folder selection/menu selection/ measurement (RX stereo measurement function only) [VIEW] button Retrieve screen display/...
  • Page 6: Menu Screen Display

    Menu screen display Press the [MENU/EXIT] button to display the menu screen. Main menu Sub menu Using the live screen/freeze screen Main menu Sub menu Available settings TITLE INPUT — Title input A title can be displayed in the live screen and in recorded images. Input can be up to 30 characters.
  • Page 7 Main menu Sub menu Available settings SETUP BEEP ON/OFF Specifies whether to sound the beep DATE TIME Date and time settings LANGUAGE Display language selection English and other languages are supported. The default is “English”. Sets the screen in monocular view or binocular view STEREO ADAPTER IMAGE DISPLAY Sets the display mode of the live image to either the monocular view type or the binocular view type.
  • Page 8: General Safety Precautions

    Inputting the title Title input box Serial number (3 digits) Preset title register button Preset title select button Keyboard Input text from the on-screen keyboard Select an input mode and press the [MEAS/ENTER] joystick. Select the text button assigned to the letter you want to input and press the [MEAS/ENTER] joystick. Edit the work if necessary.
  • Page 9 • If you carry this instrument to the high altitude or use at the high altitude, be careful for followings. - Check the instrument prior to use. - Prevent the instrument from dropping. - Make sure of the safety thoroughly. •...
  • Page 10 • When hanging the main unit from your neck by the shoulder strap, do not allow it to catch on other objects. Be careful that it does not choke you. • Do not allow metal or other foreign objects to enter the main unit through connectors or any other openings. Otherwise, a malfunction or electric shock may result.
  • Page 11: Battery Precautions

    • Note the following precautions whenever stowing the instrument in its carrying case. - Make sure that the insertion tube is not twisted before storing it. - Make sure the distal end has cooled before storing it. - [Press down the [ANGLE LOCK] lever to release the angulation lock before storing it. - Do not store the instrument in the carrying case with the shoulder strap still attached.
  • Page 12 • Do not allow metal or water, or any other fluid to get into the battery compartment or onto the battery terminals. Should any foreign object enter the main unit, remove the battery and disconnect the AC adapter, and immediately contact Olym- pus.

This manual is also suitable for:

Iplex rx

Table of Contents