Advertisement
Quick Links
Congratulations on purchasing a MDB Family product. This crib will provide many years of service if you
adhere to the following guidelines for assembly, maintenance and operation. This crib is for residential
use only. Any institutional use is strictly prohibited.
Please be sure to follow the instructions for proper assembly. Use a Phillips head screwdriver for assem-
bling the crib in addition to the Allen wrench included in the hardware box. Do not use power screwdriv-
ers. All of our cribs are made from natural woods. Please understand that natural woods have color vari-
ations which are the result of nature and not defects in workmanship.
DO NOT SUBSTITUTE PARTS. ALL MODELS HAVE THE SAME QUANTITY OF PARTS AND HARD-
WARE. YOUR MODEL MAY LOOK DIFFERENT FROM THE ONE ILLUSTRATED DUE TO STYLISTIC
VARIATIONS.
Nous vous félicitons de votre achat d'un produit MDB Family. Ce lit de bébé vous procurera des années
de service si vous suivez les directives ci-dessous pour l'assemblage, l'entretien et l'utilisation. Ce lit est
destiné uniquement à une utilisation résidentielle. Toute utilisation dans une institution est strictement
interdite.
Prenez soin de suivre les instructions pour réaliser correctement l'assemblage. Utilisez un tournevis
cruciforme pour l'assemblage, en plus de la clé hexagonale incluse dans la boîte de quincaillerie.
N'utilisez pas un tournevis électrique. Tous nos lits d'enfants sont fabriqués en bois naturel. Il faut com-
prendre que le bois présente des variations de couleur attribuables à la nature et non à un défaut de
fabrication.
NE PAS UTILISER DES PIÈCES DE SUBSTITUTION. TOUS LES MODÈLES ONT LE MÊME
NOMBRE DE PIÈCES ET D'ACCESSOIRES DE MONTAGE. VOTRE MODÈLE PEUT DIFFÉRER DE
CELUI ILLUSTRÉ EN RAISON DE VARIATIONS STYLISTIQUES.
* We recommend having two
people assembling this product on
the
debris-free
enclosed foam sheets to avoid
damages or scratches.
* Nous recommandons d'effectuer
l'assemblage de ce produit avec
l'aide d'une autre personne sur un
tapis exempt de tout débris ou sur
les panneaux de mousse inclus
pour éviter tout dommage ou
égratignure.
* This crib can later be converted
into a toddler bed. To convert to a
toddler bed, turn to page 14.
* Le lit de bébé peut être converti
plus tard en un lit pour tout-petit.
Pour effectuer la conversion,
passez à la page 14.
revised 11JUL2012
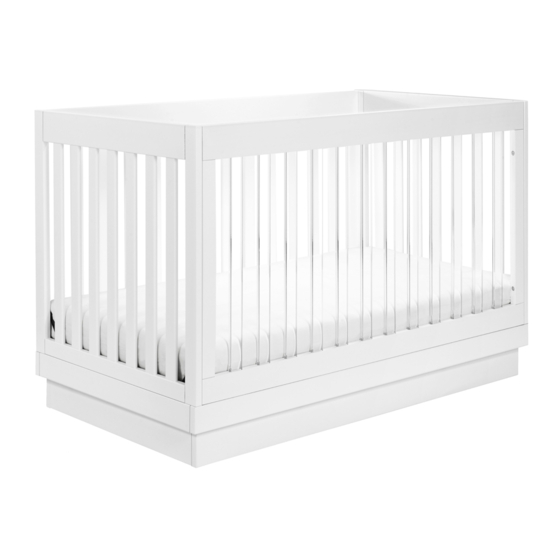
Harlow 3 in 1 Crib with Acrylic Slats (8601K) - Assembly and Operation Manual
Lit de bébé 3 en 1 Harlow à lattes d'acrylique (8601K) - Manuel d'assemblage et d'utilisation
carpets
or
page 1
Advertisement

Related Manuals for Babyletto 8601K


Summary of Contents for Babyletto 8601K
- Page 1 Harlow 3 in 1 Crib with Acrylic Slats (8601K) - Assembly and Operation Manual Lit de bébé 3 en 1 Harlow à lattes d’acrylique (8601K) - Manuel d’assemblage et d’utilisation Congratulations on purchasing a MDB Family product. This crib will provide many years of service if you adhere to the following guidelines for assembly, maintenance and operation.
- Page 2 PARTS • PIÈCES A. Left Side Panel B. Right Side Panel C. Front Panel A. Panneau latéral B. Panneau latéral droit C. Panneau avant gauche E. Spring Frame Type II E. Sommier de Type II D. Back Panel D. Panneau arrière H.
- Page 3 HARDWARE • ACCESSOIRES DE MONTAGE H1. 3” Round Head Bolt with Nut (8) H2. 1-1/4” Round Head Bolt (6) H3. 2-1/4” Allen Head Bolt (8) H1. Boulon Allen de 76 mm (3 po) (8) H2. Boulons à tête ronde de H3.
- Page 4 STEP 2. Assemble the platform. Étape 2. Assemblage de la plate-forme. J. Long Platform Panel J. Plate-forme longue H. Short H. Short Platform Panel Platform Panel H. Plate-forme H. Plate-forme courte courte * Rotate H9 clockwise to secure *Tourner H9 dans le sens des aiguilles J.
- Page 5 E. Spring Frame Type II STEP 4. E. Sommier de Type II Étape 4. Attach the left and right brackets (G-1, G-2) to spring frame (E) using Allen head bolts (H11), washers (H6), lock washers (H12) and bolt caps (H13). Tighten the bolt caps by using wrench for bracket (H14).
- Page 6 STEP 6. Insert wood dowels to the bottom pre-drilled holes of crib panels. Étape 6. Insérer les goujons en bois dans les trous prépercés STEP * Step 6-8, please turn en dessous des panneaux du lit. the crib upside down. * Pour les étapes 6-8, retournez le lit, mettez le lit à...
- Page 7 Insert wood dowels to the pre-drilled holes on base frame. STEP 9. Étape 9. Insérer les goujons de bois dans les trous percés dans le cadre de la base. * Step 9-10, turn the crib to the right position. * Pour les étapes 9-10, mettez le lit à...
- Page 8 Lay the crib down per below. Tighten the screws. STEP 11. Étape 11. Déposer le lit comme ci-dessous. Serrer les vis. C. Front Panel C. Panneau avant F. Base Frame F. Cadre de la base DO NOT OVERTIGHTEN. NE PAS TROP SERRER. Turn the crib to the right position and ready to use.
-
Page 9: Sample Label
CAUTION: ANY MATTRESS USED IN THIS CRIB MUST BE AT LEAST 27 1/4 INCHES (69CM) BY 51 5/8 INCHES (131CM) WITH A THICKNESS NOT EXCEEDING 6 INCHES (15CM). WE WILL ASK YOU FOR YOUR SERIAL NUMBER FOR ALL Please refer to the label (sample below) on the inside face of the headboard. - Page 10 WARNING: Failure to follow these warnings and the assembly instructions could result in serious injury or death. READ ALL INSTRUCTIONS BEFORE ASSEMBLING CRIB. KEEP THE MANUAL FOR FUTURE USE. WARNING: Parents should ensure a safe environment for the child by checking regularly, before placing the child in the product, that every component is properly and securely in place.
- Page 11 AVERTISSEMENT : Le non respect des avertissements et directives d’assemblage peut entraîner de graves blessures ou la mort. LIRE TOUTES LES INSTRUCTIONS AVANT D’ASSEMBLER LE LIT. CONSERVER CE MANUEL POUR UN USAGE ULTÉRIEUR. AVERTISSEMENT : Avant de placer l’enfant dans ce lit, les parents doivent s’assurer que son environnement est sécuritaire en vérifiant régulièrement que toutes les composantes sont correctement fixées.
- Page 12 Cleaning Acrylic: Nettoyage de l’acrylique : We offer special guidelines for caring and maintain- Nous offrons des lignes directrices particulières pour ing our lucite furniture collection. l’entretien et la conservation de notre collection de meubles lucite. ATTENTION : Ne jamais utiliser un nettoyant à CAUTION: Never use window cleaner, vitres, des produits à...
-
Page 13: Entretien Et Nettoyage
ONE YEAR LIMITED WARRANTY: GARANTIE LIMITÉE D’UN AN : Nous remplacerons toute pièce manquant au moment We will replace any missing parts at the time de l’achat ou tout article défectueux au cours de la of purchase or any defective item within a période de garantie d’un an à... - Page 14 Harlow 3 in 1 Crib with Acrylic Slats (8601K) - Toddler bed conversion assembly Lit de bébé 3 en 1 Harlow à lattes d’acrylique (8601K) - Instructions d’assemblage pour la conversion en lit d’enfant * All of the parts and hardware you will need are supplied with the crib at the time of purchase.
- Page 15 The mattress intended for use on the bed shall be a full-size mattress having minimum dimensions of 51 5/8" (1310 mm) in length, 27 1/4"(690 mm) in width and 4" (100 mm) in thickness and not exceeding 6" (152 mm). Le matelas à...
Need help?
Do you have a question about the 8601K and is the answer not in the manual?
Questions and answers
Im missing 2 h1 bolts and 3 h7 wood dowel