D-Link DCS-7513 Quick Installation Manual
Full hd wdr day & night outdoor network camera
Hide thumbs
Also See for DCS-7513:
- Quick installation manual (113 pages) ,
- User manual (99 pages) ,
- Technical specifications (4 pages)
Table of Contents
Advertisement
Quick Links
Advertisement
Table of Contents

Related Manuals for D-Link DCS-7513


Summary of Contents for D-Link DCS-7513
-
Page 1: Quick Installation Guide
Quick Installation Guide Full HD WDR Day & Night Outdoor Network Camera This document will guide you through the basic installation process for your new D-Link Network Camera. DCS-7513 Documentation also available on CD and via the D-Link Website... -
Page 2: Installation Steps
Quick Installation Guide This installation guide provides basic instructions for installing the DCS-7513 on your network. For additional information about how to use the camera, please see the User Manual which is available on the CD included in this package or from the D-Link support website. -
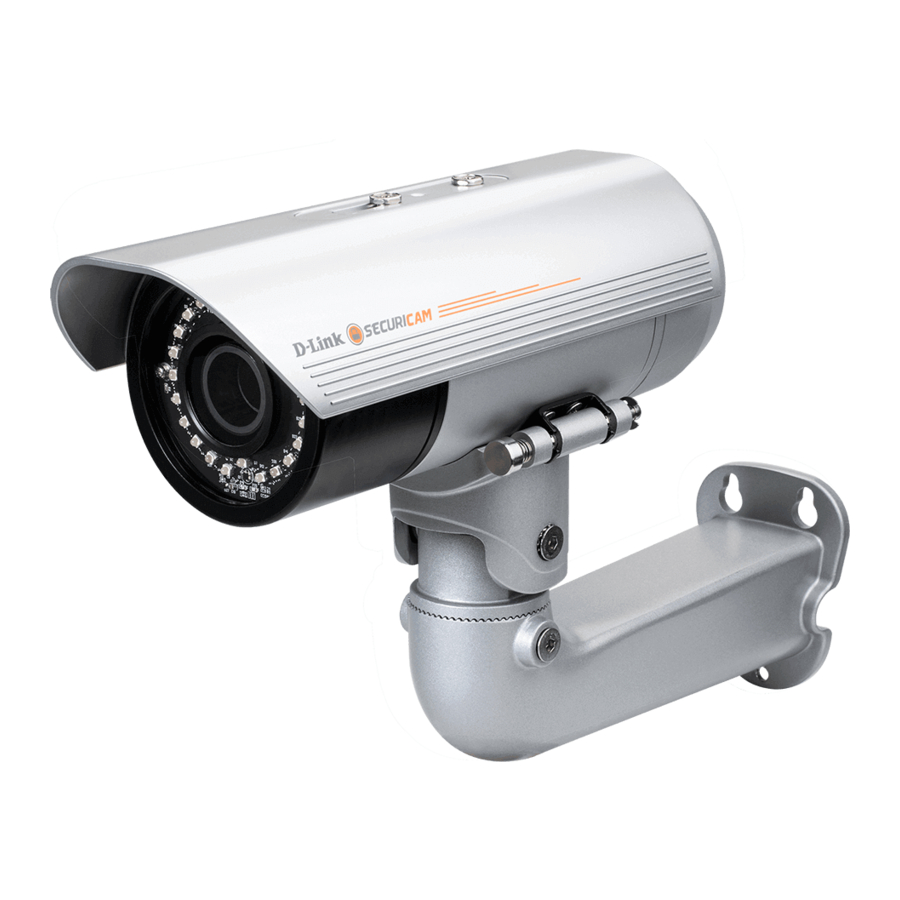
Page 3: Hardware Overview
Push the SD card into the card slot with the gold contacts directed towards the base of the camera. To eject the SD card, push the SD card into the slot and release. The SD card will spring out. D-Link DCS-7513 Quick Install Guide... -
Page 4: Mounting Instructions
4. Mounting Instructions Mounting Installation Refer to the User Manual for detailed instructions regarding the installation and mounting of the camera using a mounting bracket. Figure 2.1 Figure 2.2 Figure 2.3 Figure 2.4 D-Link DCS-7513 Quick Install Guide... - Page 5 General Connection Using 24 V AC Power Wiring 1. Connect the network camera to your network using an Ethernet cable. 2. Connect the supplied power cable from the camera to a power source such as your building's emergency power. D-Link DCS-7513 Quick Install Guide...
-
Page 6: Configuration (Setup Wizard)
5. Configuration (Setup Wizard) Insert the DCS-7513 CD into your computer's CD-ROM drive to begin the installation. If the Autorun function on your computer is disabled, or if the D-Link Launcher fails to start automatically, click the Start button and in the box type D:\autorun.exe, where D: represents the drive letter of your CD-ROM drive. - Page 7 Click on the D-Link Setup Wizard SE icon that was created in your Windows Start menu. Start > D-Link > Setup Wizard SE The Setup Wizard will appear and display the MAC address and IP address of your camera(s). If you have a DHCP server on your network, a valid IP Address will be displayed.
-
Page 8: Viewing Camera Via Web Browser
Viewing Camera via Web Browser Click on the D-Link Setup Wizard SE icon that was created in your Windows Start menu. Start > D-Link > Setup Wizard SE Select the camera and click the Link button to access the web configuration. - Page 9 Notes D-Link DCS-7513 Quick Install Guide...
- Page 10 Notes D-Link DCS-7513 Quick Install Guide...
- Page 11 Notes D-Link DCS-7513 Quick Install Guide...
-
Page 12: Technical Support
Copyright ©2016 D-Link Corporation/D-Link Systems, Inc. All rights reserved. D-Link, and the D-Link logo are registered trademarks of D-Link Corporation or its subsidiaries in the United States and other countries. Other trademarks are the property of their respective owners. Product specifications, size and shape are subject to change without notice, and actual product appearance may differ from that depicted on the packaging.
Need help?
Do you have a question about the DCS-7513 and is the answer not in the manual?
Questions and answers