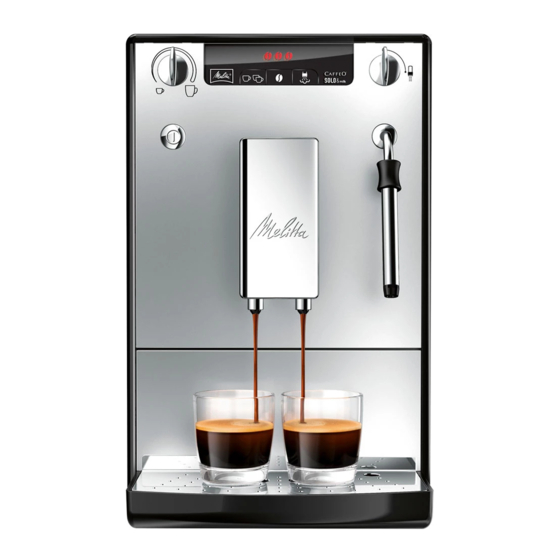
Melitta Caffeo Solo & Milk Operating Instructions Manual
Hide thumbs
Also See for Caffeo Solo & Milk:
- Operating instructions manual (244 pages) ,
- Operating instructions manual (279 pages)
Table of Contents
Advertisement
Advertisement
Table of Contents

Summary of Contents for Melitta Caffeo Solo & Milk
- Page 1 Operating Instructions...
-
Page 4: Safety Instructions
– Do not undertake any changes You must observe the safety to the appliance, its components instructions to avoid dangers. Melitta ® accepts no liability for damage caused or its accessories. by failure to observe the safety –... -
Page 5: General Safety
Warning! – Children must not play with the appliance. Cleaning and Risk of burning and scalding maintenance must not be Escaping fluids and steam may undertaken by children younger be very hot. Parts of the appliance than 8 years of age. Children also become very hot. -
Page 6: Before Using For The First Time
Descale the Illuminated appliance • The appliance is ready for operation. Integrated • After using the appliance for the first descaling Flashing time, insert the Melitta Claris water ® ® programme is filter if required (see page 23). running Steam ready There is air in the system. -
Page 7: Starting Up The Appliance
Starting up the appliance • Press the ON/OFF button switch the appliance on or off. The Starting up appliance performs an automatic rinse if necessary. Warning! Preparation Danger of fire and electric shock due to incorrect supply voltage, • Fill the water reservoir with fresh water incorrect or damaged connections every day. - Page 8 Preparing milk froth and heating Heating milk milk and water • Switch on the appliance. • Push the outer shell of the steam pipe Warning! up in the direction shown by the arrow (Image K, 2). There is a risk of burn injuries and scalding due hot steam and the hot •...
- Page 9 From Water will flow into the vessel. the factory, it is set at water hardness 4. • When is illuminated on the After inserting a Melitta Claris water ® ® display, turn the valve switch 11 filter, it is automatically set at hardness counterclockwise until the stop.
-
Page 10: Cleaning And Maintenance
Cleaning and maintenance Setting the water hardness The appliance includes a test strip to Warning! determine the water hardness. • Determine the hardness of the tap water – Pull the power supply plug before using the test strip. cleaning. • Switch on the appliance. –... -
Page 11: Integrated Cleaning Programme
2. is lit up. Cleaning phase 4 ( , the middle Only use Melitta cleaning tabs. ® bean is flashing): • Switch off the appliance. • The cleaning programme will be continued again and takes about 5 •... -
Page 12: Integrated Descaling Programme
("Setting • Reinsert the drip tray and put the coffee the water hardness", page 23). grounds container back under the steam Only use Melitta ANTI CALC. ® pipe. illuminates. • Switch off the appliance. • Rinse the water reservoir thoroughly with clear water. -
Page 13: Other Settings
Other settings • Press the button until one of the four switch-off times is set. The time is Energy-saving mode displayed by the beans on display 9. After the last action, the appliance Display Time switches automatically (depending on the 30 minutes settings) to the energy-saving mode. -
Page 14: Transport, Storage And Disposal
Transport • Pull off the cover 13 to the right. • Start dispensing coffee • Vent the appliance. • Put the lever (Image E) in a desired • Empty and clean the drip tray and coffee position (left = fine to right = coarse). grounds container. -
Page 15: Troubleshooting
Troubleshooting Fault Cause Measure Adjust the grinding fineness more coarse. Coffee only flows drop-by- Grinding fineness is too fine. Clean the brewing unit. drop. Perform a descaling or cleaning programme if necessary. Water tank not filled or Fill the water tank and make sure it is incorrectly inserted. - Page 16 01 32 A Thorpe Wood Business Park September 2013 from a dealer authorized due to his expertise Thorpe Wood by Melitta, we give a manufacturer’s guarantee based on the Peterborough PE3 6SR following conditions: United Kingdom 1.
- Page 17 Version 4.0 09/2016 1234-0816 Melitta Europa GmbH & Co. KG D-32372 Minden...


Need help?
Do you have a question about the Caffeo Solo & Milk and is the answer not in the manual?
Questions and answers