Table of Contents
Advertisement
Advertisement
Table of Contents

Related Manuals for NAD M32


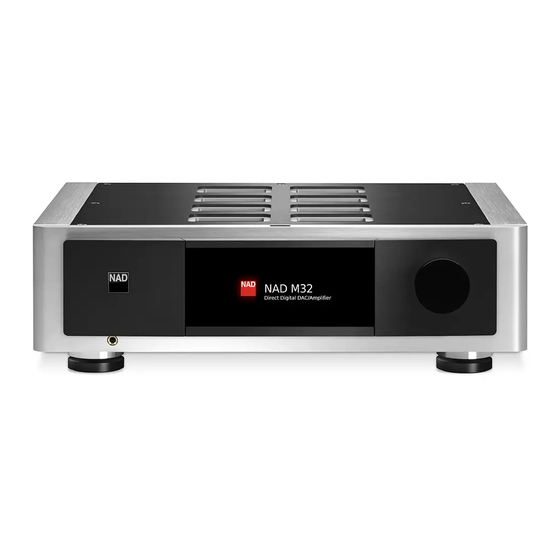
Summary of Contents for NAD M32
- Page 1 ® DirectDigital DAC Amplifier Owner’s Manual...
-
Page 2: Important Safety Instructions
IMPORTANT SAFETY INSTRUCTIONS 1. Read instructions - All the safety and operating instructions should NOTE TO CATV SYSTEM INSTALLER be read before the product is operated. This reminder is provided to call the CATV system installer’ s attention to Section 820-40 2. - Page 3 Reorient or relocate the receiving antenna. • Increase the separation between the equipment and receiver. The model and serial number of your new M32 are located on the back of • Connect the equipment into an outlet on a circuit different from that to the cabinet.
-
Page 4: Table Of Contents
CONTROLLING THE M32 ........ -
Page 5: Introduction
SAVE THE PACKAGING Please save the box and the packaging that came with the M32. Should you move or need to transport your M32, this is the safest container to use. We’ve seen too many otherwise perfect components damaged in transit 2 Select “Factory Reset”... -
Page 6: Identification Of Controls
For the o (Standby) button to activate, the following must occur: signal tracking and channel balance. It provides a highly linear and a The supplied power cord from the M32 must be plugged in to a low noise operation. power source. -
Page 7: Rear Panel
ATTENTION! Please ensure that the M32 is powered off or unplugged from the main power source before making any connections. It is also advisable to power down or unplug all associated components while making or breaking any signal or AC power connections. - Page 8 [ON] button to switch ON the M32 from standby mode. • • If you do not intend to use the M32 for long periods of time (such The M32 comes supplied with two separate mains power cords. as when on vacation), switch off the POWER switch.
-
Page 9: Mdc Classic Upgrade Slots
Connect the twin RCA lead from your turntable to this input. Consult with your NAD dealer on how to procure the DD HDM-1, the DD B SE IN (SINGLE-ENDED): Use a twin RCA-to-RCA lead to connect these AP 1 and MDC BluOS modules and their installations to the M32. -
Page 10: Operation
DEVICE SELECTOR NAVIGATING THE M32 FEATURES AND MAKING CHANGES Use the HTRM 2 or applicable touch panel display items to select Sources, navigate through the M32 features and access to other functions. The following are some of the key functions. - Page 11 OPERATION USING THE M32 M M U U T T E E Random playback. S S L L E E E E P P SOURCE DEVICE SELECTOR Press repeatedly to toggle random playback of current list, all RANDOM. DEVICE SELECTOR must be set to MP.
-
Page 12: Display Menu Options
OPERATION USING THE M32 DISPLAY MENU OPTIONS MODE The following display options are accessible via the touch panel display - Main, Media, Mode, EQ and Setup. MAIN Use the Main screen to select a Source. Use the arrows to navigate to the required Source. -
Page 13: Setup
OPERATION USING THE M32 SPEAKER SETUP The M32 has the following Tone Control levels – Treble, Bass and Balance. SPEAKER COMPENSATION Bass and Treble controls only affect the low bass and high treble leaving the critical midrange frequencies free of coloration. The Balance control The digital impedance compensation filter provides fine tuning of the adjusts the relative levels of the left and right speakers. -
Page 14: Source Setup
VOLUME CONTROL NOTE Since the low pass filter is already implemented in the M32, the The M32 VOLUME control function is dependent upon the “Volume subwoofer should be set to the highest frequency crossover setting Control” menu setting. Volume control can either be set to “Fixed” or available or bypassed if it also includes a crossover function. -
Page 15: Other Features
M32 and T 787 are both defaulted to IR Channel 0. If [OFF] button is pressed every time a new source is selected. It is generally preferable to reduce the on the HTRM 2 remote control (or HTR 8 remote control for the T 787), both level of the loudest source rather than making louder the softer sources. -
Page 16: Bluos Menu
OPERATION OTHER FEATURES BluOS MENU SERVICE MENU Service Menu has two options - “BluOS Upgrade Mode” or “BluOS Service Mode”. BluOS “Menu” becomes available if the optional MDC BluOS is installed. BluOS “Menu” can be accessed directly from the touch panel display. Select “Menu”... -
Page 17: Using The Htrm 2 Remote Control
USING THE HTRM 2 REMOTE CONTROL The NAD HTRM 2 is ready to operate the M32 right out of the box, but it is really eight remotes in one. Each of the 8 Device Selector keys at the top of the handset can call up a new “page” of remote control codes to be transmitted by the remaining keys. -
Page 18: Punch Through
Device Select “page” to another, so that, for example, the AMP MACRO COMMANDS [SURR MODE] function might still control the M32 when the BD Device Selector page is active. A “macro” command is a series of two or more remote codes issued automatically from a single keypress. -
Page 19: Key Illumination Timeout
OPERATION USING THE HTRM 2 REMOTE CONTROL CONFIGURING KEY ILLUMINATION Example: Record a Macro to the [0] key to Turn on the M32. 1 Select “Input 1” (Source 1), and commence playback of connected Keys to Press (for 3 seconds) Mode Source 1 device (as in BD player). -
Page 20: Loading Code-Libraries
LOADING CODE-LIBRARIES SEARCH MODE The HTRM 2 can store a different library of default NAD codes for each of its If none of the codes from the table work, turn on the component and try Device Selector “pages. ” If the original default library does not control your the “search”... -
Page 21: Battery Installation
OPERATION USING THE HTRM 2 REMOTE CONTROL BATTERY INSTALLATION 1 Use the flat or rounded end of a pointed tool to push open the pin of the battery cover. 2 Open the battery hatch. 3 Insert the supplied four AA batteries. 4 Push the battery hatch until it clicks close. -
Page 22: Specifications
Shipping weight 18.5 kg (40.8 lbs) * - Gross dimension includes feet, volume knob and extended rear panel terminals. Specifications are subject to change without notice. For updated documentation and features, please check out www.NADelectronics.com for the latest information about M32. - Page 24 All rights reserved. NAD and the NAD logo are trademarks of NAD Electronics International, a division of Lenbrook Industries Limited. No part of this publication may be reproduced, stored or transmitted in any form without the written permission of NAD Electronics International.