Sign In
Upload
Download
Table of Contents
Contents
Add to my manuals
Delete from my manuals
Share
URL of this page:
HTML Link:
Bookmark this page
Add
Manual will be automatically added to "My Manuals"
Print this page
×
Bookmark added
×
Added to my manuals
Manuals
Brands
Smeg Manuals
Oven
SFA4130VC
Instruction manual
Smeg SFA4130VC Instruction Manual
Hide thumbs
1
2
Table Of Contents
3
4
5
6
7
8
9
10
11
12
13
14
15
16
17
18
19
20
21
22
23
24
25
26
27
28
29
30
31
32
33
34
35
36
37
38
39
40
41
42
43
44
45
46
47
48
49
50
51
52
53
54
55
56
57
58
59
60
61
62
63
64
65
66
67
68
69
70
71
72
73
74
75
76
77
78
79
80
page
of
80
Go
/
80
Contents
Table of Contents
Bookmarks
Table of Contents
Table of Contents
1 Instructions
General Safety Instructions
Manufacturer Liability
Appliance Purpose
Disposal
Identification Plate
This User Manual
How to Read the User Manual
2 Description
General Description
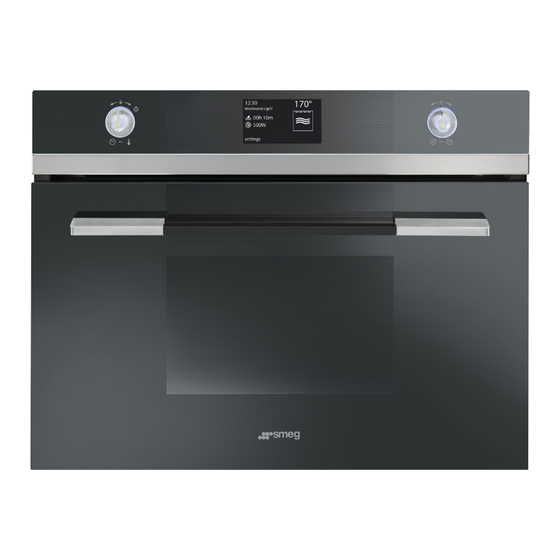
Control Panel
Other Parts
Available Accessories
Other Cooking Containers
3 Use
Instructions
First Use
Using the Accessories
Using the Oven
Cooking Advice
Special Functions
Preset Recipes
Slow Cooking
Personal Recipes
Settings
4 Cleaning and Maintenance
Instructions
Cleaning the Surfaces
Removing the Door
Cleaning the Door Glazing
Removing the Internal Glass Panes
Cleaning the Oven Interior
Cleaning the Reservoir
Vapor Clean
Extraordinary Maintenance
5 Installation
Electrical Connection
Cable Replacement
Positioning
Advertisement
Quick Links
1
General Description
2
Instructions
3
Using the Oven
4
Cooking Advice
5
Special Functions
6
Cleaning and Maintenance
7
Installation
Download this manual
INSTRUCTION MANUAL
BUILT-IN OVEN
SFA4130VC
SFA4130VCB
SFA4130VCN
SFA4395VCX
Table of
Contents
Previous
Page
Next
Page
1
2
3
4
5
Advertisement
Table of Contents
Need help?
Do you have a question about the SFA4130VC and is the answer not in the manual?
Ask a question
Questions and answers
Related Manuals for Smeg SFA4130VC
Oven Smeg SFA4390MX User Manual
(32 pages)
Oven Smeg SFA4920VC Instructions Manual
(56 pages)
Oven Smeg SFA4395VCX Instruction Manual
(80 pages)
Oven Smeg SFA4395MCX User Manual
(60 pages)
Oven Smeg SFA4395VCX1 Original Instructions Manual
(92 pages)
Oven Smeg SFA4390VX1 Translation Of The Original Instructions
60cm electric built-in compact steam oven (52 pages)
Oven Smeg SFA4140VC1 Manual
(80 pages)
Oven Smeg SFA4303VCPX Translation Of The Original Instructions
(102 pages)
Oven Smeg SFA4303MCX Manual
(80 pages)
Oven Smeg SFA4603MCNX Manual
(72 pages)
Oven Smeg SFA4603MCNR Manual
(72 pages)
Oven Smeg Classic SFA4301MCX Manual
(48 pages)
Oven Smeg Classic SFA4301MCN Manual
(48 pages)
Oven Smeg SFA4920MCB Manual
(40 pages)
Oven Smeg Oven User Instructions
(32 pages)
Oven Smeg SFA562X2 Original Instructions Manual
(28 pages)
This manual is also suitable for:
Sfa4130vcb
Sfa4130vcn
Sfa4395vcx
Table of Contents
Print
Rename the bookmark
Delete bookmark?
Delete from my manuals?
Login
Sign In
OR
Sign in with Facebook
Sign in with Google
Upload manual
Upload from disk
Upload from URL


Need help?
Do you have a question about the SFA4130VC and is the answer not in the manual?
Questions and answers