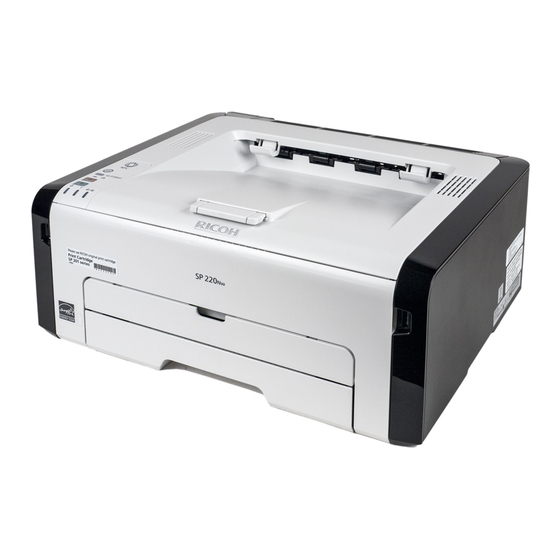
Summary of Contents for Ricoh SP 220NW
-
Page 1: Setup Guide
Setup Guide Setting Up the Machine Installing the Software LED Status How to purchase consumables... -
Page 3: Setting Up The Machine
1. Setting Up the Machine 40 cm Power Source / Stromquelle / (15.8inches) Source d’alimentation / Alimentazione / Strømkilde / Fuente de alimentación / 20 cm (7.9 inches) Stroombron / Strømkilde / Fonte de alimentação / 10 cm Fonte de energia / Virtalähde / Strömkälla / (4.0 inches) 89.6 Zdroj napájení... - Page 4 DSH068 Go to page 3 “Installing the Software”. For OS X, see User’s Guide in the provided CD-ROM or our website (http://www.ricoh.com/printers/sp200/support/ gateway/). For safe and correct use, please be sure to read the Safety Information before using the machine.
-
Page 5: Installing The Software
• To connect using a PIN code, go to page 7 “Easy Setup Using a PIN Code”. • To set up manually, see User’s Guide in the provided CD-ROM or our website (http://www.ricoh.com/printers/sp200/support/gateway/). • When the Wi-Fi Direct function is enabled, a Wi-Fi Direct compliant device is recognized as a router (access point), and direct communication among Wi-Fi Direct-compliant devices becomes possible. - Page 6 Insert the provided CD-ROM into the CD-ROM drive of the computer. If your computer does not have a CD-ROM drive, download a setup file from our website (http://www.ricoh.com/printers/sp200/ support/gateway/). Follow the instructions in the setup wizard. Click [Finish] in the [Setup Complete] dialog box. If the installer prompt you to restart Windows, reboot your computer.
- Page 7 Insert the provided CD-ROM into the CD-ROM drive of the computer. Select [Wireless Connection]. If your computer does not have a CD-ROM drive, download a setup file from our website (http://www.ricoh.com/printers/sp200/ support/gateway/). Click [Quick Install]. Follow the instructions in the setup wizard.
- Page 8 On the [Wireless] tab, select [Setup with WPS] for Easy Setup Using the WPS Button [Configuration Method]. ● Before doing the following procedure, install the printer driver according to the procedure on page 4 "Connecting the Machine (USB/Network)". ● Make sure the Ethernet cable is not connected to the machine.
- Page 9 On the [Network 1] tab, select [Active] for [Wireless Easy Setup Using a PIN Code Function:]. ● Before doing the following procedure, install the printer driver according to the procedure on page 4 "Connecting the Machine (USB/Network)". ● Make sure the Ethernet cable is not connected to the machine.
- Page 10 13. Enter the machine’s PIN code (8 digits) on the router (access point)’s web page.(The web page accessed in Step 2) 14. Execute WPS (PIN system) from the router (access point)’s web page. 15. Click [Connect]. 16. Check the result. Connection has succeeded: The Power indicator lights up.
-
Page 11: Led Status
Contact your sales or service representative. For details, see “Error and Status Indicate on the Control Panel”, User’s Guide. How to purchase the consumables For information about consumables, see the following website or scan the following QR code from your smart device. http://www.ricoh.com/printers/ sp200/support/gateway/... - Page 12 Trademark Android is a trademark of Google Inc. IOS is a trademark or registered trademark of Cisco in the U.S. and other countries and is used under license. Wi-Fi, Wi-Fi Direct, Wi-Fi Protected Setup, WPA, Wi-Fi Protected Access, WPA2, and Wi-Fi Protected Access 2 are registered trademarks of Wi-Fi Alliance.
- Page 13 • Manual • Software • Linux driver • Information on con- sumables http://www.ricoh.com/printers/ sp200/support/gateway/ M0A4-8602...


Need help?
Do you have a question about the SP 220NW and is the answer not in the manual?
Questions and answers