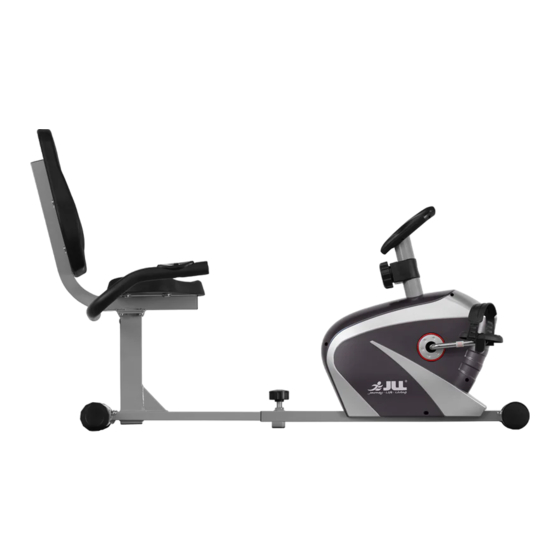
Table of Contents
Advertisement
Quick Links
R
E
1
0
0
R
E
C
U
M
B
E
N
T
B
I
K
E
R
E
1
0
0
R
E
C
U
M
B
E
N
T
B
I
K
E
OWNER'S MANUAL
IMPORTANT!
Please read all instructions carefully before using this product.
Retain this manual for future reference.
The specifications of this product may vary slightly from the illustrations and are subject
to change without notice.
Before You Start
Thank you for purchasing this Recumbent Bike! For your safety and benefit, read this manual
carefully before using the machine.
Prior to assembly, remove components from the box and verify that all the listed parts were
supplied. Assembly instructions are described in the following steps and illustrations.
Advertisement
Table of Contents

Summary of Contents for JLL RE100
-
Page 1: Before You Start
OWNER’S MANUAL IMPORTANT! Please read all instructions carefully before using this product. Retain this manual for future reference. The specifications of this product may vary slightly from the illustrations and are subject to change without notice. Before You Start Thank you for purchasing this Recumbent Bike! For your safety and benefit, read this manual carefully before using the machine. -
Page 2: Important Safety Notice
IMPORTANT SAFETY NOTICE PRECAUTIONS BE SURE TO READ THE ENTIRE MANUAL BEFORE YOU ASSEMBLE OR OPERATE YOUR MACHINE. PARTICULAR, NOTE FOLLOWING SAFETY PRECAUTIONS: Check all the screws, nuts and other connections before using the machine for the first time and ensure that the trainer is in the safe condition. Set up the machine in a dry level place and leave it away from moisture and water. -
Page 3: Exploded Diagram
EXPLODED DIAGRAM PARTS LIST DESCRIPTION DESCRIPTION Front main frame Foam grip Rear main frame Pulse sensor wire Seat frame Allen bolt Armrest Flat washer Crank Square end cap Rear bottom tube Backrest 7L/R Pedals 1 pr Seat Front bottom tube Round end cap Carriage bolt Tension controller... -
Page 4: Assembly Instruction
NOTE: Most of the listed assembly hardwire has been packaged separately, but some hardwire items have been preinstalled in the identified assembly parts. In these instances, simply remove and reinstall hardwire as assembly is required. Please reference the individual assembly steps and make note of all preinstalled hardwire. - Page 5 Note: Before slotting Part 2 into Part 15, the wire connections Part 32 and 33 will need to be connected and gently pushed into Part 2. This will help avoid any unnecessary damage to the wires during assembly. Step 3: Fix the Seat (25) and Backrest (24) onto the Seat frame (3) with the Allen bolts (21) and Flat washers (22) as shown.
- Page 6 Step 4: Fix the Seat frame (3) onto the rear Main frame (2) with the Allen bolts (21) and Flat washers (22) as shown. Step 5: 01- Fix the Armrest (4) onto the Seat frame (3) using the Carriage bolts (17), Flat washers (18) and Acorn nuts (11) as shown;...
- Page 7 Step 6: Attach the L/R Pedal (7L/R) to the Crank (5) respectively, viewed from the rider’s exercising position. Note: Both Pedals are labeled L FOR LEFT and R FOR RIGHT. To tighten turn the Left pedal COUNTERCLOCKWISE and the Right pedal CLOCKWISE. Make sure the Pedals (7L/R) have been securely locked before doing exercise.
- Page 8 USING YOUR BIKE Using your bike will provide you with several benefits. It will improve your physical fitness, tone your muscles and in conjunction with a calorie controlled diet, help you lose weight. WARM-UP PHASE The purpose of warming up is to prepare your body for exercise and to minimize injuries. Warm up for two to five minutes before strength-training or aerobic exercising.


Need help?
Do you have a question about the RE100 and is the answer not in the manual?
Questions and answers