Table of Contents
Advertisement
Quick Links
Advertisement
Table of Contents

Related Manuals for Videocon v1602


Summary of Contents for Videocon v1602
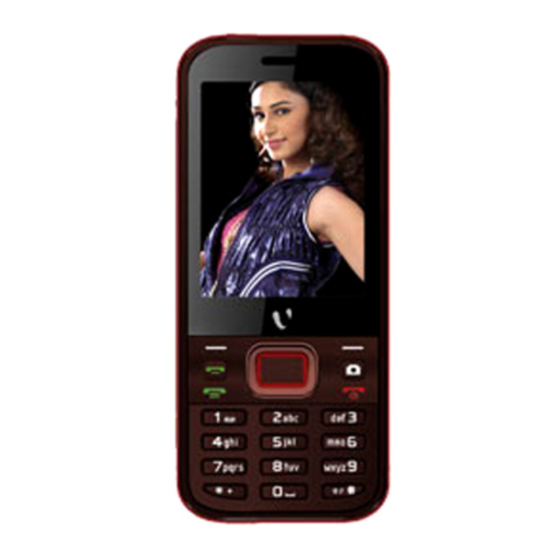
- Page 1 VIDEOCON V1602 User Manual...
-
Page 3: Table Of Contents
Contents Legal Information .......... 1 Section 1: Introduction ........2 Important Safety Precautions ..... 2 Section 2: Getting Started ......4 Inside the Box ..........4 Installing and Removing the Battery ..4 Inserting and Removing SIM Card ... 5 Inserting the Memory Card ..... - Page 4 Multimedia ..........14 Camera..........14 Video recorder ........14 Video player ......... 15 Audio player ......... 15 Image Viewer ........15 FM radio ..........16 Messages ..........16 Text message ........16 MMS ............. 17 Games ............. 17 Staying Organized ........17 Services ...........
- Page 5 Auto keypad lock ........21 Mobile Tracker ........21 Long distance control......21...
-
Page 6: Legal Information
VIDEOCON is prohibited. VIDEOCON operates on a policy of continuous development. VIDEOCON reserves the right to make changes and improvements to any of the products described in this document without prior notice. -
Page 7: Section 1: Introduction
Section 1: Introduction Important Safety Precautions Please comply with these precautions / measures to avoid dangerous or illegal situation and ensure peak performance of your phone. Road safety The use of a mobile phone while driving is illegal and should be avoided at all costs. If you need to make or receive an urgent call, move your vehicle to the side of the road and allow it to come to a complete stop before using your phone. -
Page 8: Battery Use
Battery Use First time charging must be done using the regular charger and not using the USB cable. During the first 3-4 charge sessions, charge the battery until it has been fully charged according to the battery level indicator. This ensures higher battery backup and extends the battery life. -
Page 9: Section 2: Getting Started
Section 2: Getting Started Inside the Box The standard packing contents are as follows: Base Trans-receiver Battery Charger Hands free Kit User Manual Service Guide Installing and Removing the Battery To install the battery: 1. Locate the groove at the top of the phone, and pull the battery cover out to open. -
Page 10: Inserting And Removing Sim Card
Inserting and Removing SIM Card 1. Remove the battery back cover and the battery. 2. Remove battery from battery compartment. 3. Slide the SIM card in the slots (with metal connectors) facing down as shown in the image. Note: Please do not touch the metal area to avoid losing and breaking the information in SIM card. -
Page 11: Charging The Device
Charging the Device Insert the Plug of your charger to the charging port at the base of your phone. When you begin to charge the battery, the stripe of Signal Strength on the right corner of the screen starts to roll. When battery gets fully charged, the stripe becomes stable and stops rolling. -
Page 12: Section 3: Know Your Device
Section 3: Know your device Phone Layout Left Soft Key Use to perform functions that display in the lower left of the display. Right Soft Key Use to perform functions that display in the lower right of the display. Dial Key Receive or make calls, and while in idle mode, click to view call history. - Page 13 End or reject calls; Press and hold this key to turn phone on/off; cancel function and return to the idle screen. Up and Down Direction Keys Scroll to select options In the idle screen, use up and down direction keys to open shortcut applications. While creating a message, use up and down direction keys to select a word from the dictionary...
-
Page 14: Screen Icons
list. In edit status, press input numbers, characters and phonetic notation. In edit mode, except input number, press 0 key to input space. In functional menu, press numbers to speed select submenu items. * & # Key Functions vary in different situations or function menus: On Input Screen, press "*"... - Page 15 Note: Depending on your country or service provider, the icons shown on the display may vary.
-
Page 16: Section 4: Basic Operations
Section 4: Basic Operations Make a Call To make a call, unlock the keypad, if locked, enter the desired phone number and press the Dial key. Note: Your service provider programs one or more emergency phone numbers, such as 102, 100, that you can call under any circumstance, even when your phone is locked or the SIM card is not inserted. -
Page 17: Section 5: Using The Phone
Section 5: Using the Phone Managing the Phonebook The Phonebook is a location in your phone‟s internal memory on which you can store numbers of your contacts. The SIM card also allows you to store phone numbers, though the permissible limit may vary from provider to provider. -
Page 18: Viewing Call History
vCard via SMS, MMS, or through file transfer over Bluetooth. Viewing Call history Use this menu to view the dialed, received or missed calls. On the Idle screen, press Menu Call history. The Call History sub-menu comprises the following: Missed Calls: List of the last 50 calls you were unable to answer. -
Page 19: User Profiles
Indoor, Silent, Headset, and Bluetooth. Multimedia Camera Your Videocon V1602 is equipped with a 2.0 Megapixel camera on the back of the device that can be used to take still photographs or record videos. Select t Menu Multiedia Camera to launch the camera application. -
Page 20: Video Player
Choose Menu Multiedia Video recorder to start the video recording. After setting the view, start to record a video by pressing the [OK] key. If you want to view the recorded file, you can access it via the Video player menu. Video player Use Video player to watch videos. -
Page 21: Fm Radio
display the photos with image name, image size and date. FM radio The FM radio application turns the mobile phone into a portable FM radio device. It primarily provides users the interface to a single-chip electronically turned FM stereo radio for listening to live-broadcast stations. -
Page 22: Mms
Your phone also supports Multimedia Messaging Service (MMS). It enables you to send images, sound and text files. To send a multimedia message, you need to edit the following fields: To: Insert the main recipient number to whom you want to send the message. Cc: Enter carbon copy recipient. -
Page 23: Services
To do list: You can use your phone to keep track of all your Date, Call and Anniversary. Alarm: Set the alarm to ring at a specific time. World clock: Set your local time zone and find out the current time in another part of the world. -
Page 24: Data Account
Data account This function enables to set the account information. -
Page 25: Section 6: Settings
Section 6: Settings For more information on configuring phone settings, refer to the following chapter. Setting Date/Time This option enables you to set the time, time zone, time format, date and the date format. Power on/off This option enables you to set the auto power on/off and the auto power on/off status. -
Page 26: Auto Keypad Lock
Auto keypad lock This option enables you to set the auto lock time for the keypad. Mobile Tracker This function enables you to track your phone in case it gets lost. The default password for the mobile tracker is “0000”. If someone inserts another SIM card in your mobile, you will receive an SMS to the assigned number from the new SIM card to know who is using your mobile... - Page 27 1234567890) SMS divert to a 0000NEWMESSAGESDIVER particular TTO1234567890 number (e.g. divert incoming messages of the illegal user to the particular number 1234567890) Fetch 0000ALLNUMBERSDIVERT Phonebook. TO1234567890 Fetch SMS. 0000ALLMESSAGESDIVER TTO1234567890 Fetch 0000CONTACTNAMEDIVE contact NAME. RTTO1234567890 (e.g. for copying particular contact NAME from lost...
- Page 28 Note: 1234567890 is the number to which the call or messages that you want to divert.
Need help?
Do you have a question about the v1602 and is the answer not in the manual?
Questions and answers